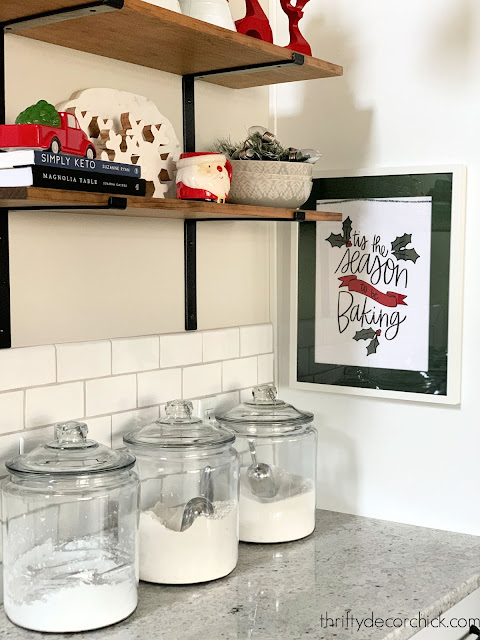
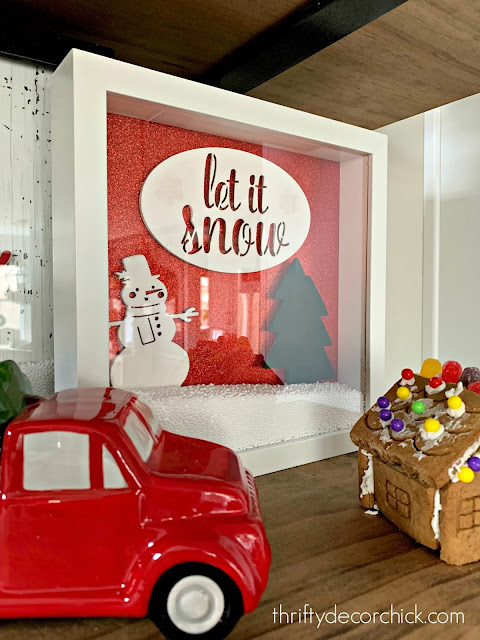
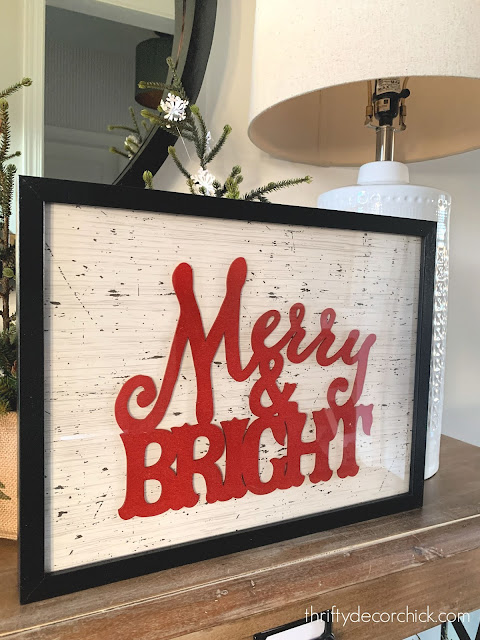
I think one of the easiest ways to add some festive touches around the house is with art — of course they look great on the walls, but some holiday frames layered on a countertop, bookcases or picture ledges also goes a long way!
I’ve shared a ton of ways to do that for really cheap over the years, but I made some new ones this year so I figured I’d do a round up of all of the fun ways to make Christmas art.
I shared a few of them last week — those involved glitter and that was super fun! Some of these are even simpler. 🙂
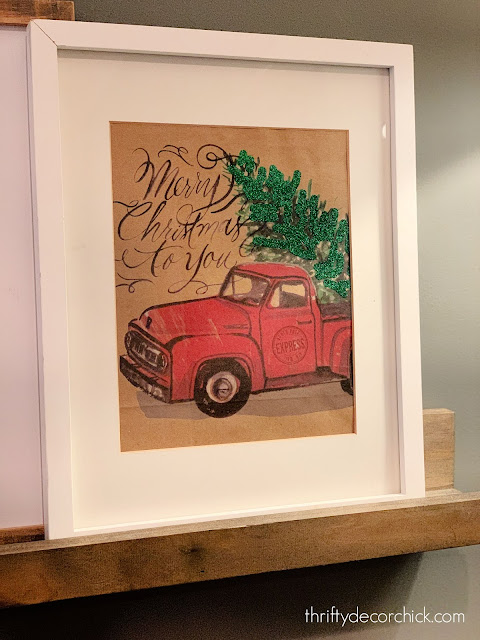
Gift bags (cloth or paper):
It doesn’t get easier and cheaper than making holiday art with gift bags — especially if you shop the after Christmas sales!
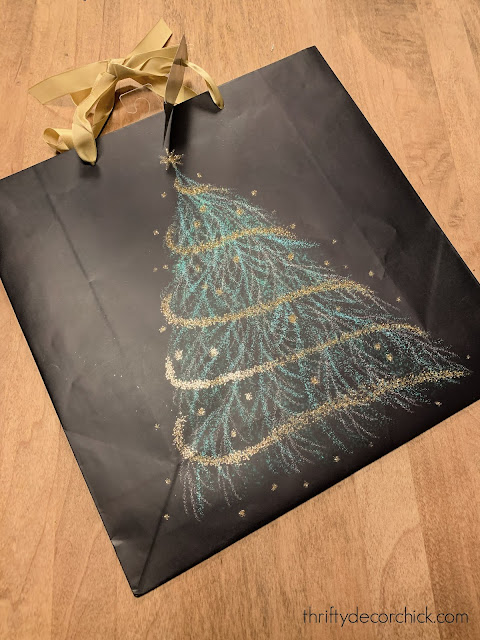
I just take any pretty gift bag — this one was less than $ 2:
And figure out the best size for my frame.
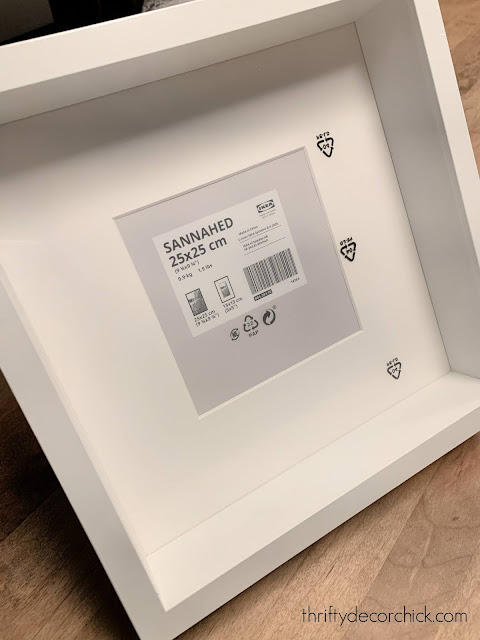
The Sannahed and Ribba IKEA frames work great for this because the design is simple and both are shadow-box like. Plus, cheap! This one was $ 5:
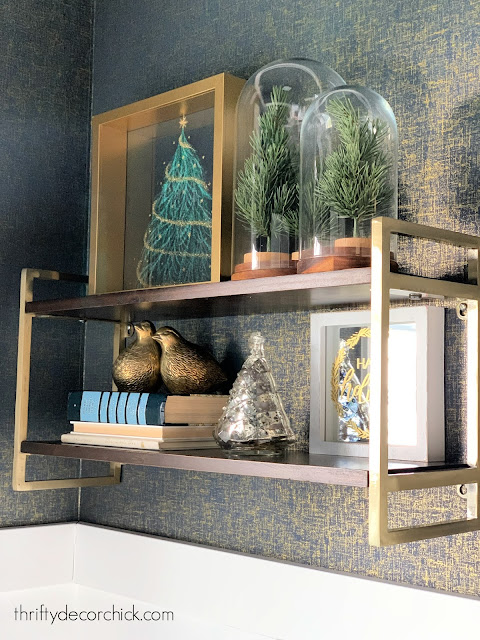
I spray painted it a gold color and cut the front of the bag to fit:
I’ve done this for years! It’s an especially easy and fun way to decorate a kid’s space.
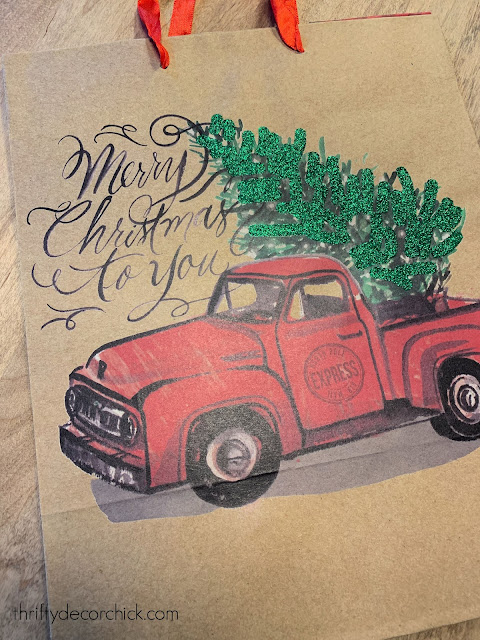
I found this one in my wrapping stash:
And just threw it on top of another photo that was already in this frame:
This post may contain affiliate links for your convenience.
See my policies and disclosure page for more information.
That’s the great thing about these — you can buy frames specifically for them, or just cover the photo in the frame and take it out when you’re done. (Or put it behind for next year!)
You can see the ways I’ve used fabric Christmas bags in our decor here!
Free printables:
I know, I go on about these every year (all year!) but here we go again. 🙂 Free printables are such an easy way to change up your seasonal decor. You can see some of my favorite round ups here and here.
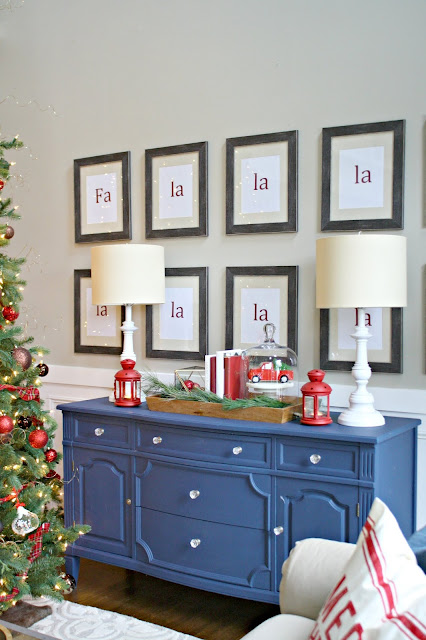
I made these myself years ago — they always stayed in these frames, I just pulled them to the front for Christmas:
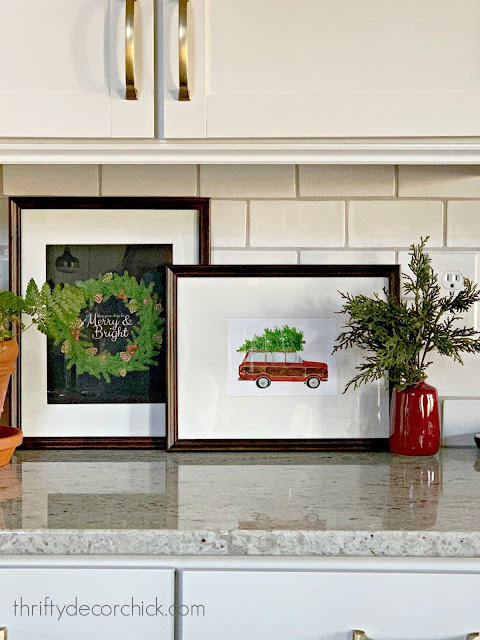
I always like to print some out for our kitchen frames:
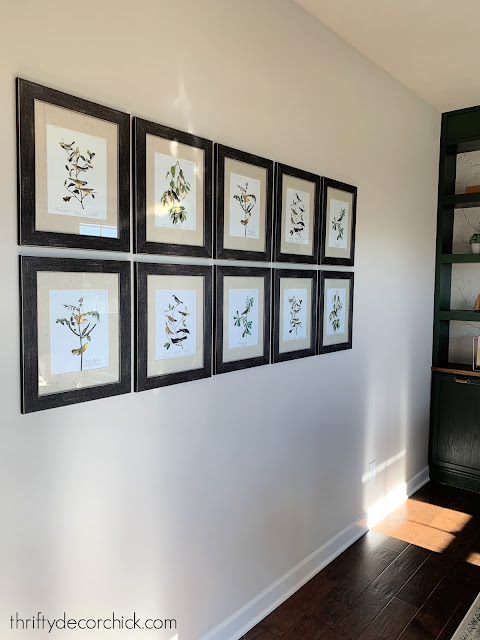
This year I looked back on an old printable post and found some that I loved for my office. I have these botanical prints framed currently:
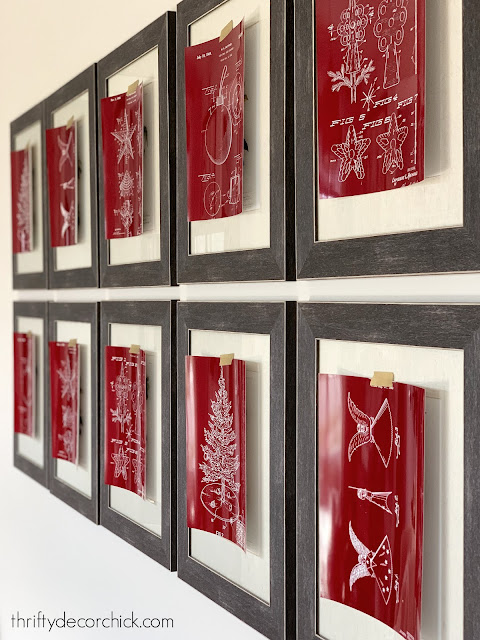
I downloaded some free holiday patent printables (these are featured about half way down that post) to use this year.
I sent them off to the drug store to be printed so I get could a heavier, glossier look (and all that color would have used up our printer ink):
LOVE them! I paid more for these, but I’ll have them for years. I just hung them with gold washi tape — no need to even take the frames off the wall!
I think there are nine patent prints available, but I used five of them (two each) for this display:
Chalkboard holiday art:
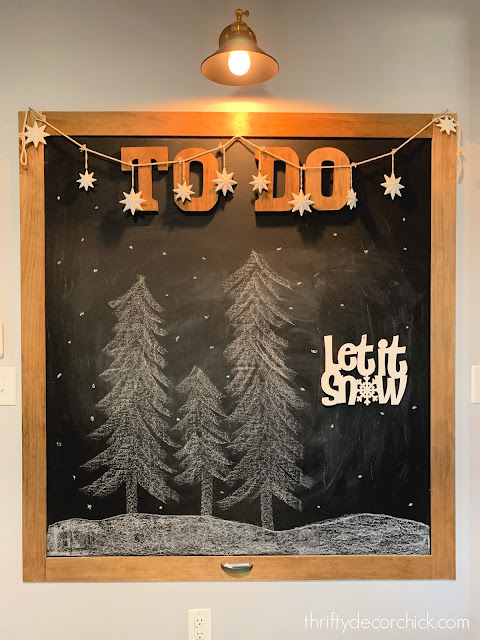
Chalkboards are FUN! Take advantage of them during the holidays and do something creative! It doesn’t take a lot to add a little something.
I shared my simple snowy chalkboard art with you last week:
Years ago I showed you this super easy image transfer trick — if you aren’t artistic at all you can use that to copy images you love onto your chalkboard:
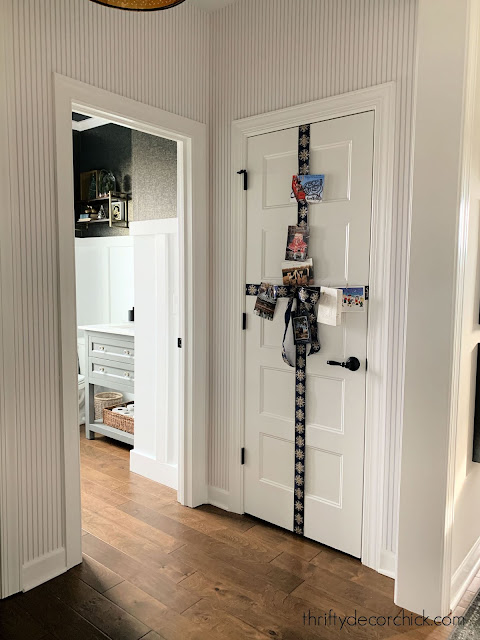
I shared how we display our holiday cards on a door years back — it’s a fun way to show them off:
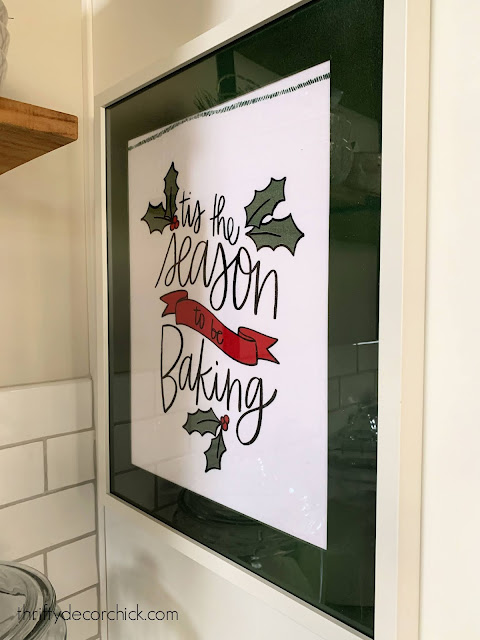
I was ransacking shopping the Target dollar spot last month and found a cute tea towel. It was only a buck, but was almost too cute to get dirty.
So instead I flattened it out and framed it!:
It helps to iron it first and then I use a quick layer of spray glue to get the towel flat. You can reposition easily.
I sprayed the mat on that frame the green color from my Thanksgiving tablescape — it matches the green in the towel perfectly! What a fun addition in the kitchen, right?:
One of my favorite Christmas crafts was the framed “snowglobe” art I created a couple years ago:
They make me smile big when I pull them out every year! It only takes a few bucks worth of materials to make some really adorable snow art.
Wood cut outs from the dollar spot or dollar store make for easy art too. I showed you this glittery version last week — I glued it right on top of gift wrap and framed it:
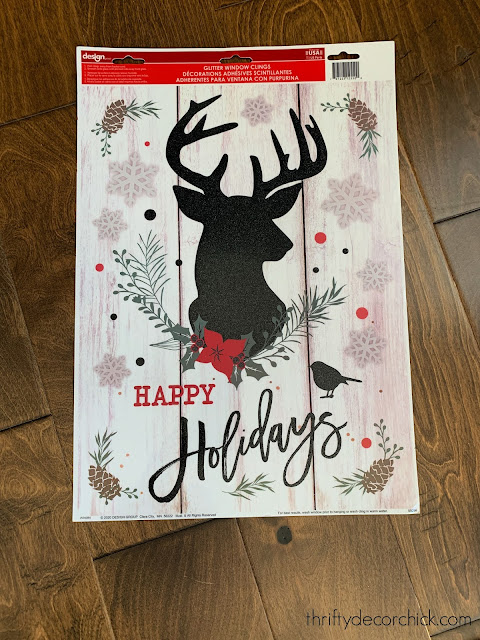
The dollar store had some really cute window clings this year and they got me thinking:
I used that same wrapping paper as a backdrop and stuck the window clings on — well I tried. 😉 I quickly realized they’re only supposed to stick to…windows.
I improvised and used spray glue instead. It worked like a charm!:
I just lightly sprayed the back of the clings before laying them down on the paper.
I didn’t realize till after I had stuck the first one that it would have been even easier to frame the window cling as is! I could have just cut the edges off and that’s it. But if you want to fit a certain frame size, the spray glue makes it easy to make this art.
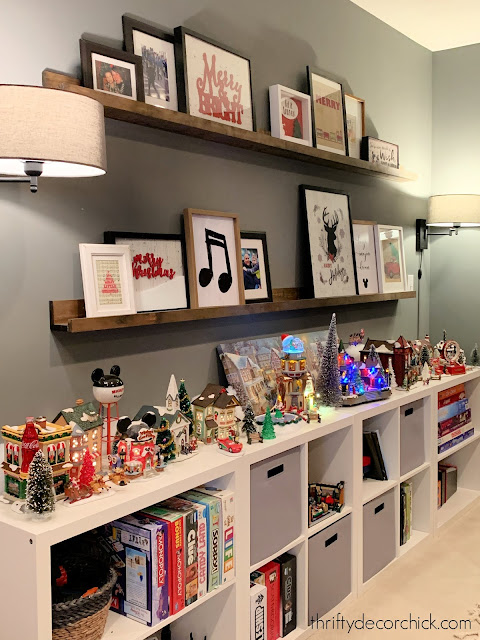
I placed most of this year’s projects on the long DIY picture ledges I made for our basement last year. You can see that and the easy game and toy storage here. This is where we put our Christmas village as well — it’s such a fun spot!:
Most of these easy art ideas cost less than $ 10 each and are such a fun way to dress up your walls for the holidays! I just love them!
See more of our home here. To shop items in our home, click here! Never miss a post by signing up to get posts via email.
