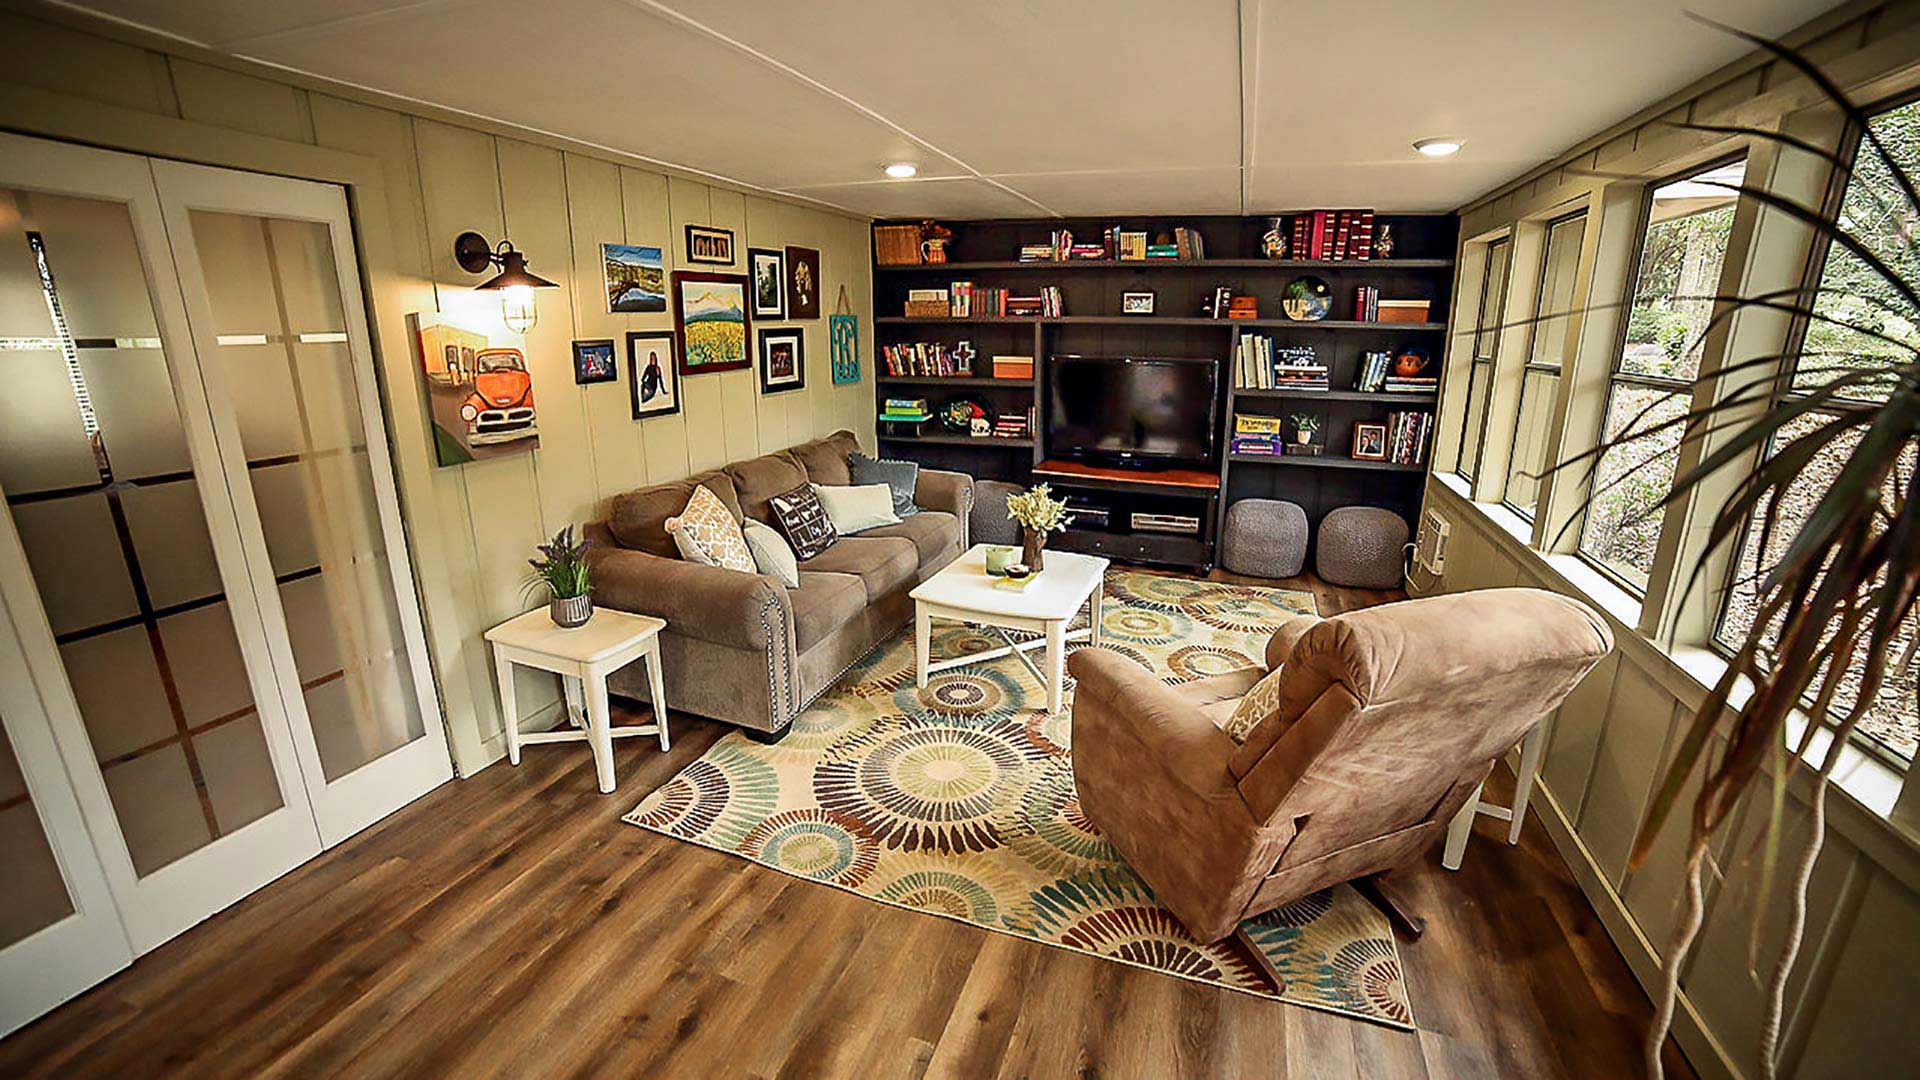
This 1970s-era house with a golf course view is home to Chuck and Margy Bartle, who bought it just a little over four years ago. The sunroom has always been a thorn in Margy’s side, so that’s the project we’re tackling.
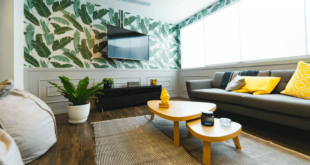
Margy wants a rustic sunroom with more flair, so we’ll install new siding on two walls, beef up the bookshelves, install new flooring and update the lighting and ceiling.
The Projects
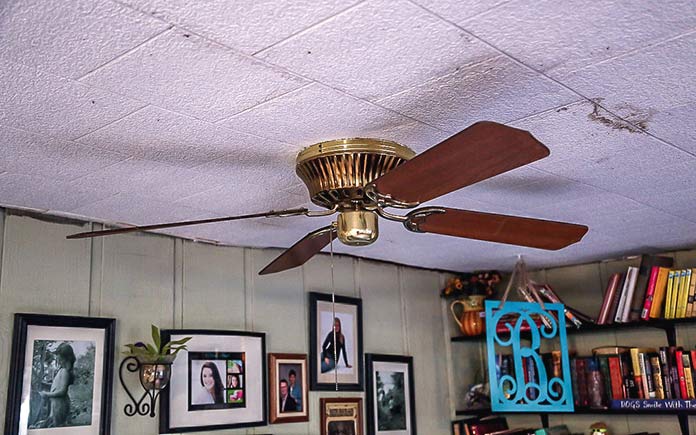
Remove the Sunroom’s Ceiling Tiles
The sunroom’s Styrofoam ceiling tiles — including some with wet stains — have to go. Chuck and Margy start removing them but notice a lot of glued and stapled tiles, so they work all night to remove them. The best solution, they learned, was to scrape them off with a flathead shovel.
As for all the glue residue? We tried many methods and discovered that a window scraper and a lot of elbow grease did the trick.
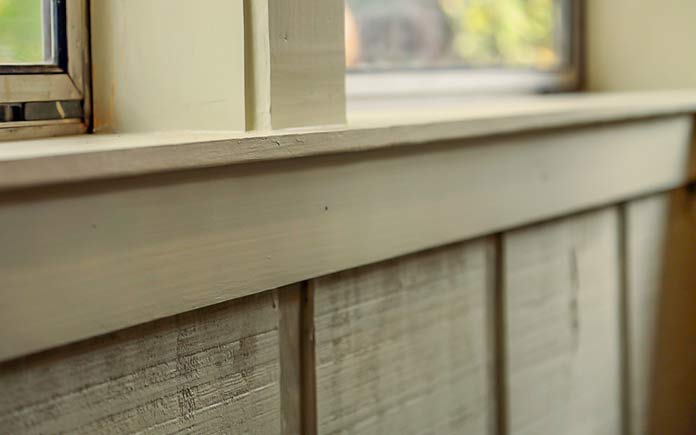
Install RB&B on Two of the Sunroom Walls
For the sunroom’s siding, we’re using reverse board and batten on the unfinished interior walls.
RB&B has to be cut around windows and outlets just like drywall, but we can tack it in place with a nail gun. Further, the seams overlap, so there’s no need for joint compound.
Before we cover all the walls, our electrician Jeremy wires new lights.