The faux plant trend is continuing this week (see some of my favorite spring florals here!) with a tutorial even I didn’t think would turn out that great! 😂 I have wanted a tallish plant for the basement for sometime — we do get a good amount of daylight down there, but not enough that I could keep something alive.
I have real fiddle leaf figs all over our house (see my tips for taking care of fiddles here) so I wanted something different. I started searching fake olive trees instead, but found they are pretty expensive. The best version (with good reviews) I found was $ 115.
As I was searching online, I came across tutorials for a fake, do-it-yourself olive tree. Huh. I never even considered it, but it got my mind going. I figured I would take one for the team and try it out — not really expecting it to look that great.
But you have to try, right? I combined tips for this faux olive tree project from here and here — they both had great tutorials that helped a ton. Keep in mind this DIY was REALLY worth it because I got all of my supplies at half the cost. Look for sales and use coupons!
Step one: Figure out your trunk
I started with the “trunk” of the tree. I could have easily gone and cut a thick branch off of a tree. I was going to do that, but then I realized how cold and snowy it was outside. I didn’t want to get my boots on and go forage in the woods. Cold. Snow. Wah.
So instead I check out the “dried naturals” section at the craft store. They had actual (thin) wood trunks, which cracked me up that we can buy part of a tree at the store. But I wanted something that looked a little more natural and organic than just a straight branch.
I figured those white branches on the left would be perfect:

This post may contain affiliate links for your convenience.
See my policies and disclosure page for more information.
The package came with three branches (for MORE olive trees obvs) and I used the biggest one. I spray painted it brown…and was surprised when it looked real. You can use any brown paint — craft paint even. I would suggest you use a matte finish for a realistic look.
Step two: Attach your olive stems
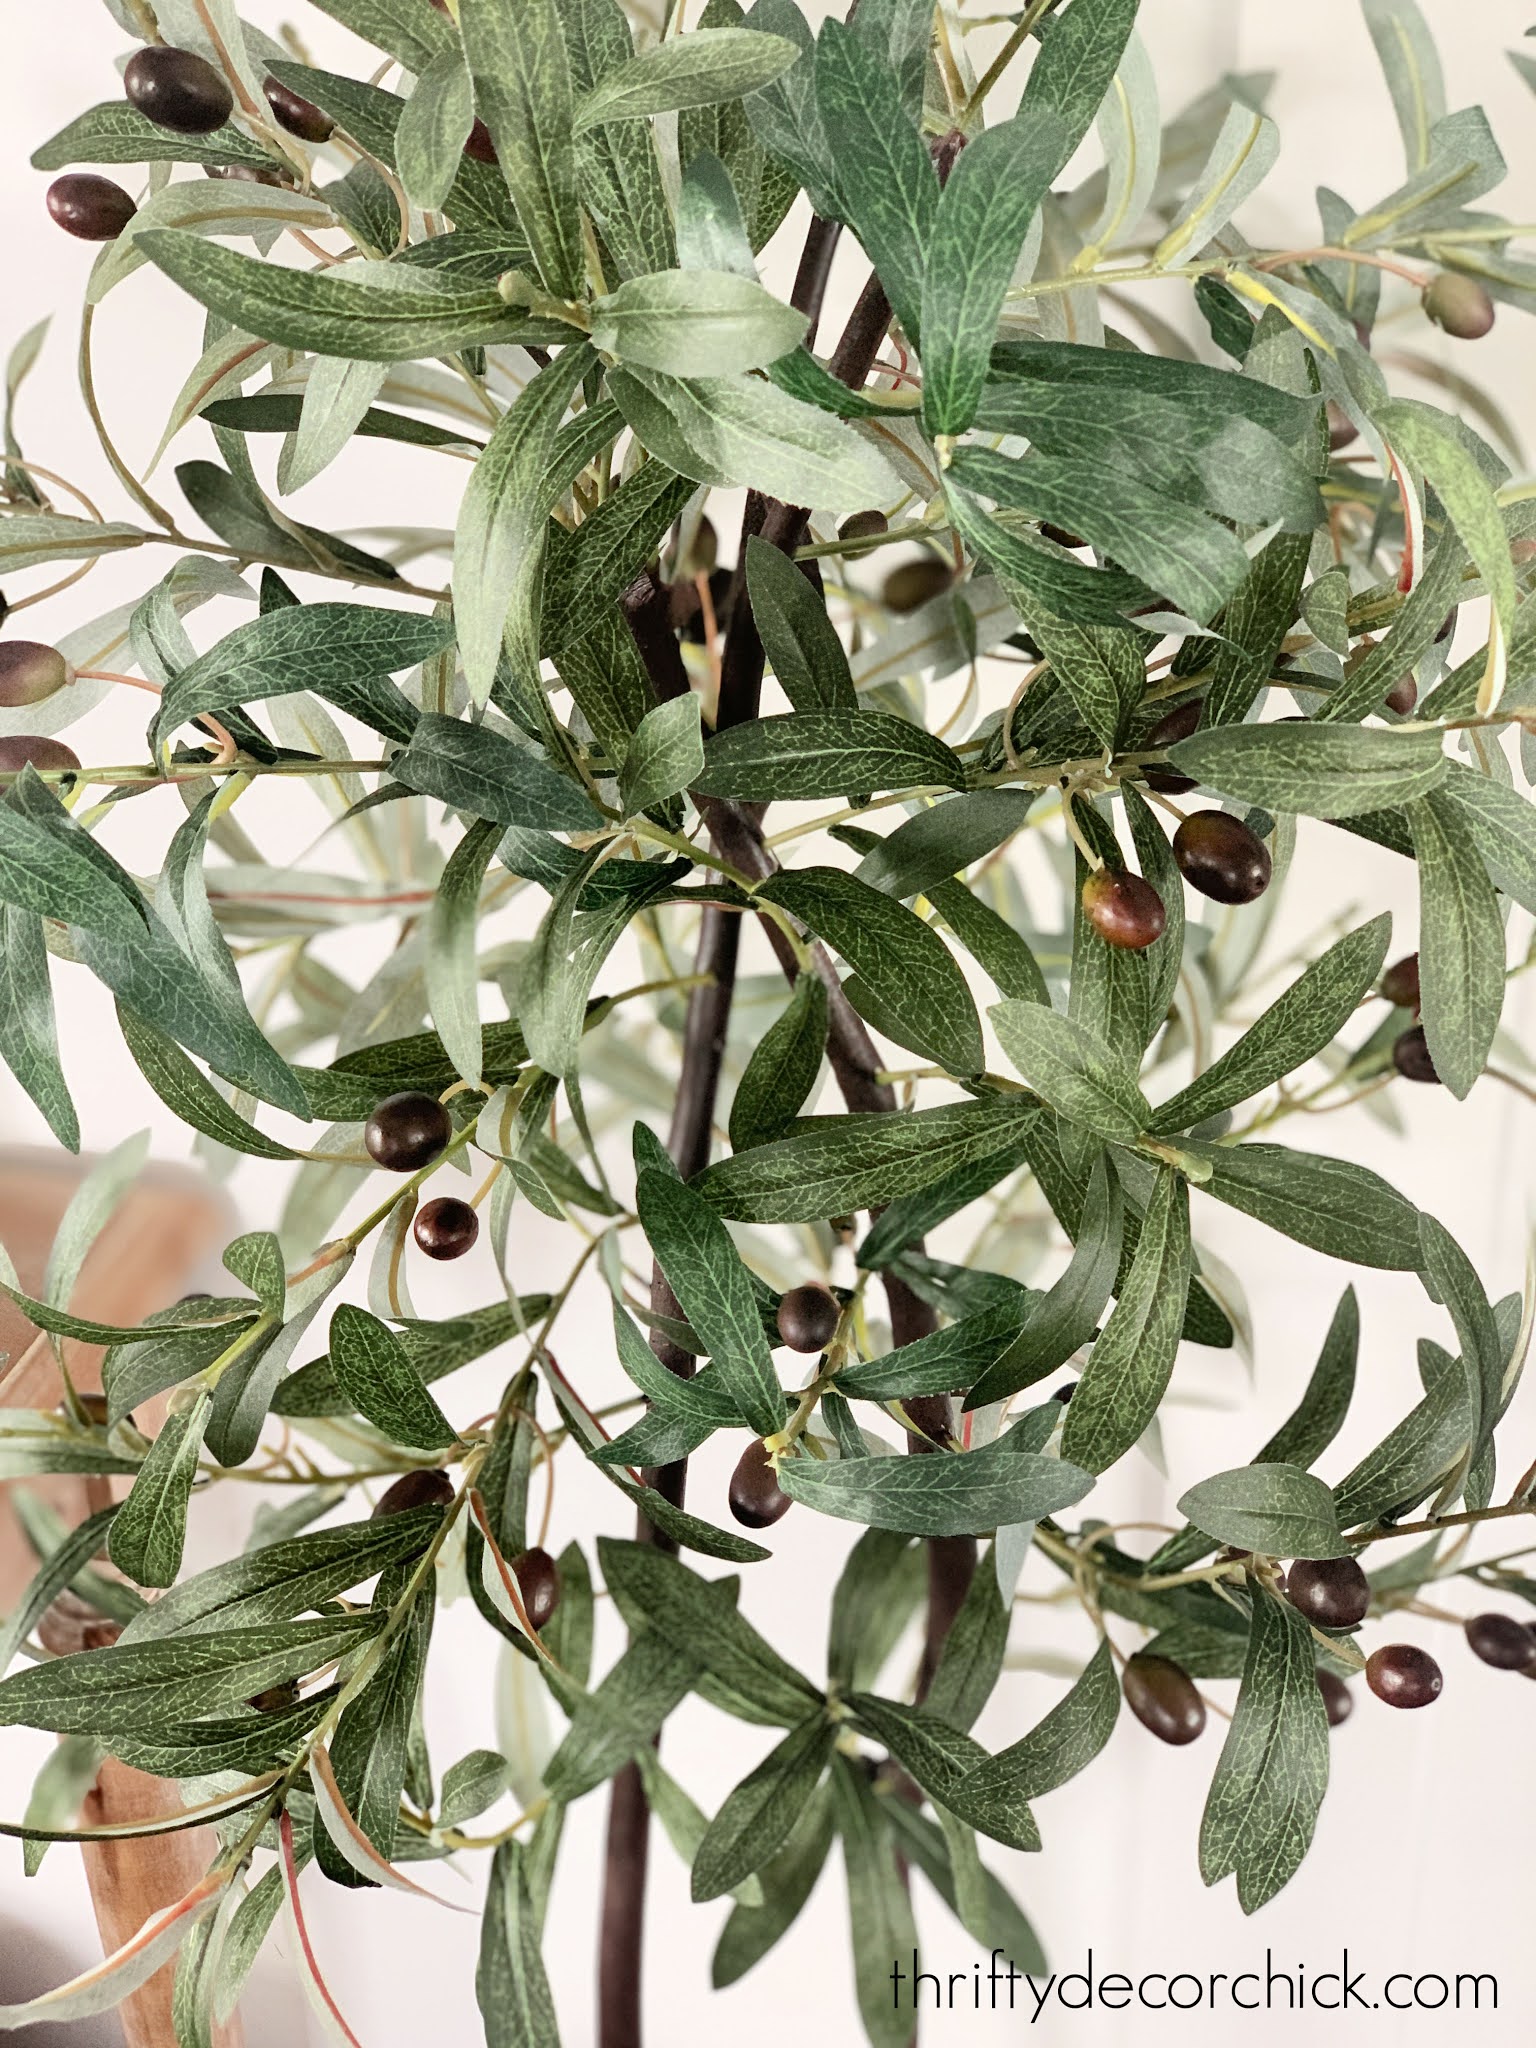
I already had olive stems that I use throughout the year in our decor, so I didn’t want to use those. Instead I grabbed bundles of the olive branches instead:

This is a way better bang for your buck. You’ll get a ton more stems to use for the price, compared to the single ones.
You’ll need to cut each one off the bundle — sometimes you can just pull down and break them off. But a wire cutter will make quick work of this and give you a blunt end that is helpful:

Then start adding them to your “tree” — this was a lot easier than I thought!
I started with a few at the tips of the top branches. For these I attached the olive branches with brown floral tape. The brown blends into the tree branches really well: 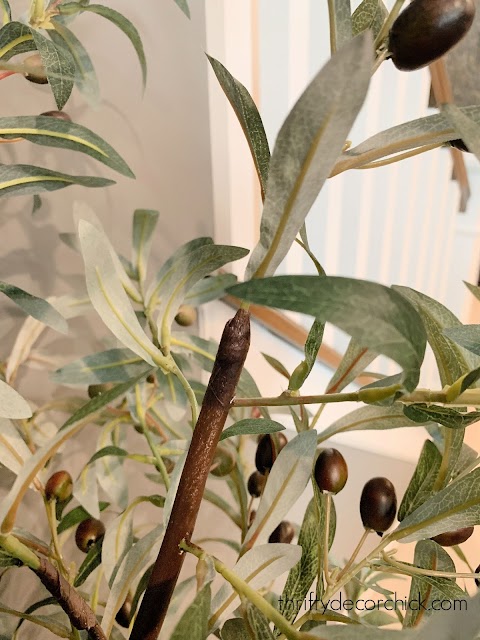
I had to really search for them after I was done to take this picture! You won’t need much of the tape — I only added a few at the tips, but overall those did make for a more realistic look.
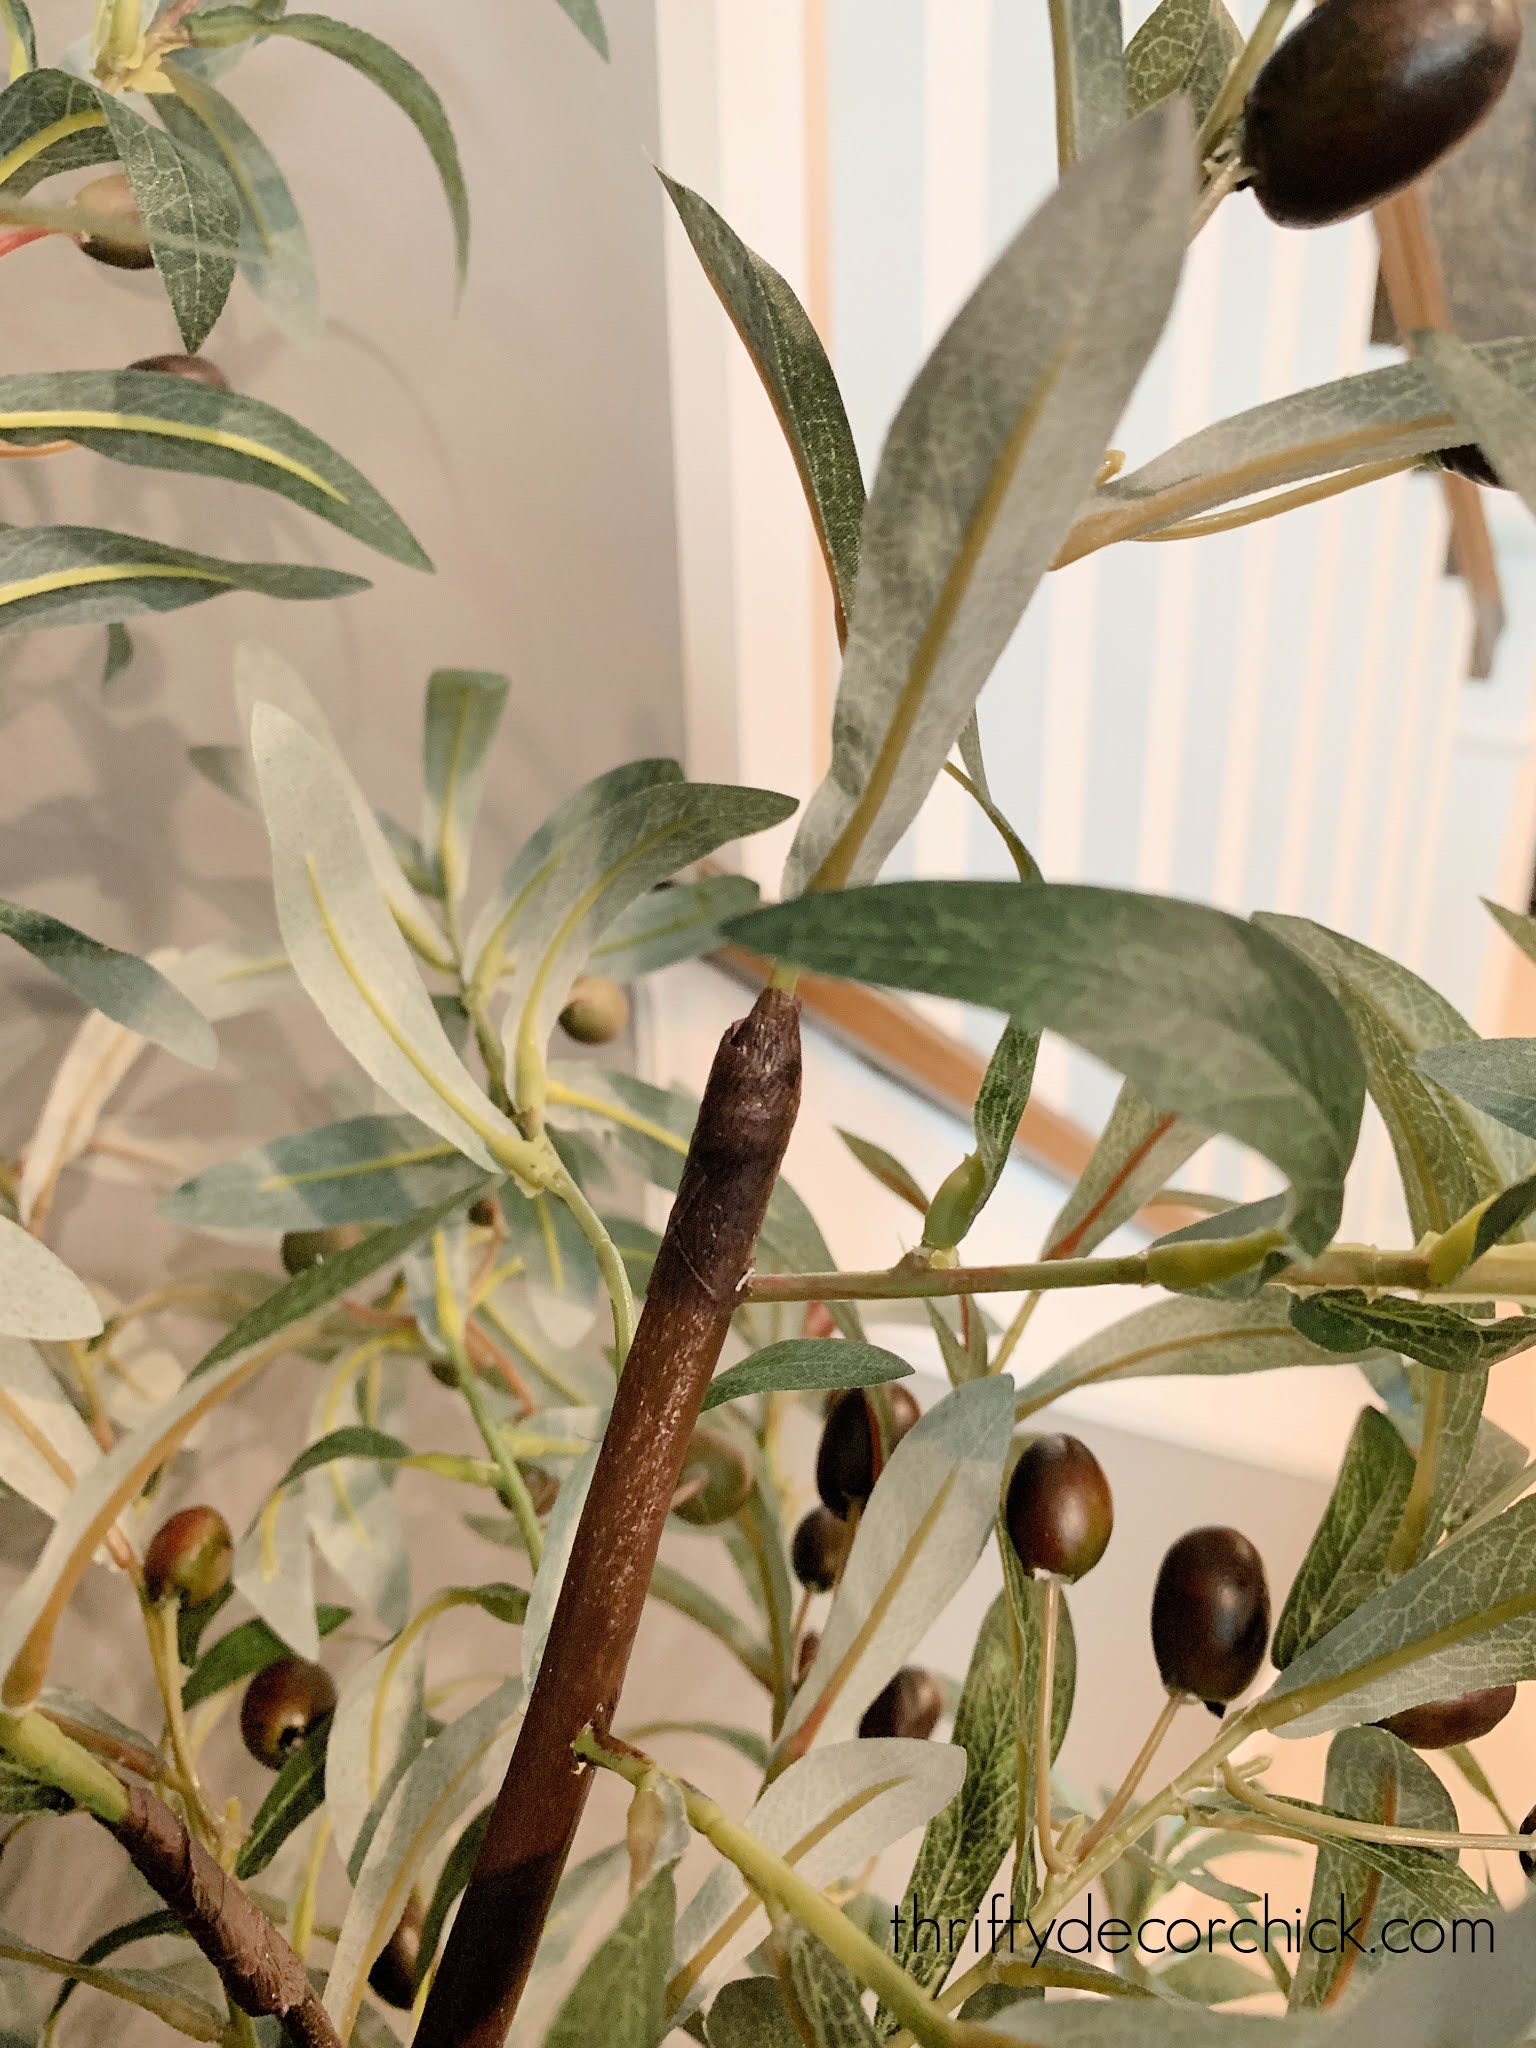
For the rest, I used a small drill bit and drilled tiny holes into the branches:
Then just stick your olive branch in! No glue or tape needed.
I did most of these at an angle so the branches would point upwards. You may need to adjust your bit for the size of your branch.
I would add a few, step back and see where it needed more, and then keep adding. There’s no right or wrong — just depends on the look you want.
I also added them where the branches met for a more realistic look:

Also, if the end of a branch was big enough, I drilled into those and stuck one in there. On those I found it helpful to add a bit of the floral tape so it blended better.
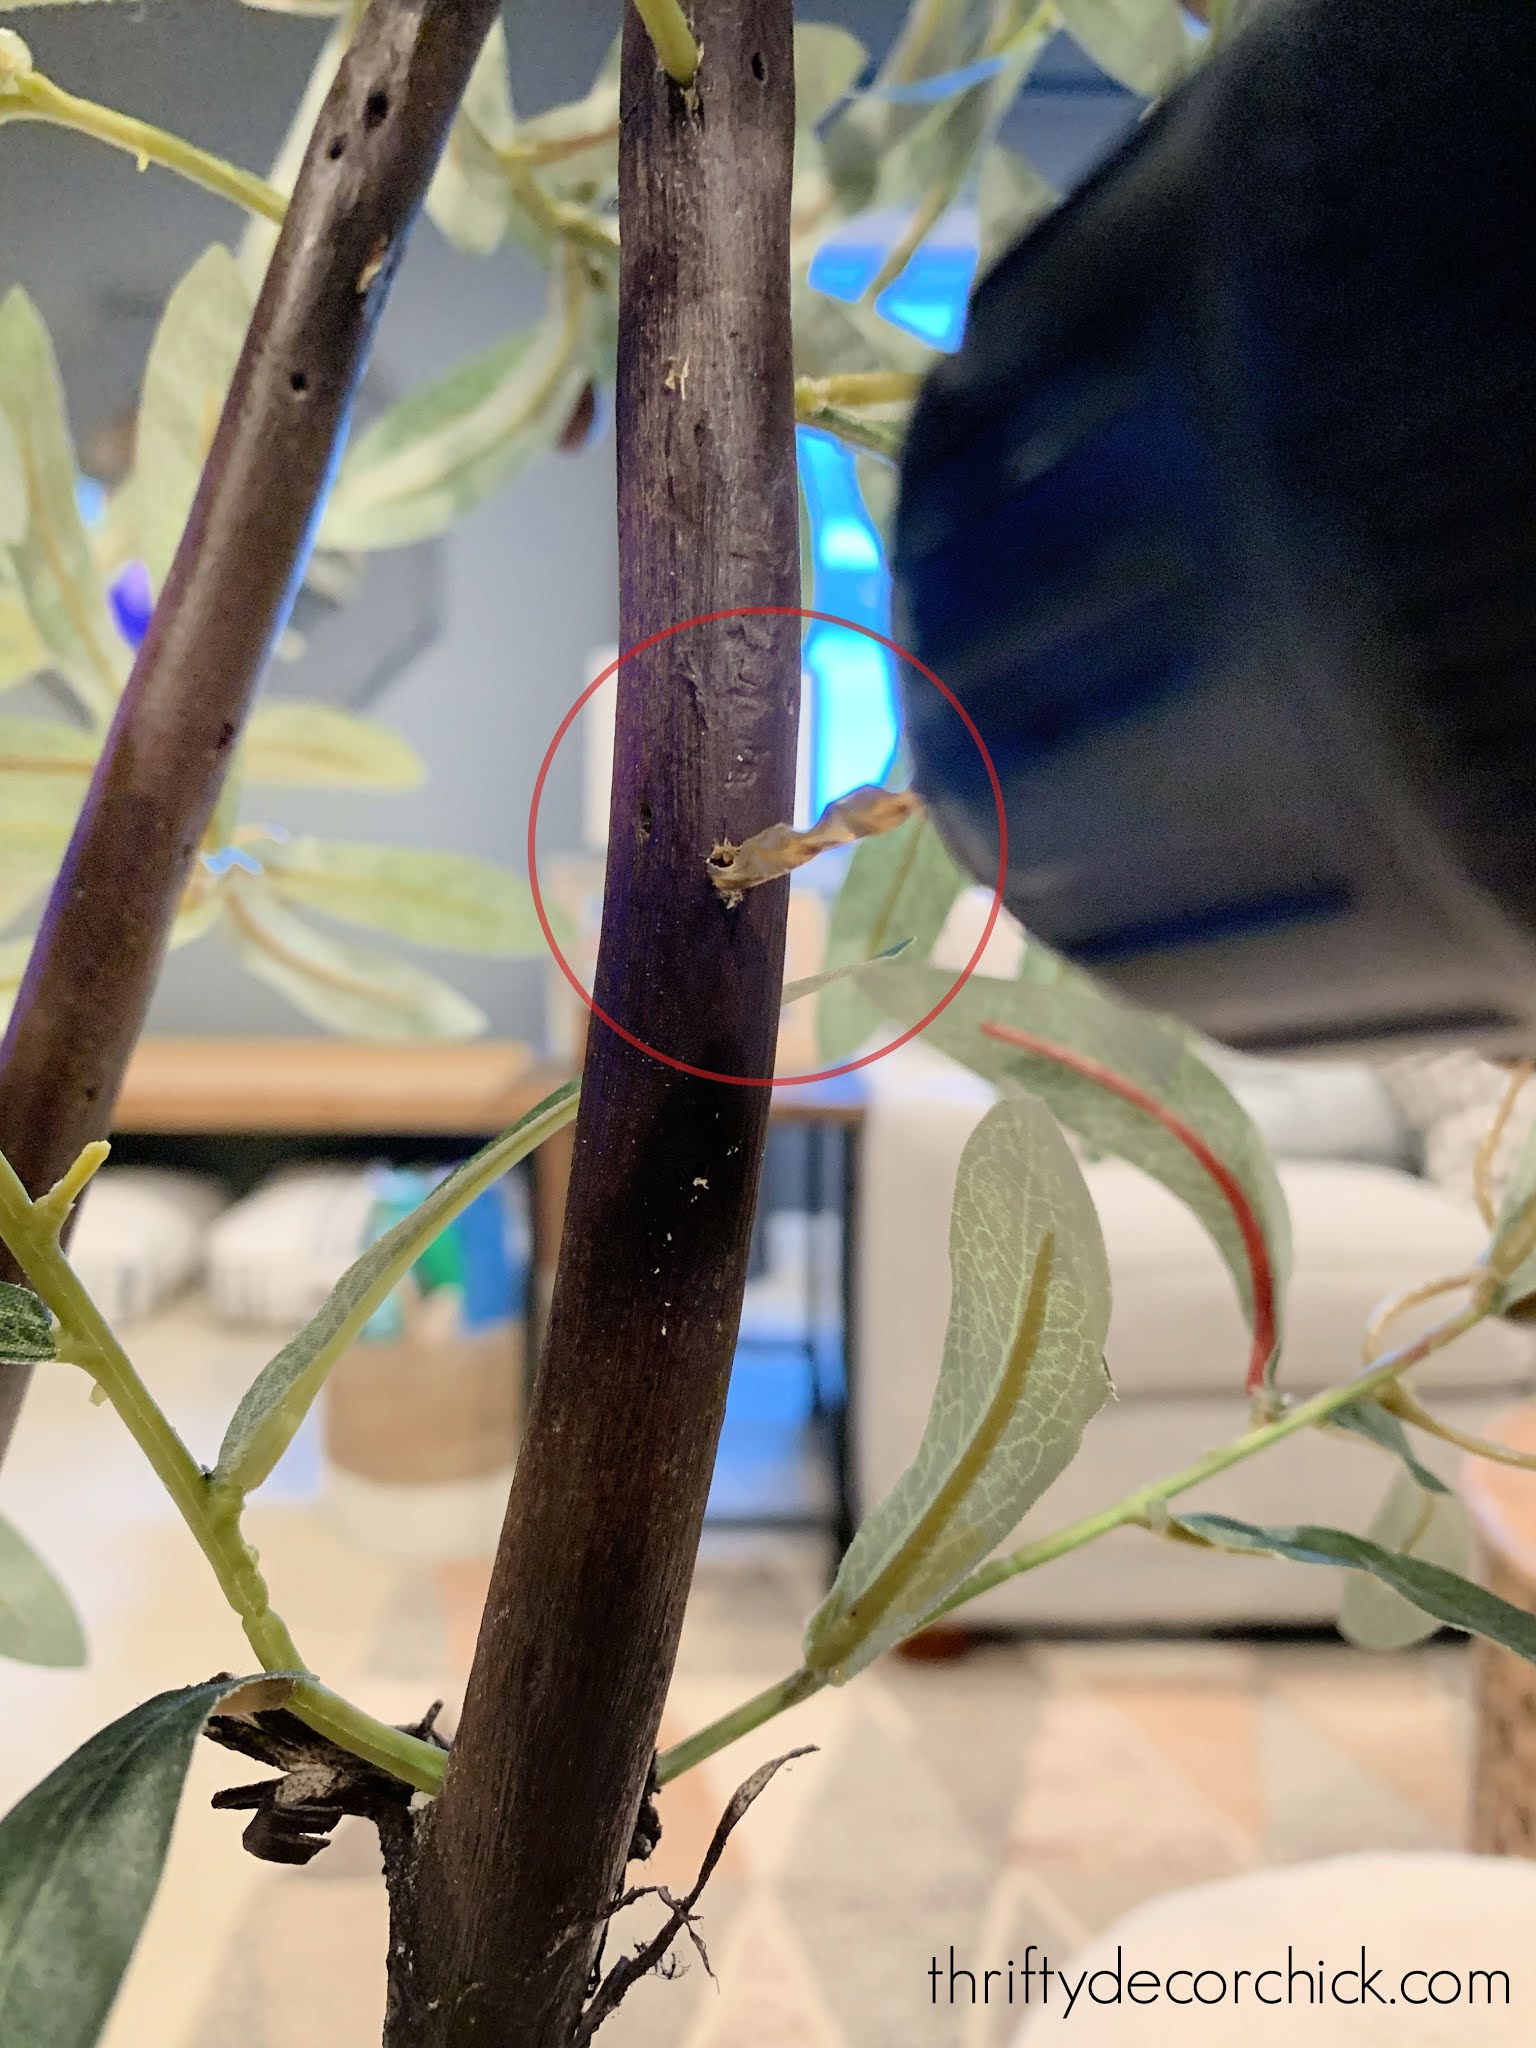
**Sometimes my drill bit went all the way through a branch — I did try to avoid that on the thinner branches because I didn’t want to weaken them. If you can, keep your holes shallow, just deep enough to stick the stem in.
I was a little shocked and kind of tickled with how good it looked as I was going. I kept telling my family — “Look at my TREE!” It actually was turning out really well!
When I was done with the whole thing, I touched up any of the original white branch that showed when I drilled holes. I just sprayed the spray paint on a paper plate and used a q-tip to apply the small touch ups.
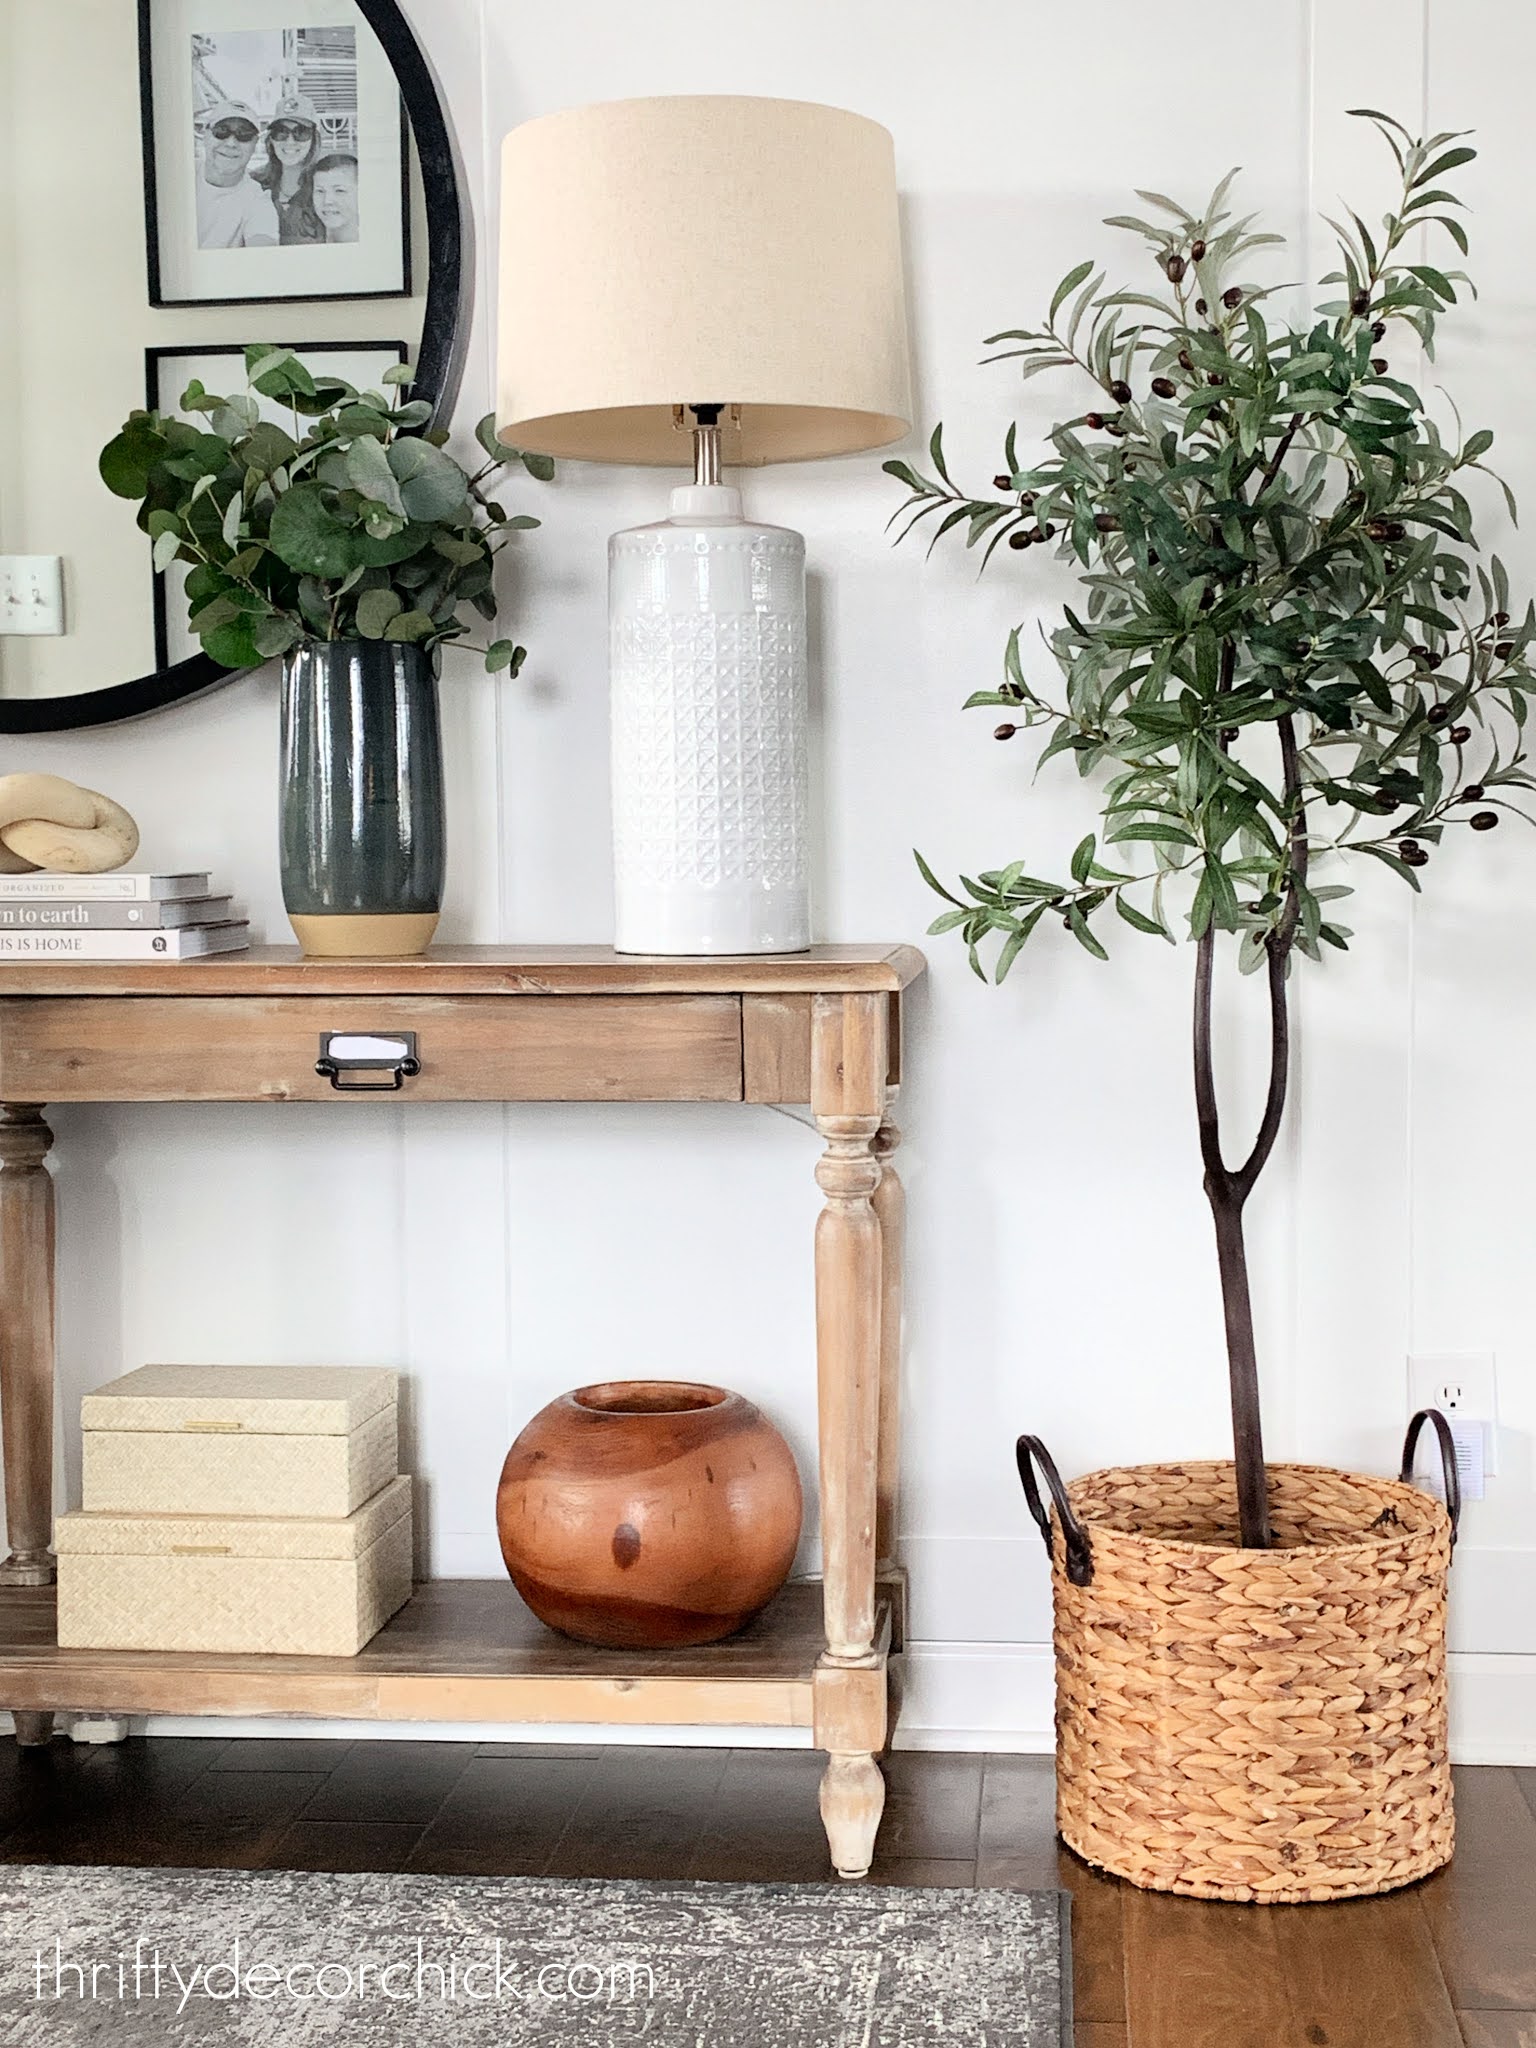
Step three: Plant your tree
When I was done I used a block of foam in a planter and stuck the branch in there:

You may need to make a starter hole for the branch — don’t break it trying to get it in! As you can see, I stuffed plastic bags into the sides to make sure it wouldn’t wobble.
I covered everything with soft, green moss when it was in the planter:

I had that on hand, but it isn’t expensive.
Have I mentioned that I was shocked at how much I loved it?: 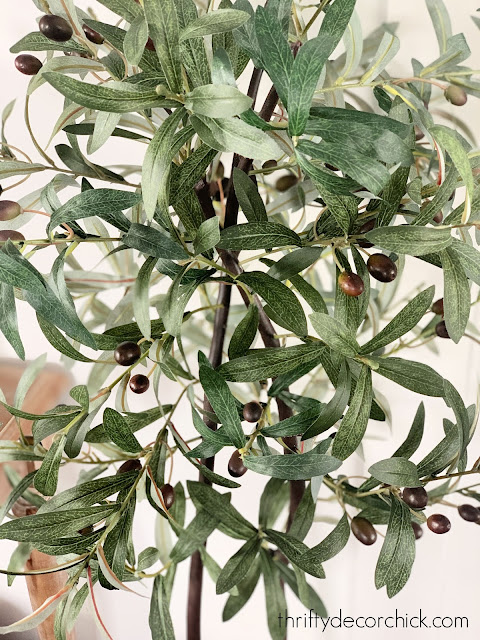
It looks more real to me than a lot of the fake olive trees I’ve seen in stores:
I don’t know why I thought this wouldn’t work that well. I guess I figured this would be too good to be true for the price. I was so wrong!:
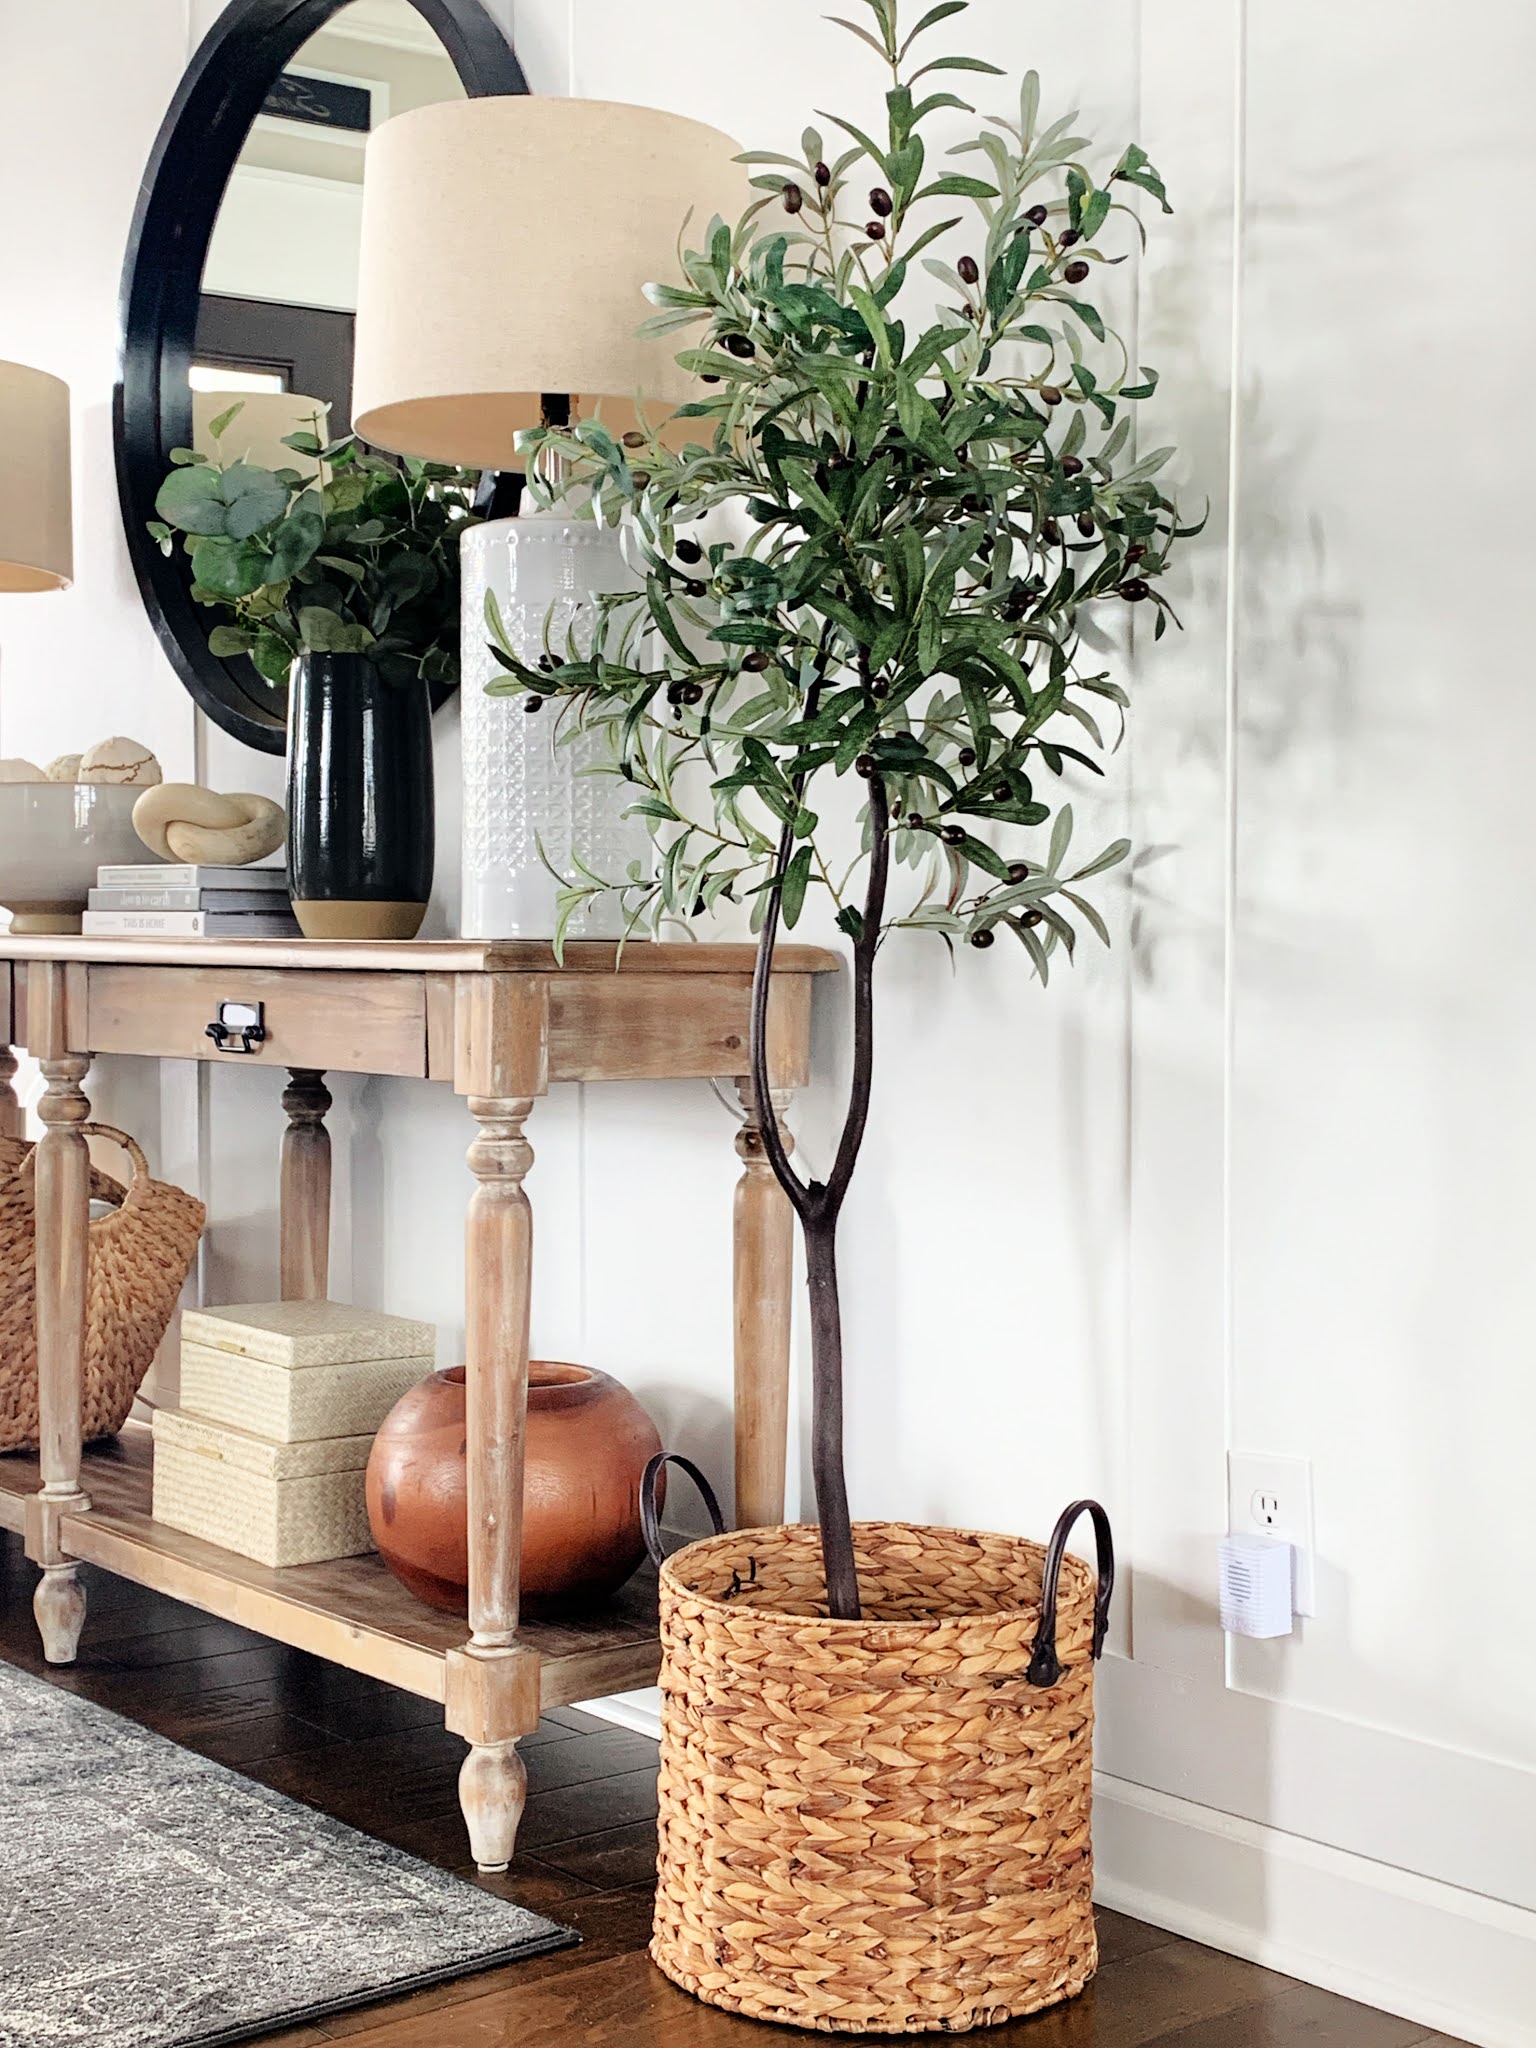
She’s so pretty! I brought her upstairs for better lights for photos — but I really like it here! May have to make another one. 😉
It will stay in the basement for now:

I’d like to find a bigger planter for it eventually. When it gets warmer out I’ll make it permanent by pouring quick dry cement into whatever planter I ended up with.
Overall my tree cost me $ 33 and is five feet tall. You’d spend at least $ 100 to buy that size. I had the planter, paint and moss already. I highly suggest gathering your supplies when they are on sale, but even if you pay full price it will be cheaper than buying.
Here’s a list of the items in one spot in case you want to try this yourself!
DIY OLIVE TREE MATERIALS:
Natural branches — either from outside or from the store (mine were half off of $ 16 and I have more for later)
Brown paint — anything goes
Olive stems or bundles: These have a lot of stems and are great deal for three
Small drill bit and drill
Foam block or cement
Planter of some kind
Would you try this DIY olive tree instead of buying? It didn’t take me long at all and was kind of fun. But I’m a little weird that way. 🙂
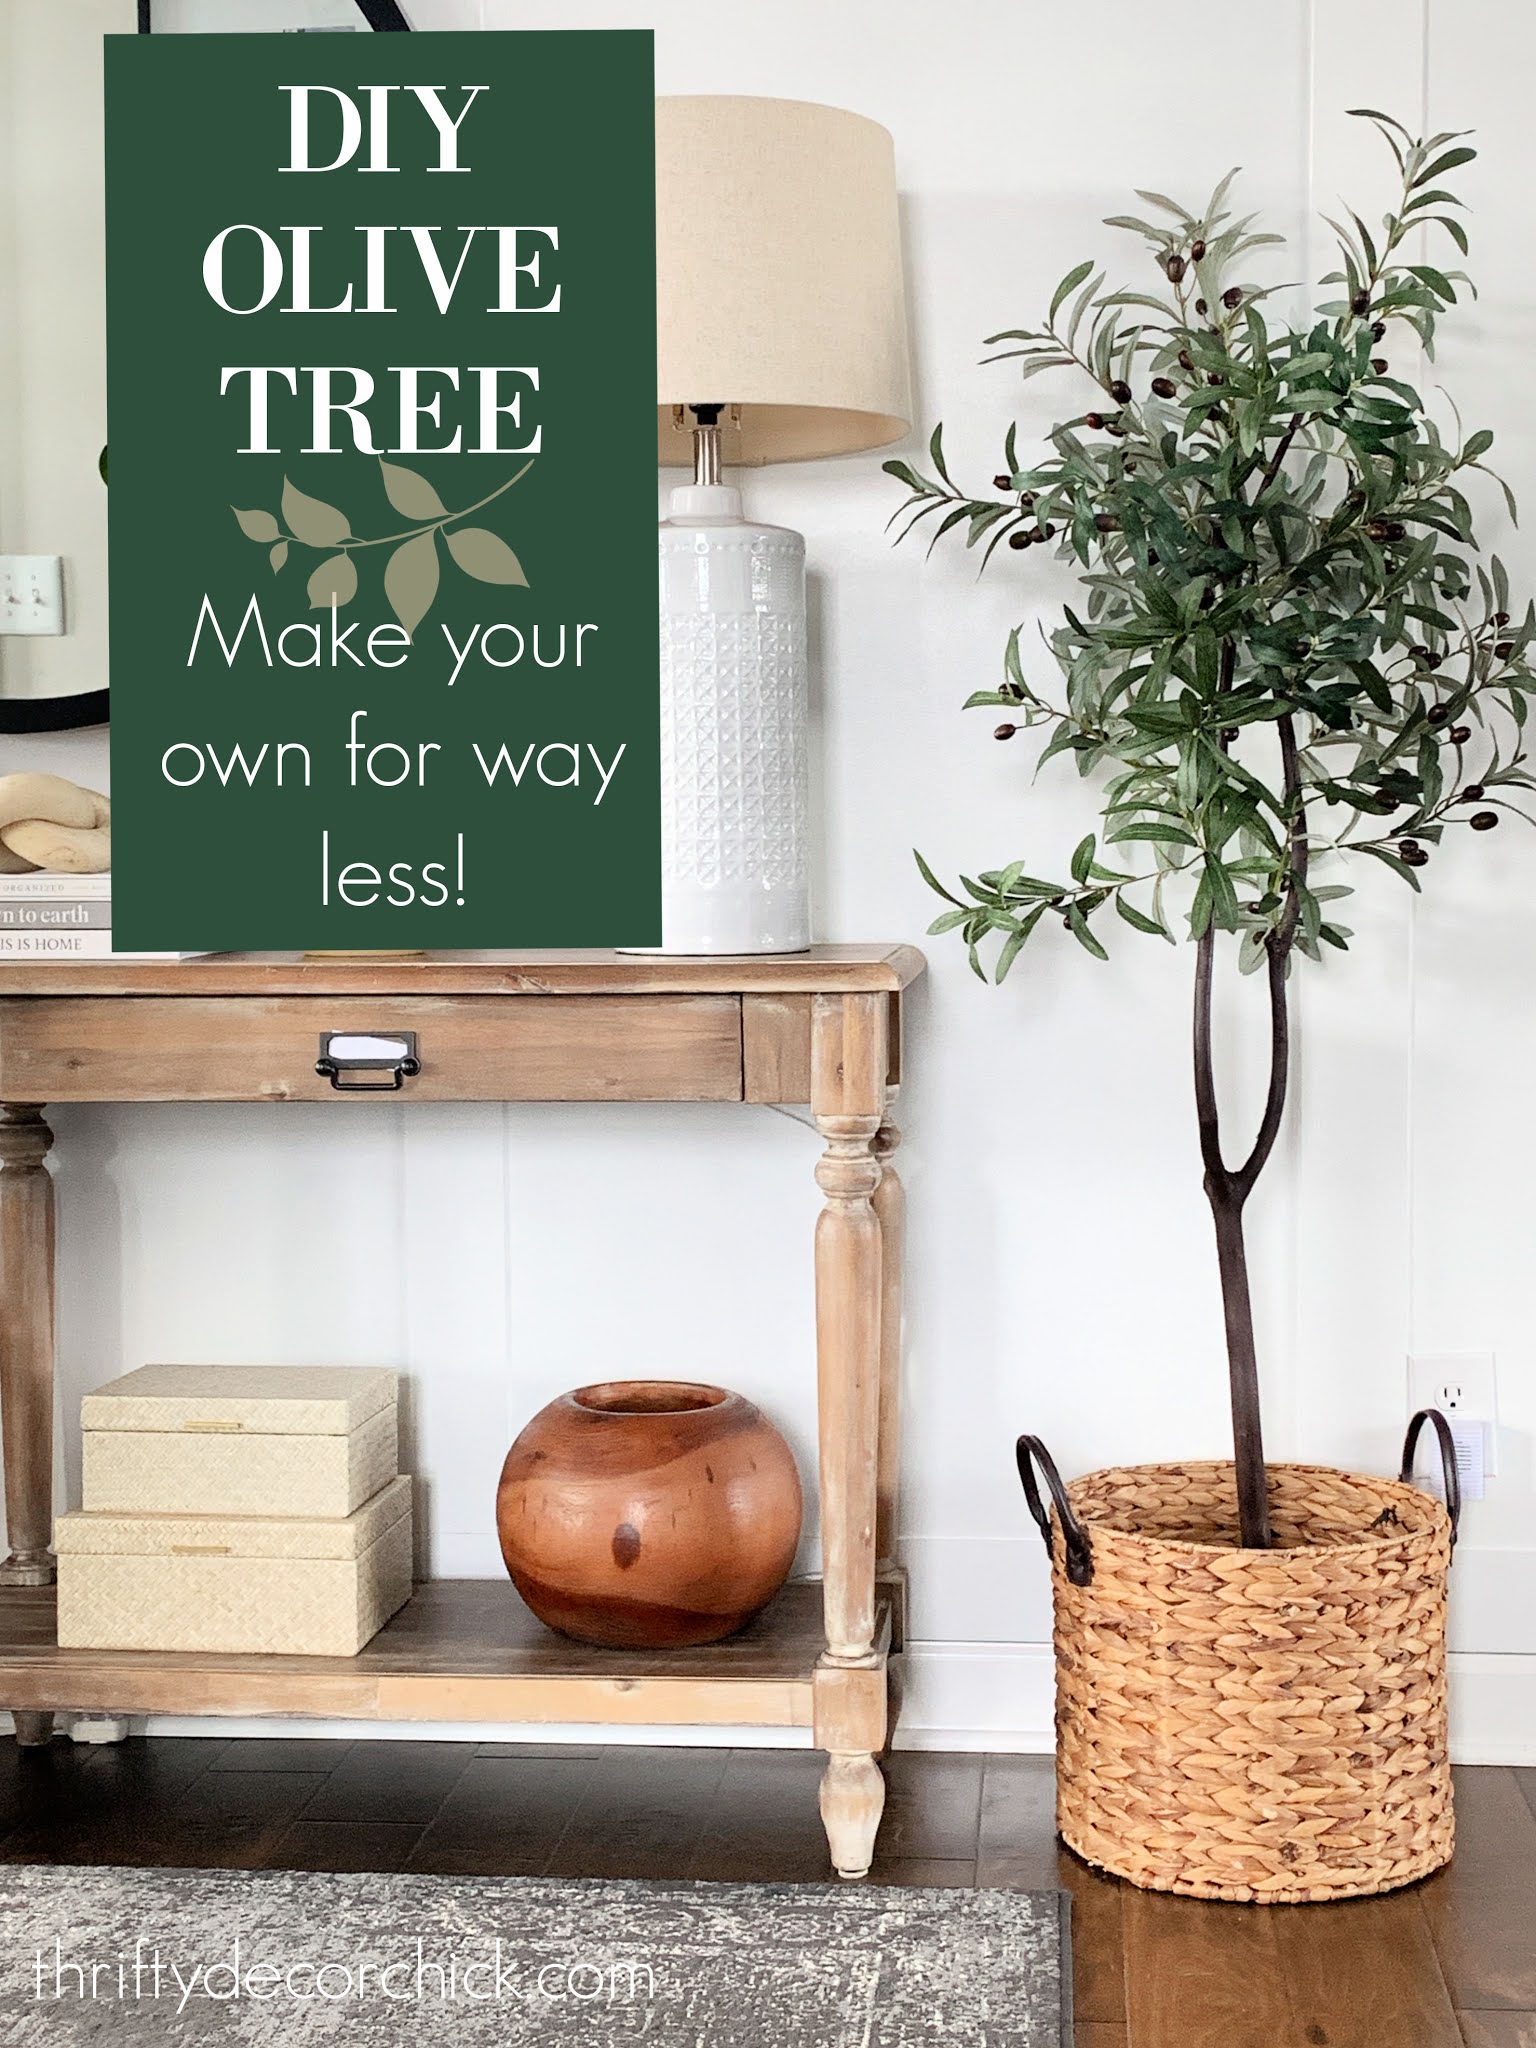
Pin this image and save this tutorial for later:
See more of our home here. To shop items in our home, click here! Never miss a post by signing up to get posts via email.


