Hello my friends! I tackled a quick DIY shelf project the other day using a method I’ve perfected over the years. Now I’m able to throw them up super fast. And I only used scrap wood from the garage too…so it was free and only took me about an hour to build.
That’s what I call a successful project!
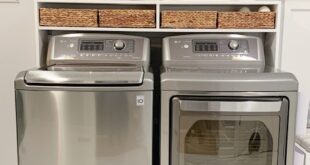
I’ve shared how to build DIY floating wood shelves a few times — these in our old laundry room went crazy online!:
Check out how I built that shelf behind the washer and dryer here.
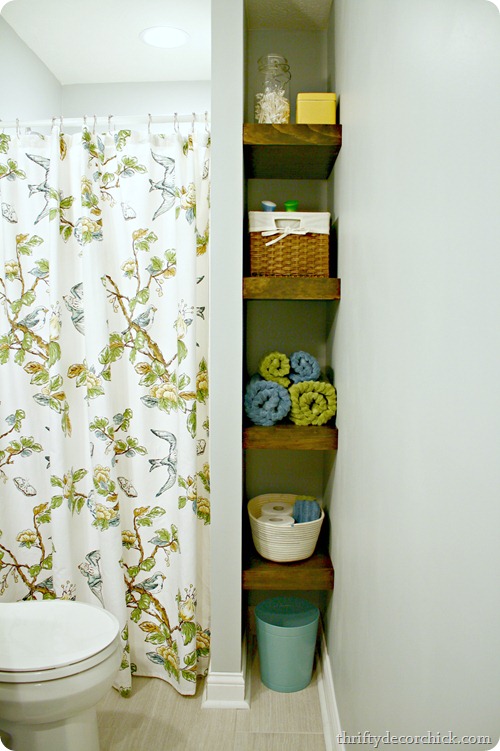
And the floating shelves in our old basement bathroom were a favorite of mine:
They are easy to build on an open wall, but even easier and more sturdy on three walls like the ones in our bathroom above.
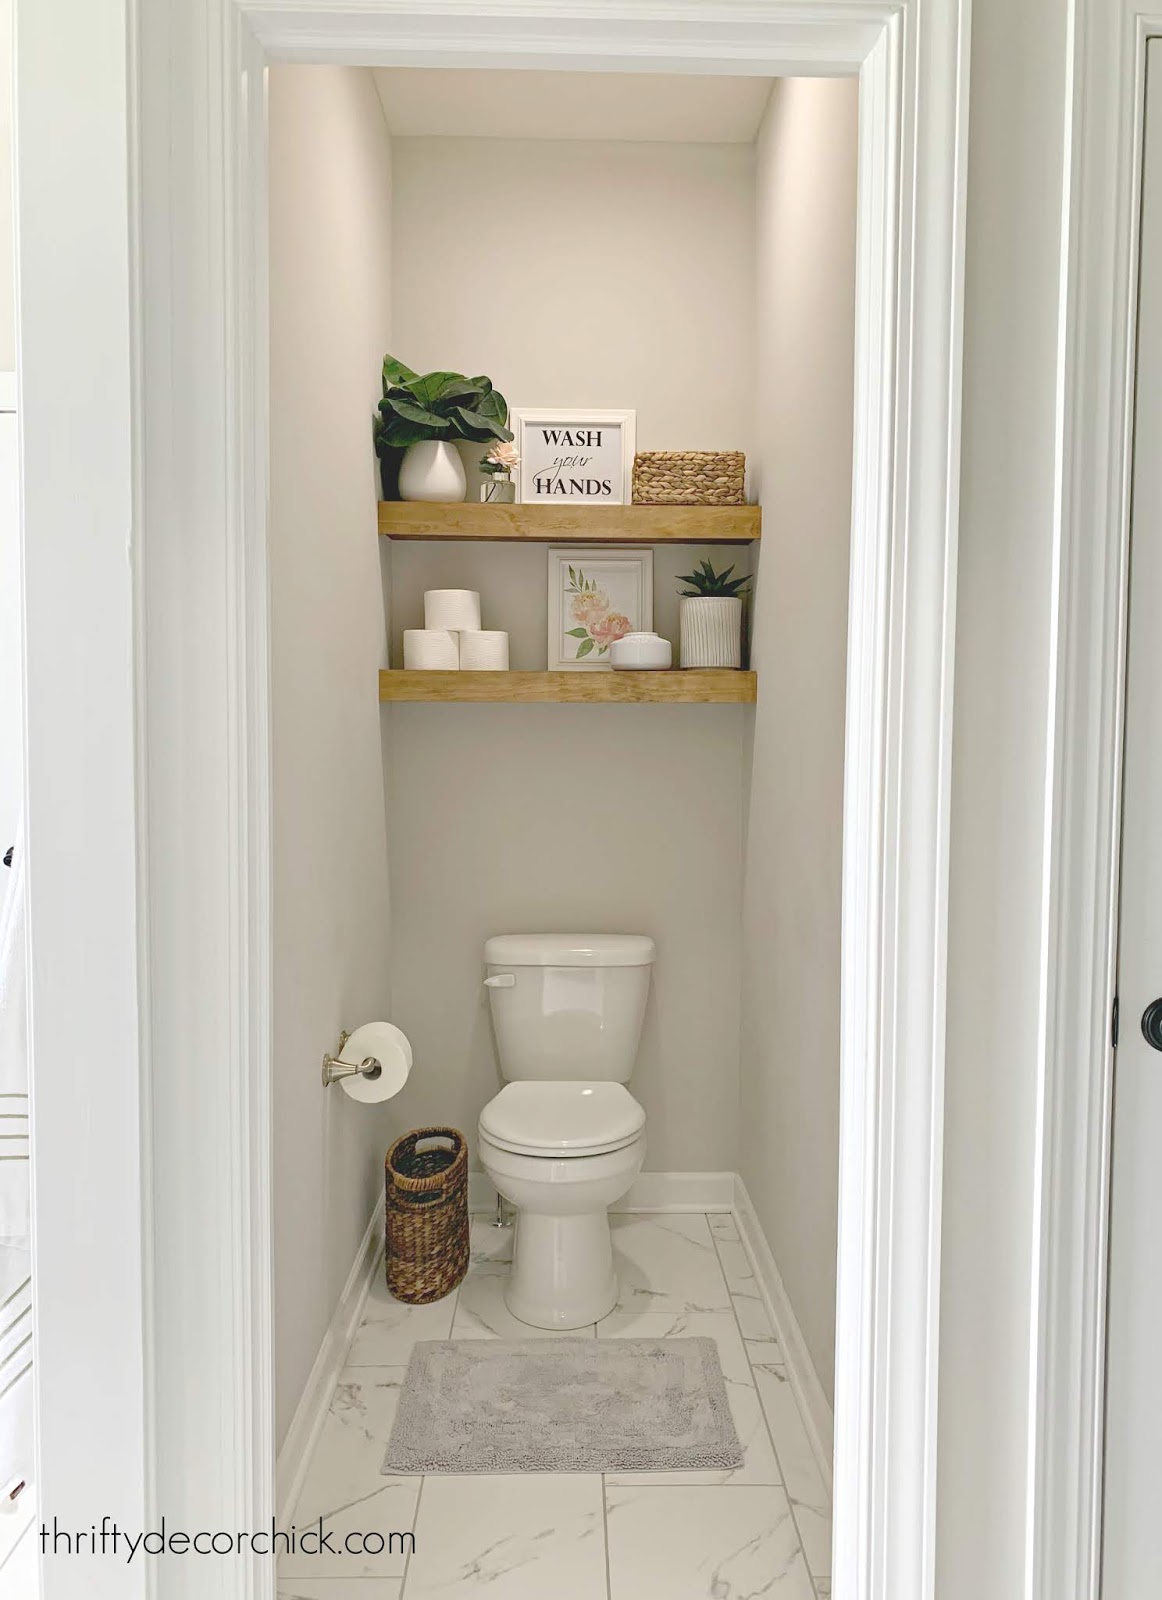
I had an idea to add them to our water closet in the master. This room is tiny — much smaller than what we had in the old house. But I love having the separate space!
It’s always felt cramped, especially with all the stuff — basket for extra tp, trash can, a book or magazine on the back of the toilet (just being real here). I had an idea to get stuff off the floor and build some shelves above the toilet:
This post may contain affiliate links for your convenience.
See my policies and disclosure page for more information.
Like I said, I’ve done this so many times it’s a pretty easy and quick project for me. I sorted through all of the scrap wood I had in the garage and found pieces that would work perfectly.
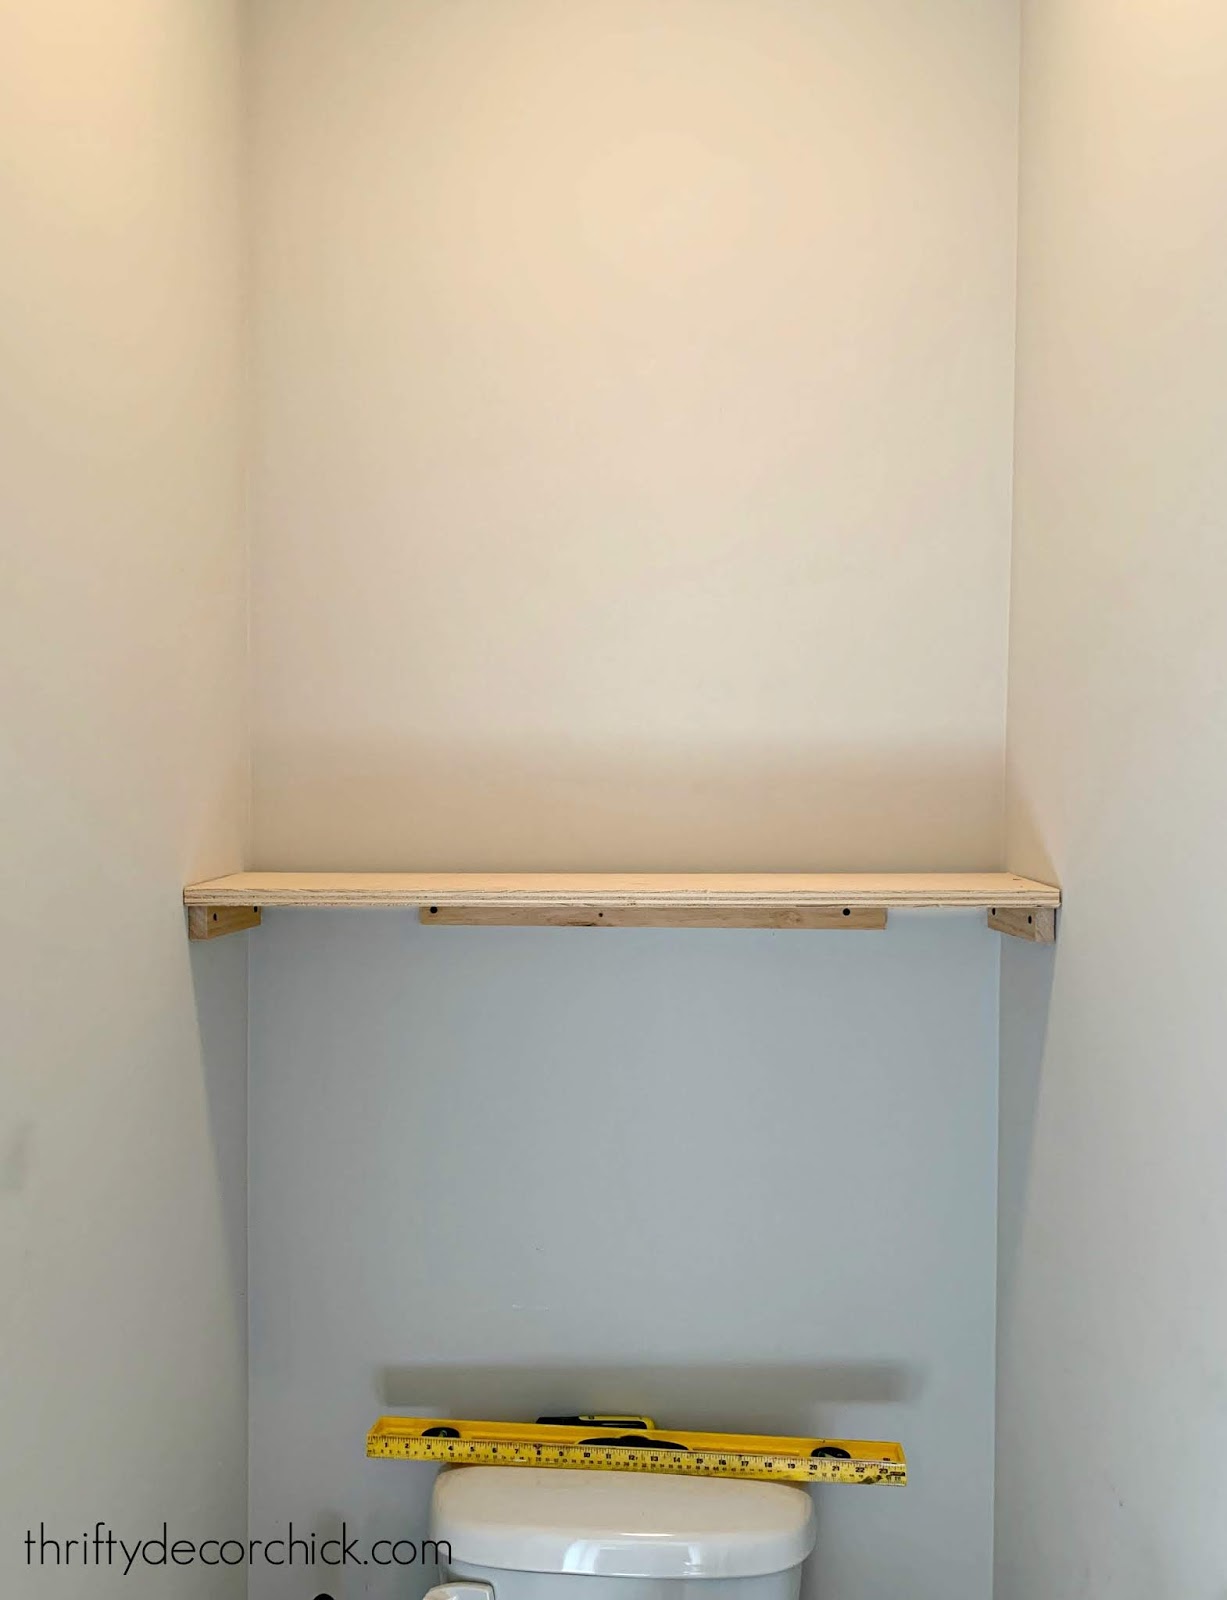
First step was finding the right sized support pieces. Make sure they are level and screw them into studs if possible:
Make sure to use a level to check the pieces as you install. For shelves like this that won’t be holding much weight at all, I have been known to throw some screws into just the drywall. But get as many into studs as you can. (Hint: the corners are always a good bet.)
Normally I’d use a piece of trim the whole length of the back wall, but I was using what I had. If you don’t have the full length it will be fine.
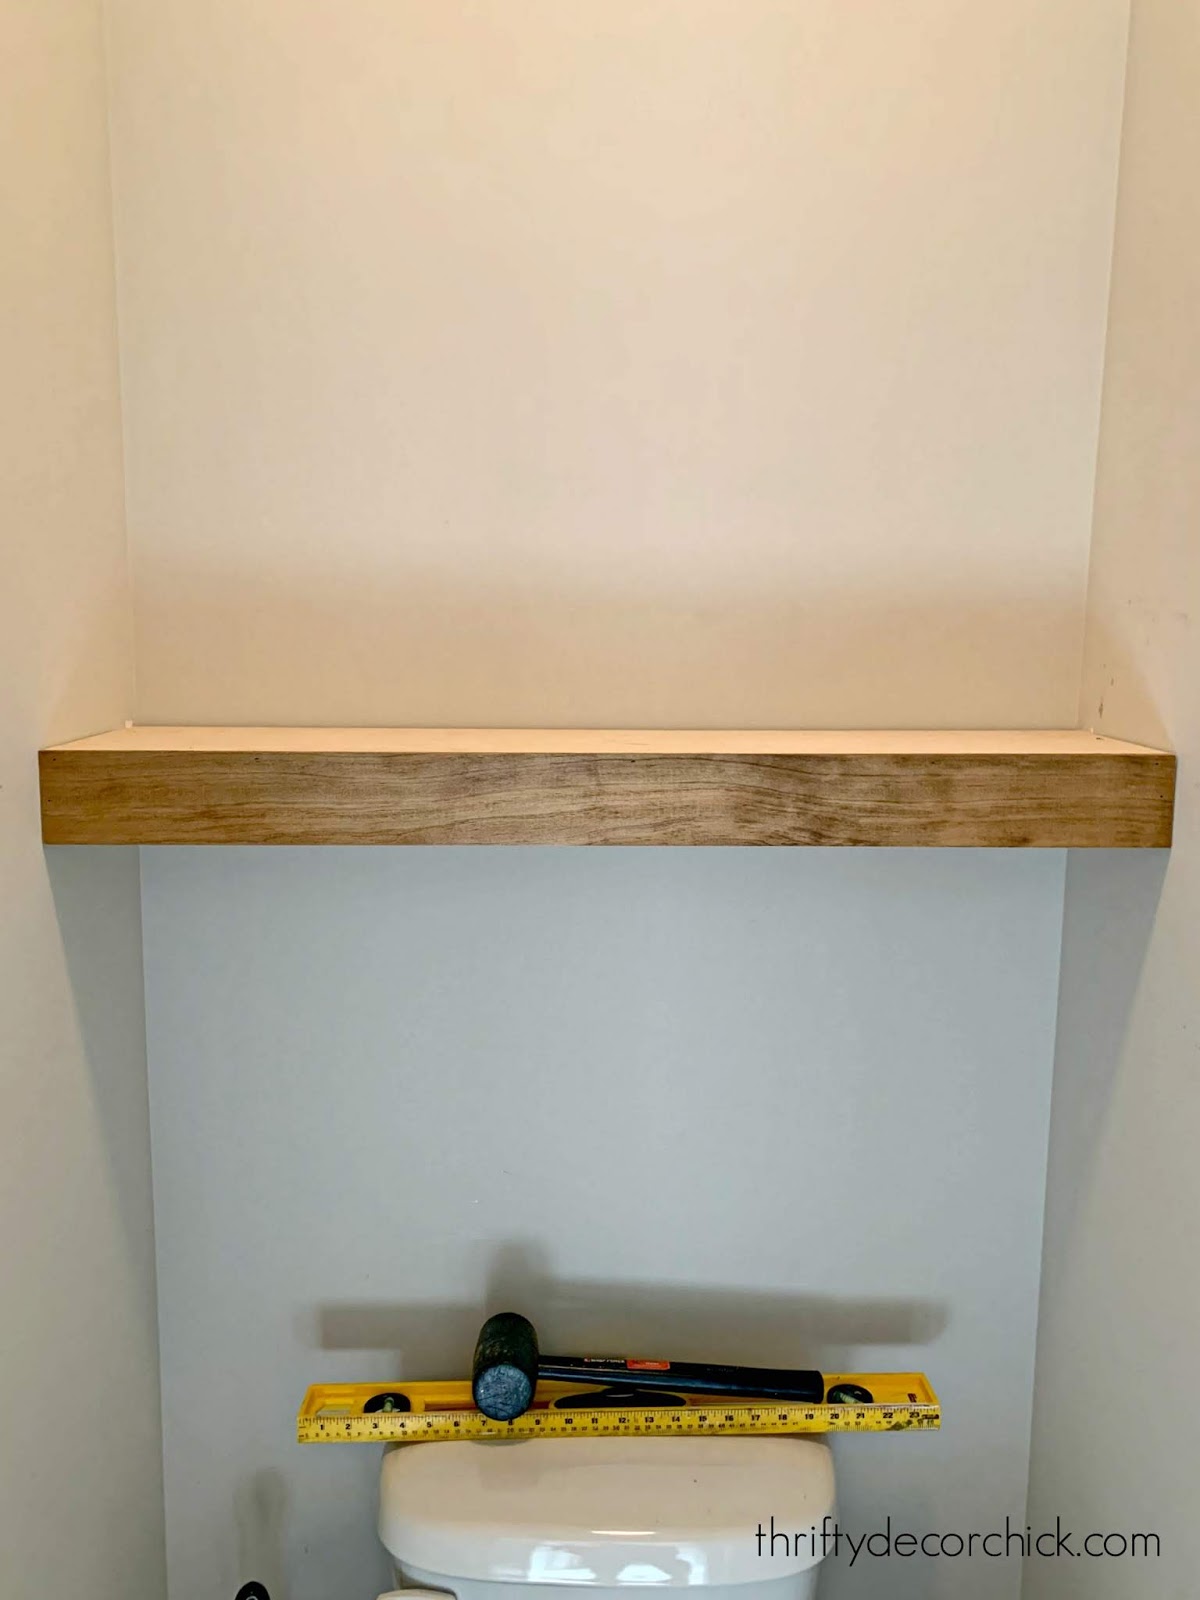
Next up, put the top of your shelf on and nail it into the supports:
Then cut your front trim to fit and nail that in too:
I had just enough of this stuff that was already stained from another project. Perfect!
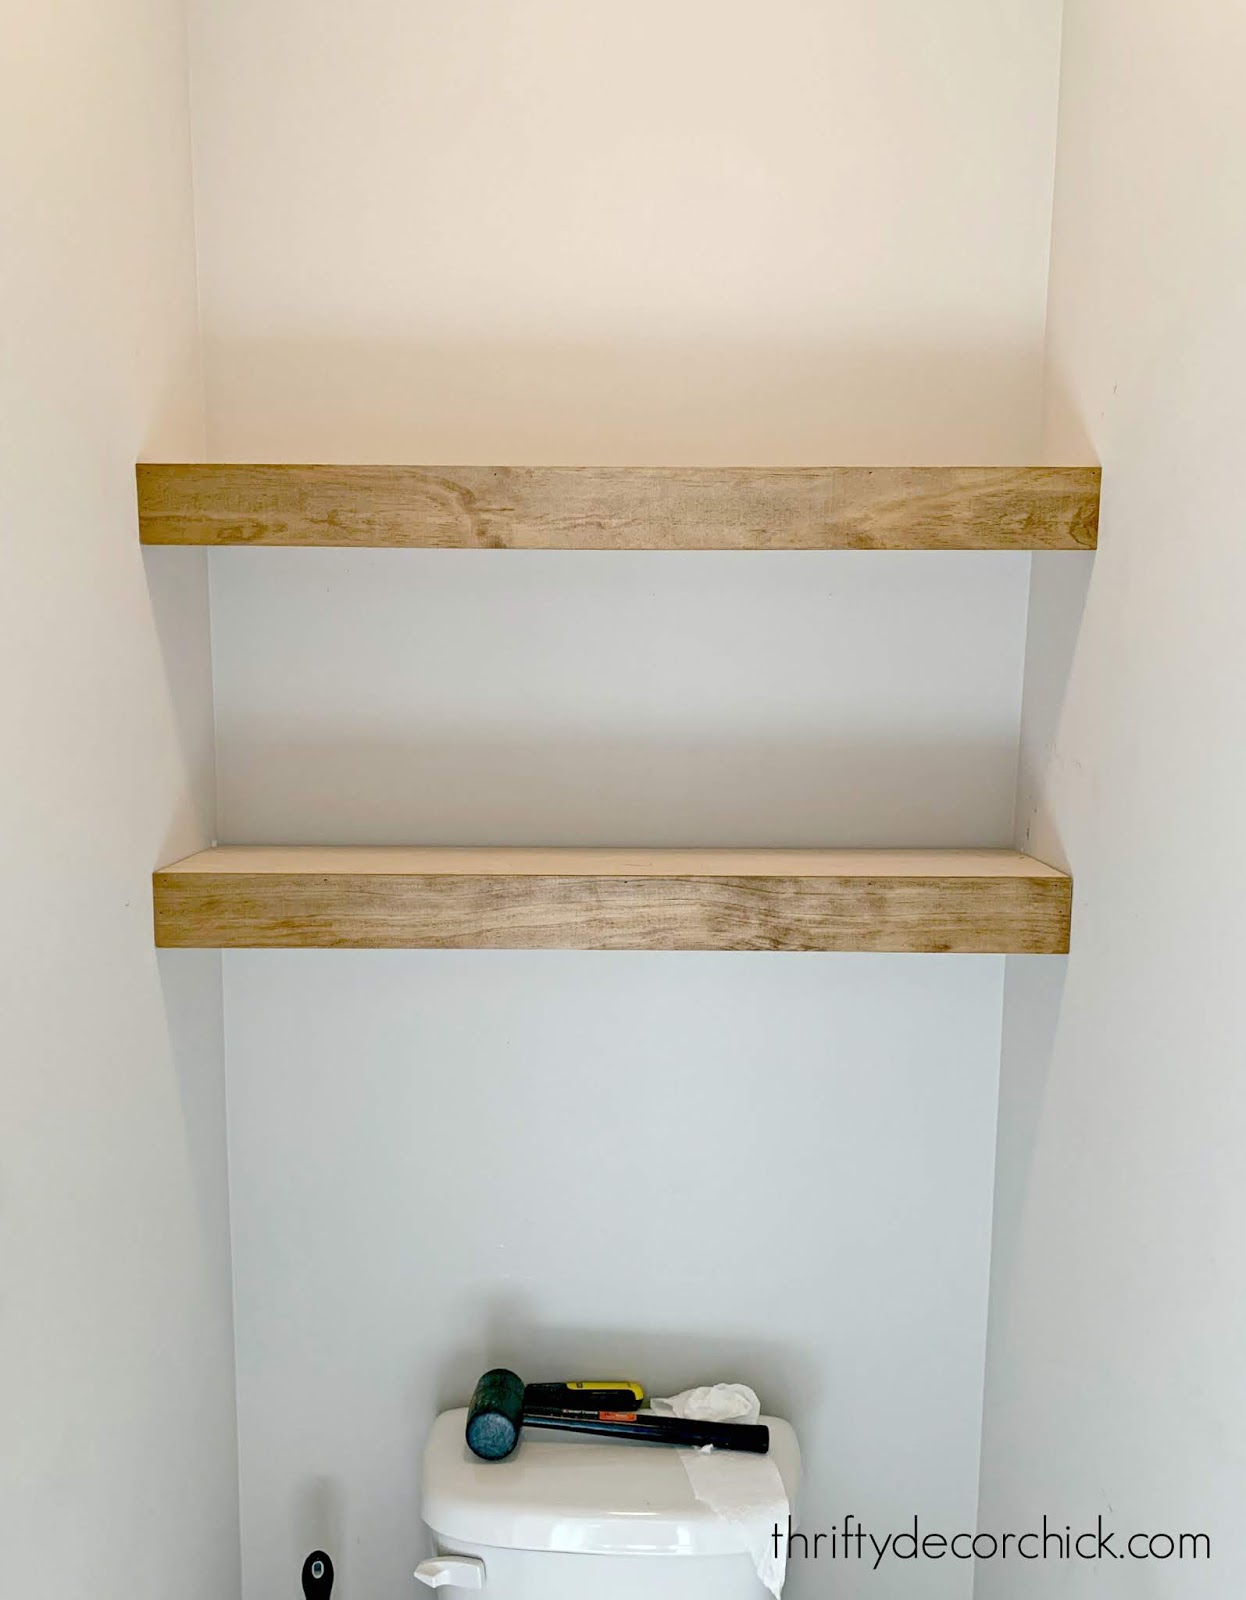
I built my second one the exact same way. Now you can be done with the building if you’d like…
Or you can add a piece of wood to the bottom to cover the supports. If you use a full length of supports along the back and sides (and stain or paint them), I don’t think it’s always necessary to add anything on the bottom.
But if you want a more finished look, you’ll want it. Turns out I had more scrap that was the perfect size for the underside. It’s rare that a project comes together so perfectly for me. 🙂
The key to building these thick floating shelves is making sure your supports are the right size. You’ll have the supports, plus your wood on top…that will need to be the same size or smaller than the trim you add to the front. And if you want to add a bottom piece, the thickness of the support, top and bottom need to be less or the same as your trim on the front.
This is so all you see from the front is your clean trim — not any edges. Hopefully that makes sense! That’s the trickiest part of all of this but after that it’s a quick project.
I planned to paint these until I found that stained trim (Provincial by Minwax) for the front. I went with that (staining is SO much faster in my opinion) and then a coat of polyurethane.
When all was dry I added some accessories — how cute is it in there now?:
I made that “wash your hands” sign — copy and paste it if you would like to use it! (If you need the full file size feel free to email me):
Click on that image and then save it from there.
While I was working on this space, I did something else I used to do a lot — took down the door! Man, I can’t tell you what a difference it made in here! SO much more room!
I wish I would have thought ahead and just had this cased out with no door:
You can see how I cover where the hinges go in this post as well. It makes the door pretty seamless, like the door was never there.
I’ve never installed shelves over a toilet because I’ve always thought they would interfere with sitting. But these are only eight inches deep so they don’t even stick out as far as the tank:
With the extra space in here and these pretty additions, I look forward to visiting the bathroom. 😂
I also changed out the light bulb in here to a daylight version instead of incandescent. I love them for spaces with no natural light — they get rid of the yellow cast and make things so much brighter. They aren’t for every room, but in spaces like this I LOVE them.
Let’s look at the before and after! Here’s the little room before:
Such simple updates, but they made a HUGE difference!:
These were quick and easy to build — I had them up in an hour and with stain and poly I was at about 90 minutes of work. Floating wood shelves would be a great beginners project!
Have you tried this DIY project anywhere in your house? They are perfect in a small space like this.
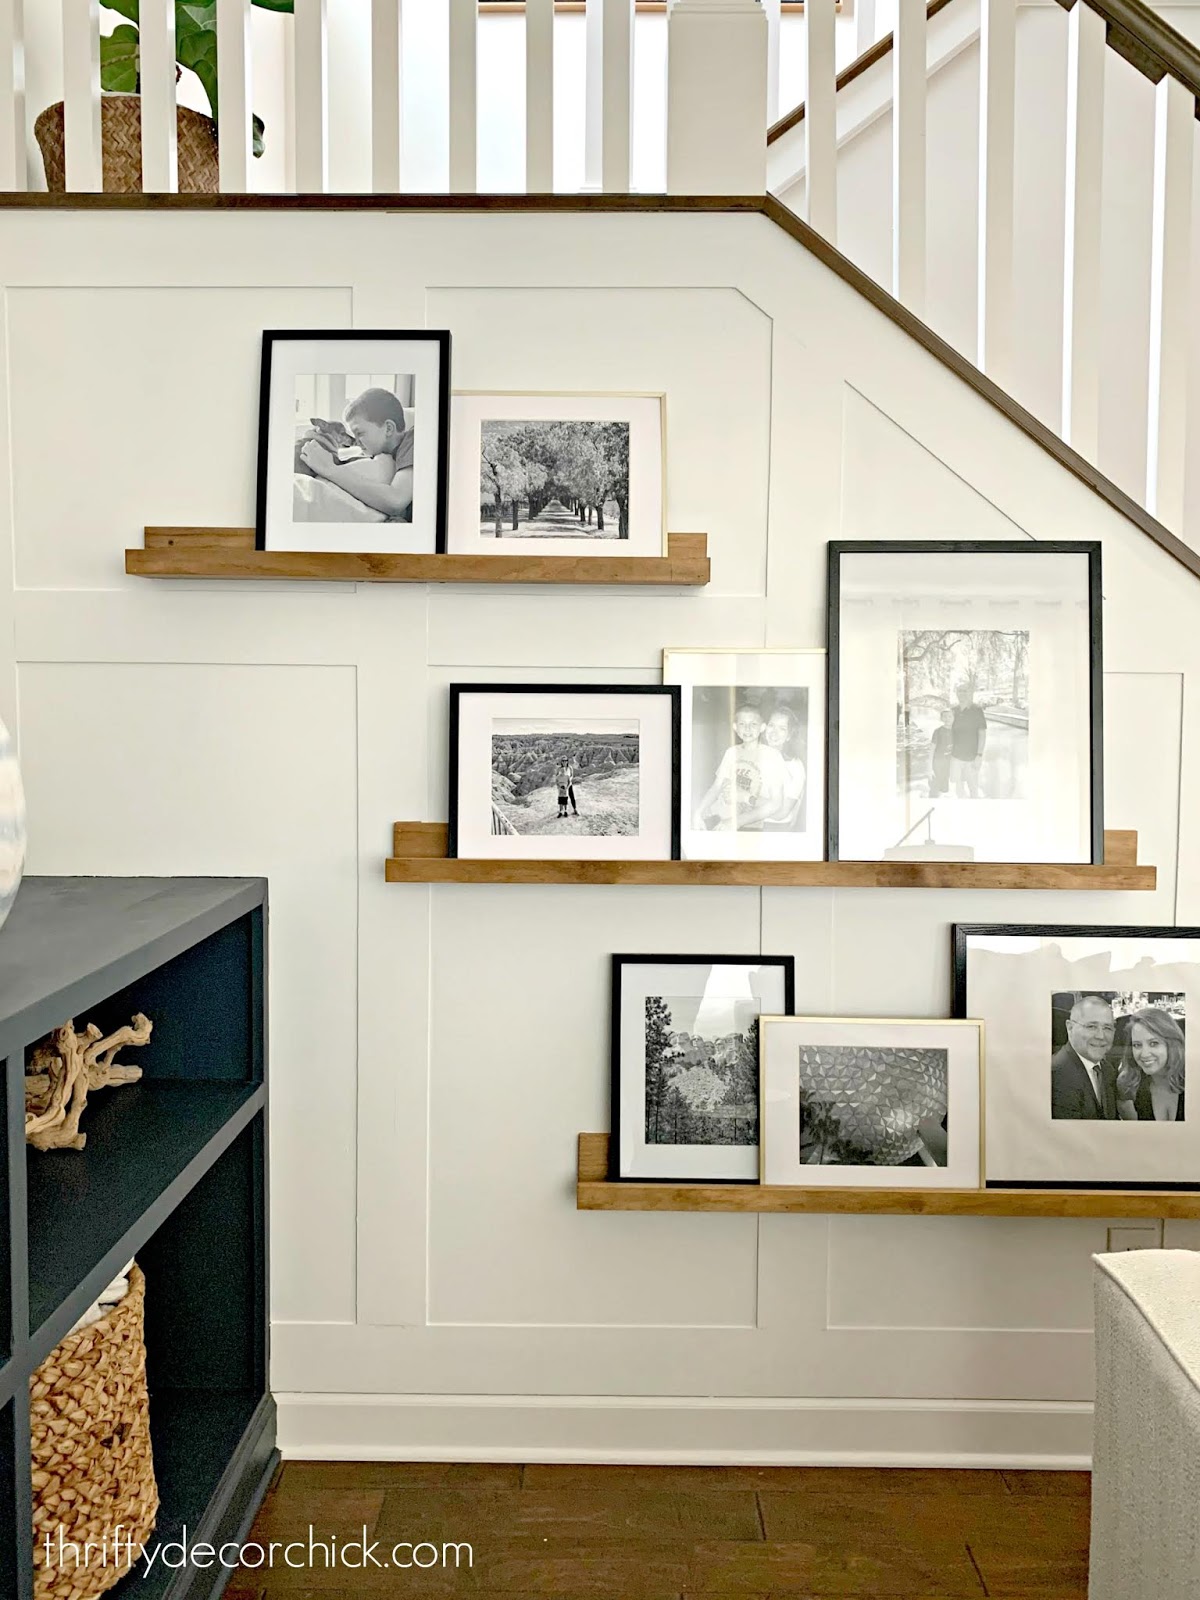
My picture ledge shelves are another favorite of mine:
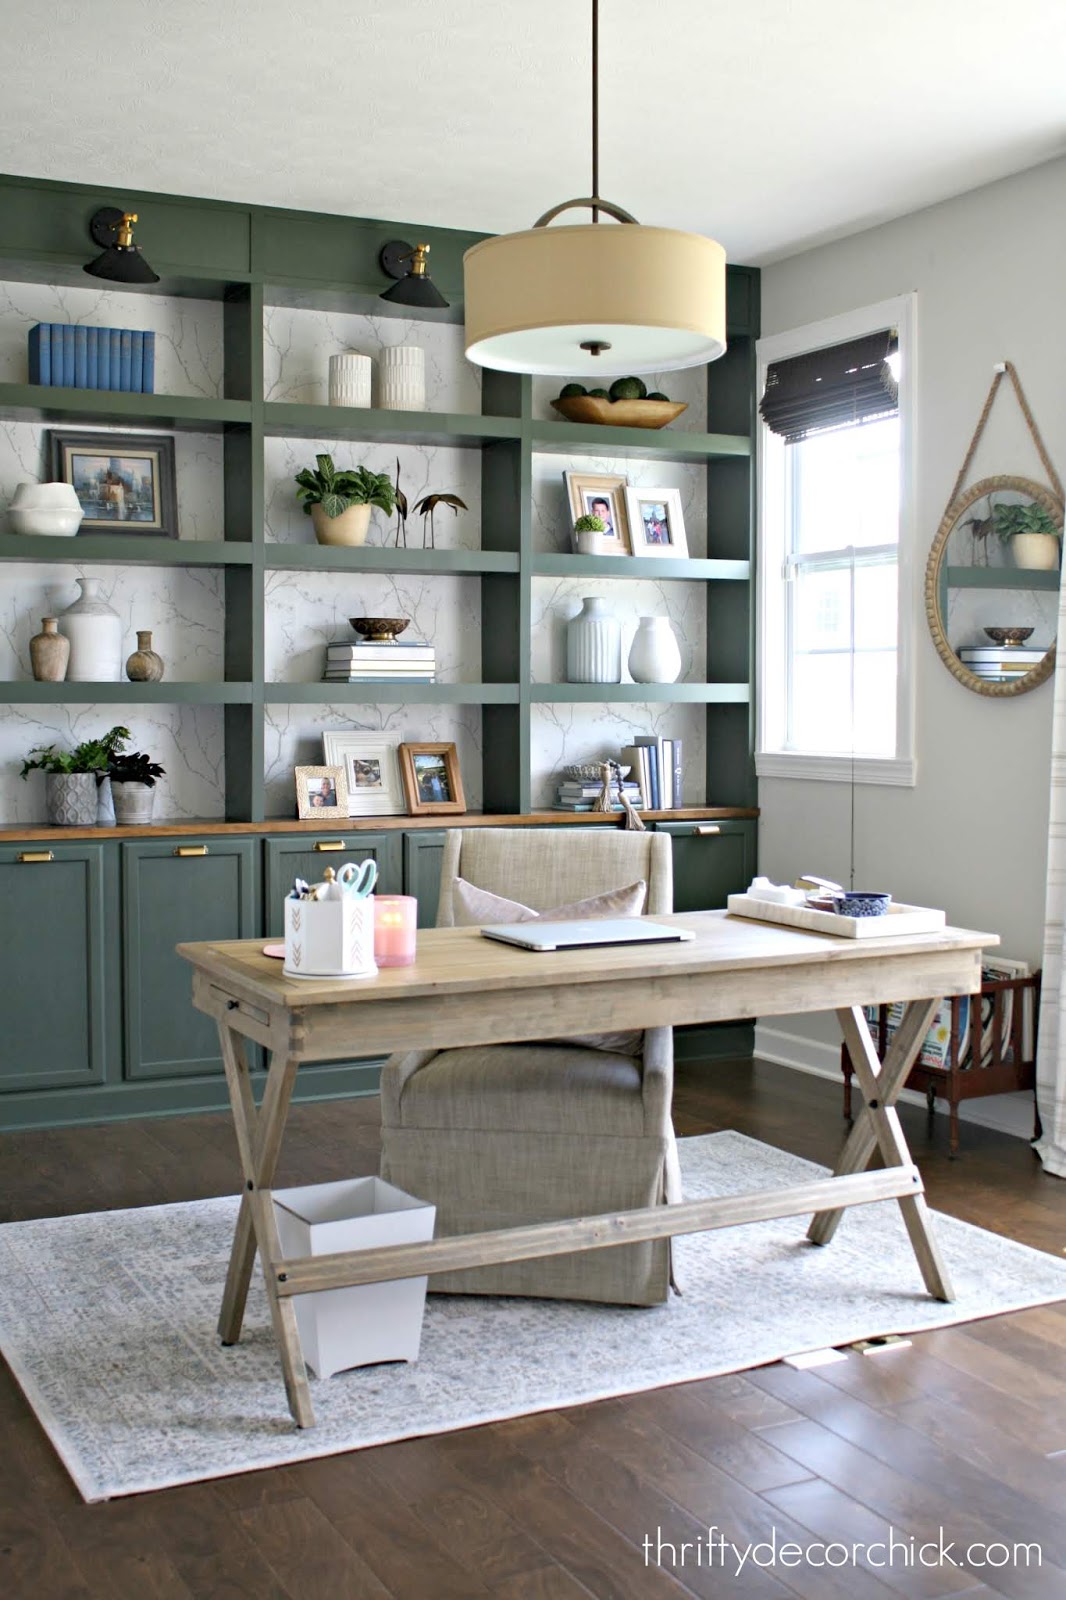
By the way, this is the same process I used to build the shelves on my office bookcases as well:
See more of our home here. To shop items in our home, click here! Never miss a post by signing up to get posts via email.

