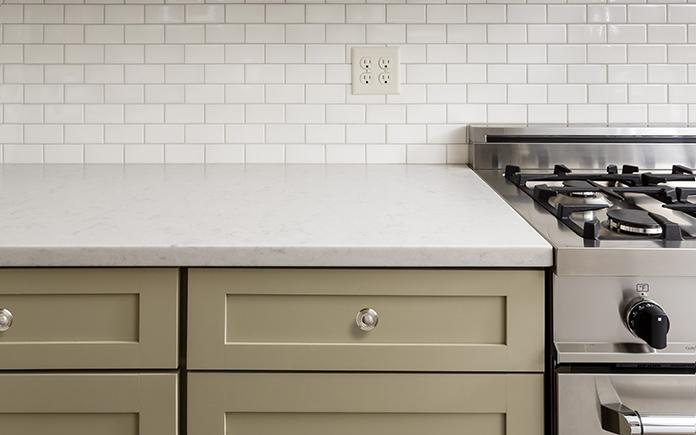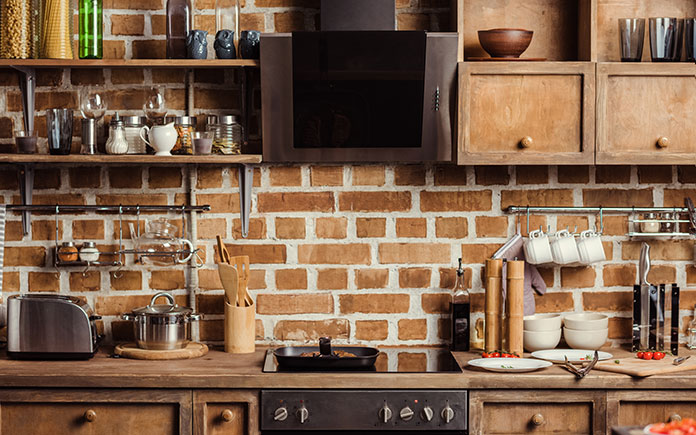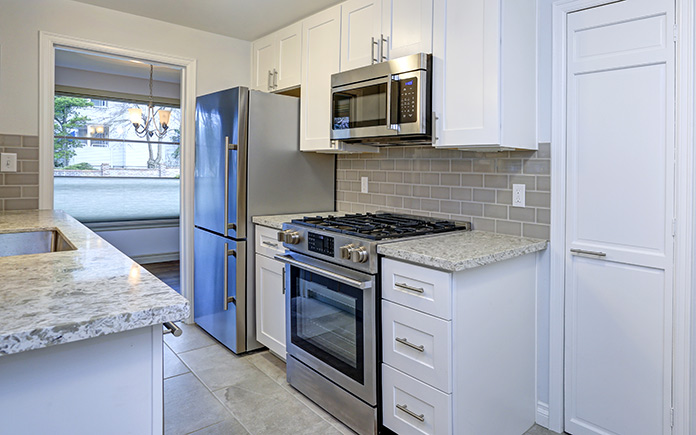
Shaker cabinets date back to an 18th-century religious sect that valued simplicity in their values, customs and furniture.
These cabinet doors may look simple, but they’re also timeless, and fit in with traditional or modern kitchens.
What began as an attempt to flee materialism has become one of the most popular, enduring cabinet designs.
It’s also one of the easiest to recreate. Since Shakers built their own furniture, these cabinets are easy do-it-yourself projects that anyone can make.

(DepositPhotos)
Adding plywood trim is an economical way to convert plain or outdated cabinets to Shaker style. Here’s how to do it:
1. With a table saw, cut a sheet of 1/4-inch-thick plywood into 2-1/4-inch-wide strips along the length.
2. Remove all the hardware from the cabinet doors. Sand the doors lightly to remove any dirt and gloss from the old finish.
3. Cut two of the plywood strips to the height of the door and apply wood glue to the backside of each. We used Titebond wood glue for this step.
4. Align the strips so they are flush with the outer edge of the door as well as the top and bottom. Secure them to the door with 5/8-inch brads.

5. Mark two more strips of plywood and cut them to fit horizontally between the two vertical strips before you repeat the process to secure these strips. This completes the basic design of Shaker cabinet doors.
6. If your flat doors have a beveled edge, fill the V-shaped void between the plywood and the door with wood putty. Overfill the groove slightly in case the putty shrinks as it dries.
7. Fill the nail holes on the strips. Once the putty is dry, sand it down to create a flat edge all around the door.
8. Apply a coat of primer and two coats of finish paint to the doors before rehanging them.
That’s how easy it is to get the Shaker cabinet look from any flat cabinet door!
Watch the video for details.


