Hey hey! I’ve got a cute DIY lettered sign to share with you today! This has been in the works for weeks — I had a scrap piece of wood cut down a couple months ago and painted it…and then let it sit while I tackled other projects. This is how I do things around here.
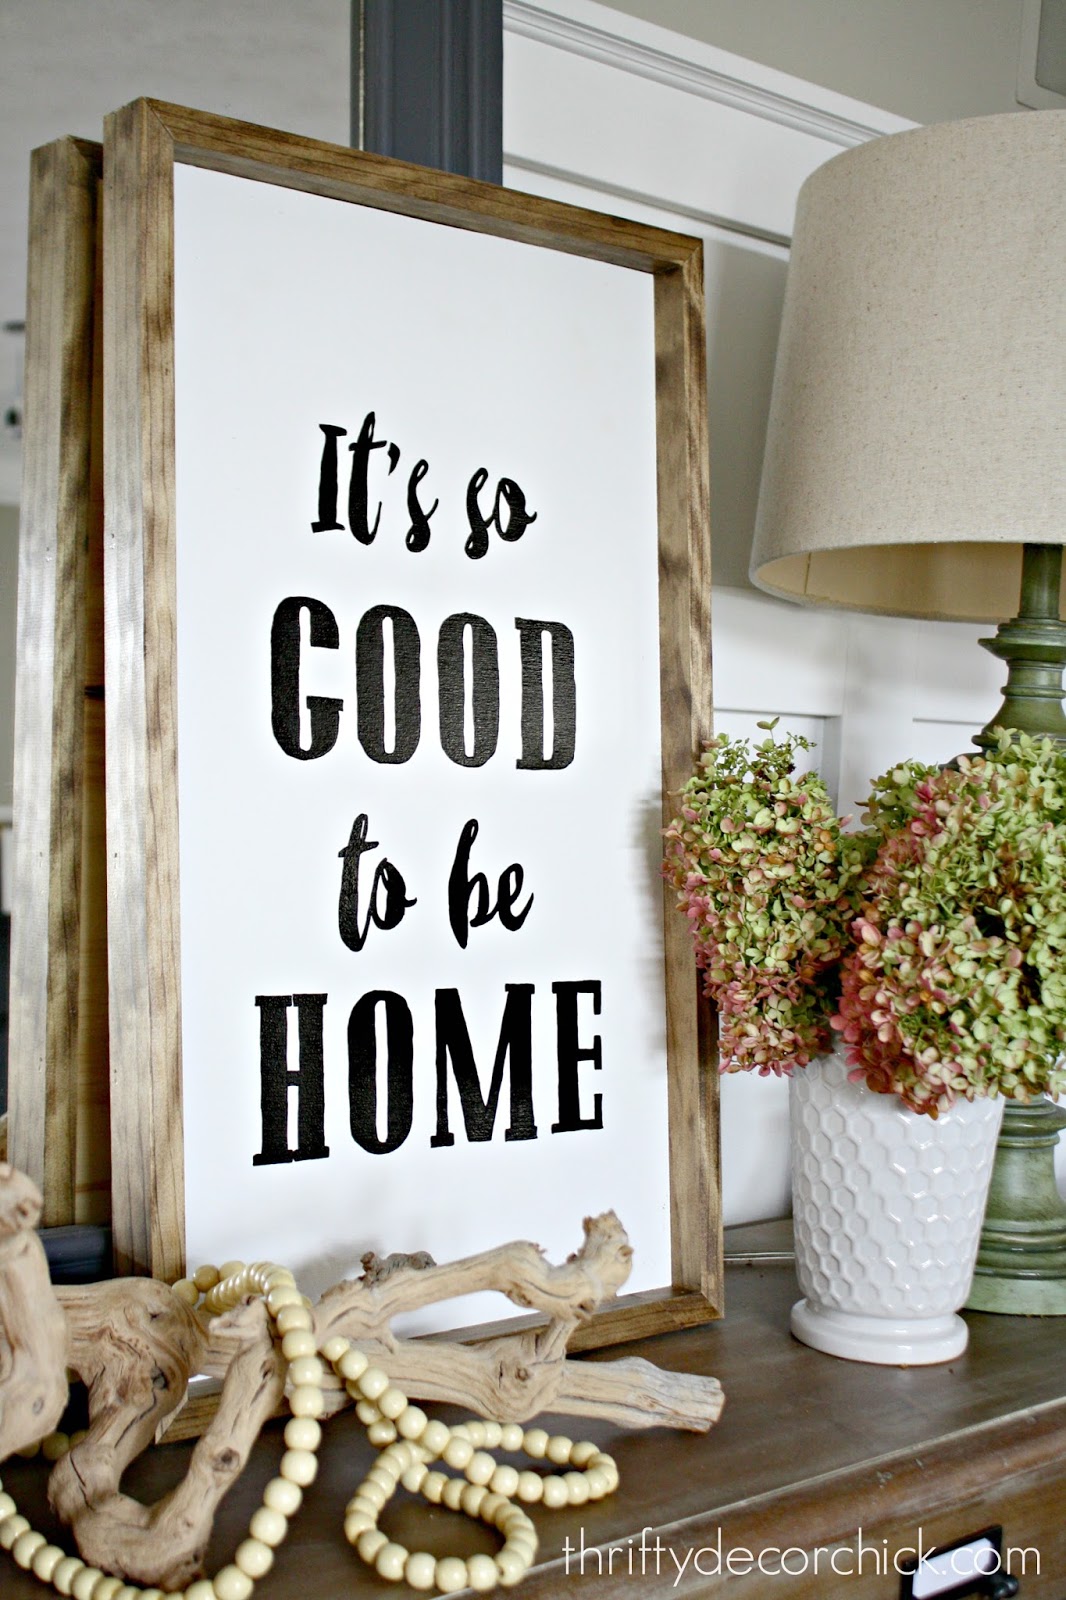
The other day I finally sat down at my computer to finish it up. I saw this phrase on a sign in a store and knew I wanted to make my own. It’s perfect for our family room:
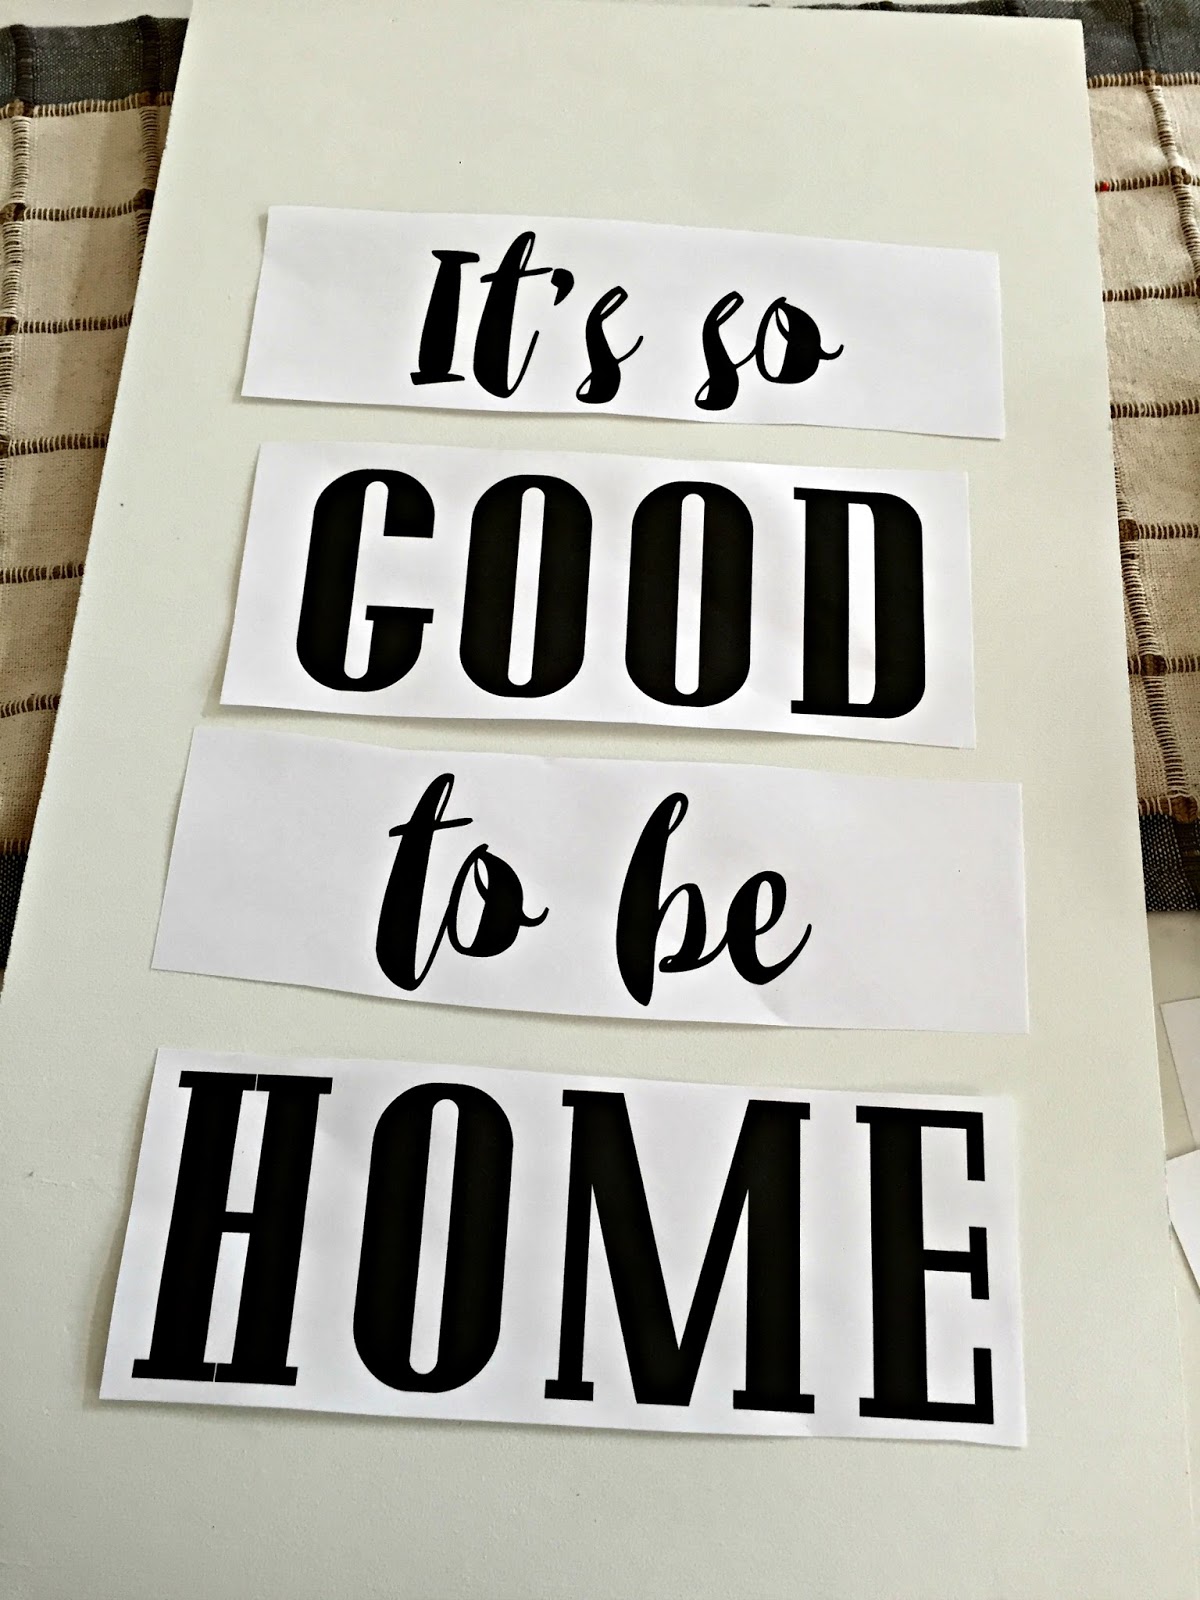
The sign is about 14 inches by a couple feet so I played around with the size of the words to fit the wood. I used two fonts — the script is free one called Stonestick. Do you recognize the other font? Once I say it you’ll be all oh yeahhhh…it’s the Pottery Barn font and you can download that for free too. (Just do a search and they should come up.)
(This is a popular post I’ve updated to share again.)
I’ve shared a couple different lettering techniques for signs over the years — this is a stencil version and this one is perfect for chalkboard lettering. For this sign I did another technique similar to the chalkboard version.
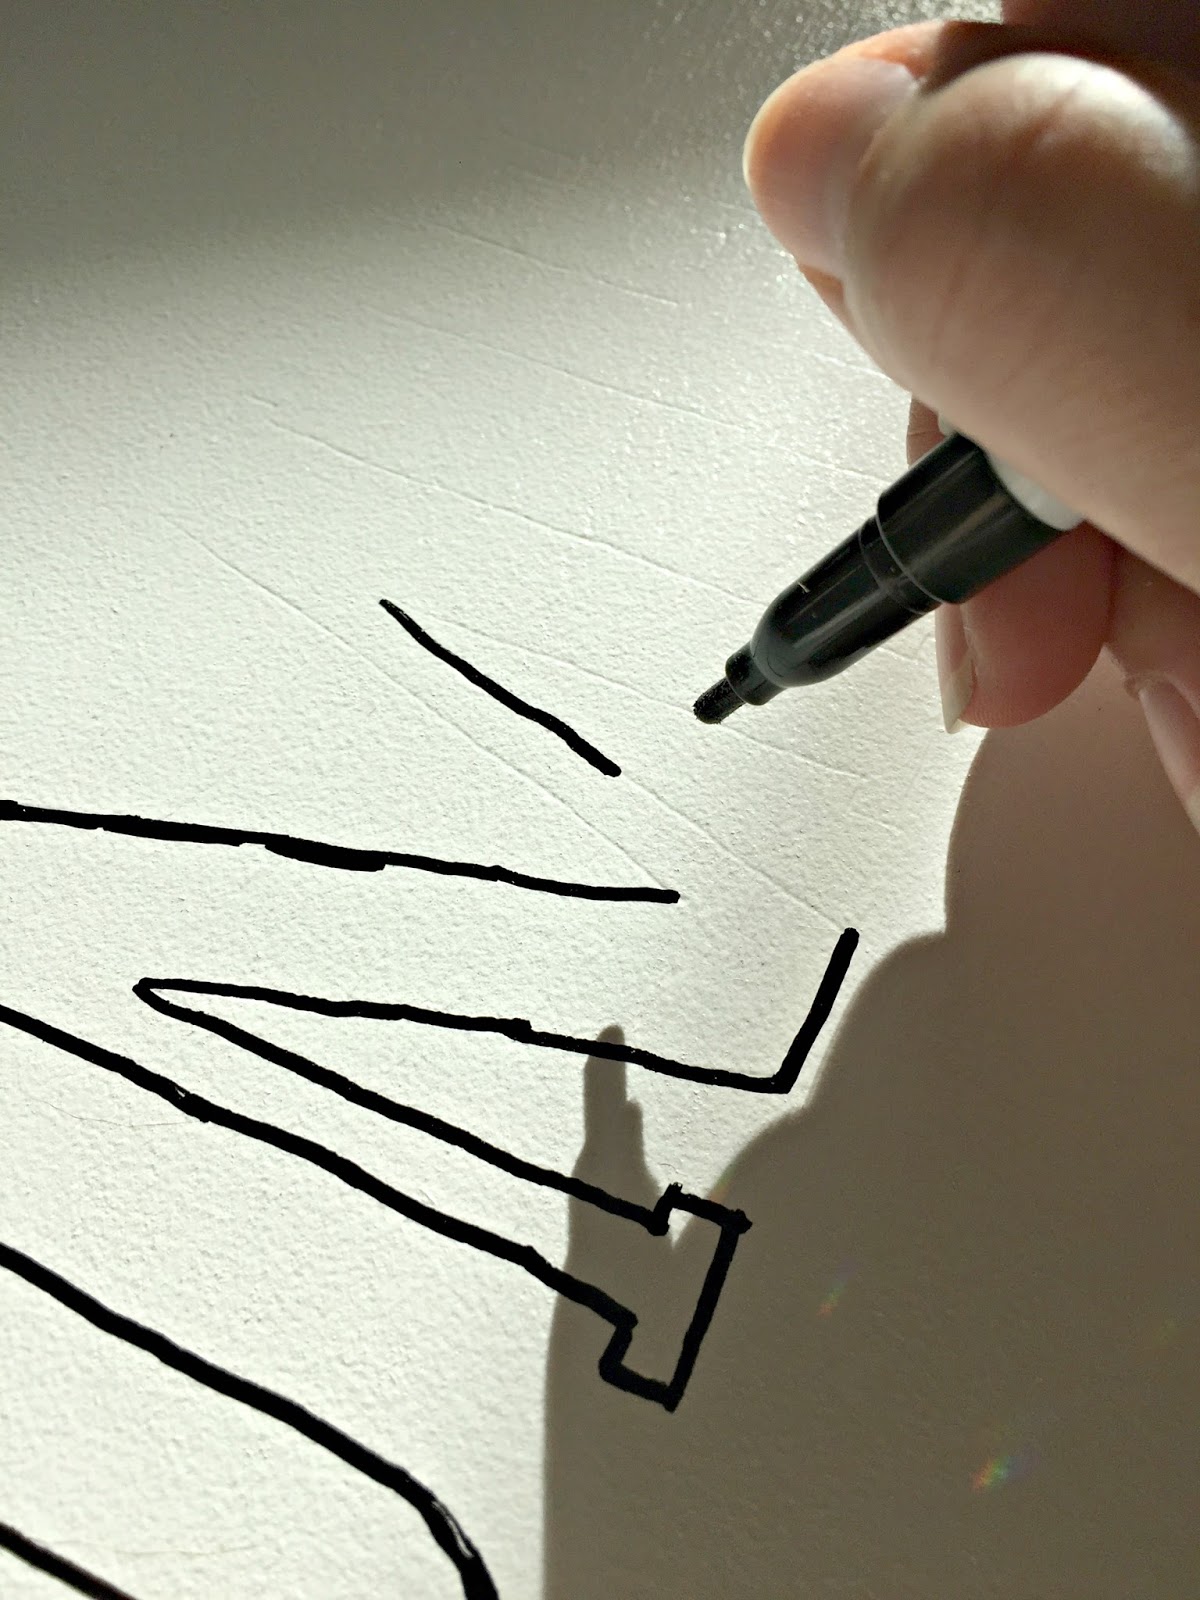
I cut out the words to space them out how I wanted (as you can see above) and then taped them to the wood. Then I traced the words with a pen:

This post may contain affiliate links for your convenience.
See my policies and disclosure page for more information.
You want to press hard enough so that the pen leaves an imprint on the wood. It’s not crazy hard — you can pull up the paper to see how it’s doing during the process. (Just make sure to lay it back exactly in the same spot!) I used a cheap ball point pen for this.
Here’s how the words looked after I traced:

Do this on a sunny day or near a light so you can position the wood in a way that makes it easy to see the imprint.
I used these Craftsmart paint pens and followed the imprint to paint the letters onto the wood:
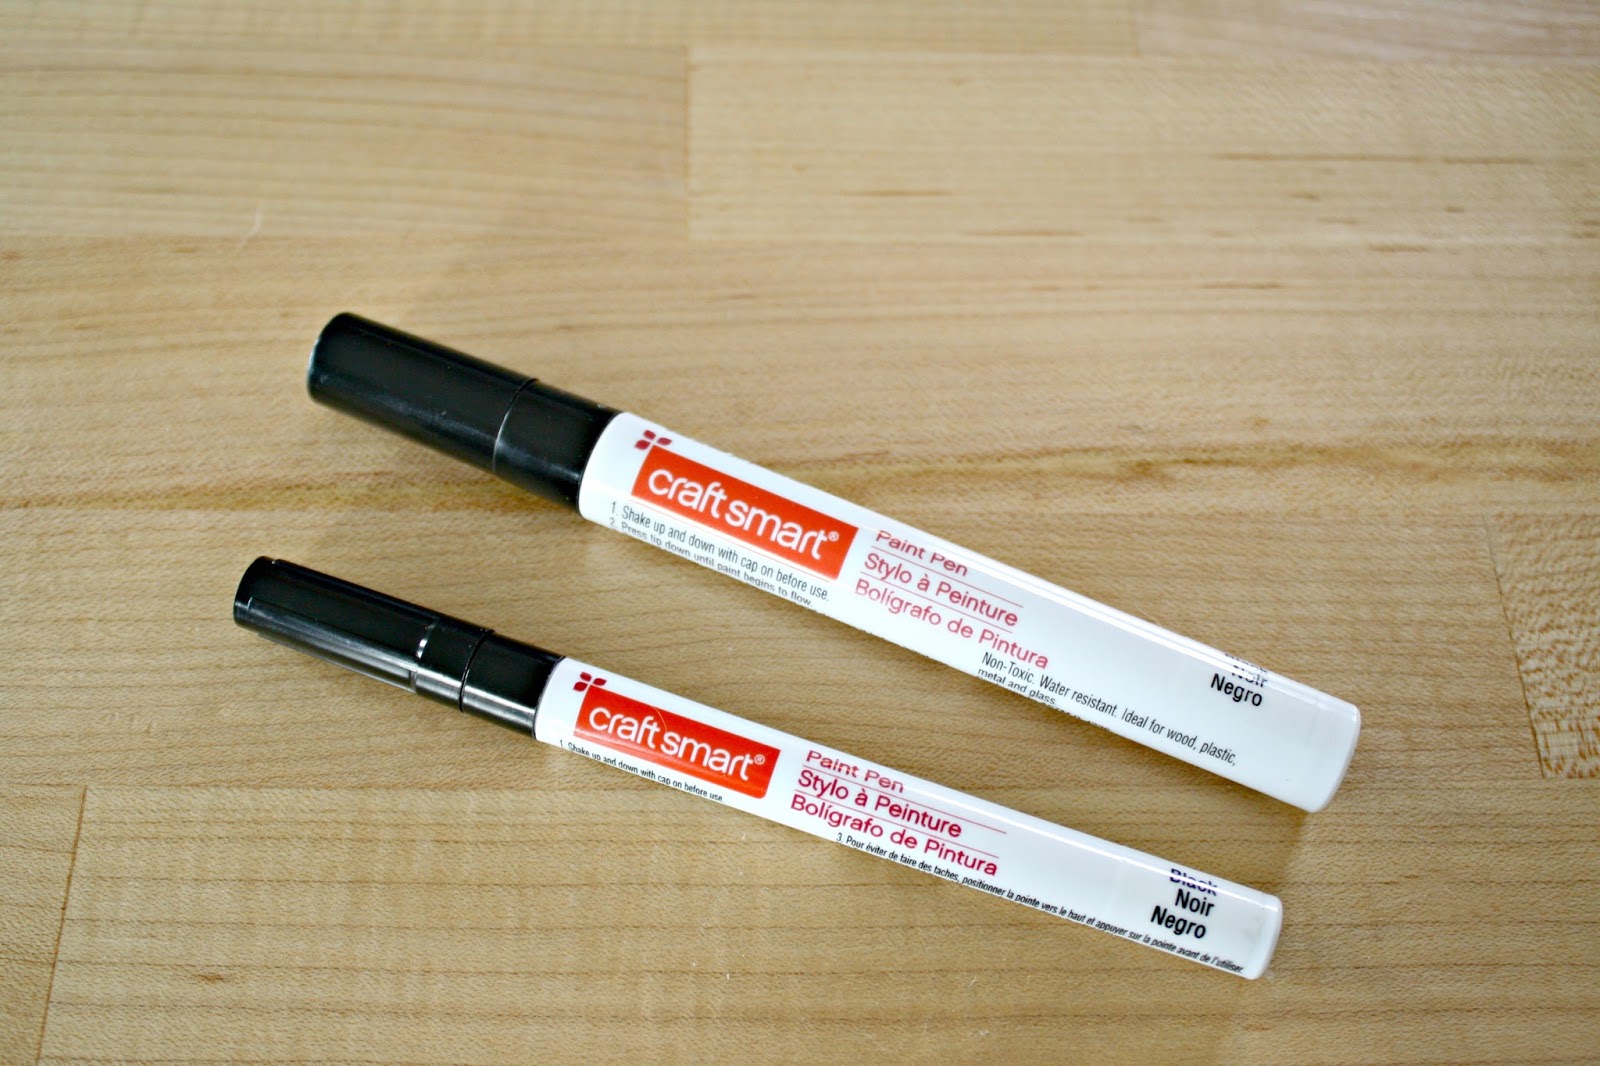
I’ve also used the Elmer’s paint pens in the past — here’s the medium tip and here’s the fine tip version. (It’s easiest to have both. More on that below!)
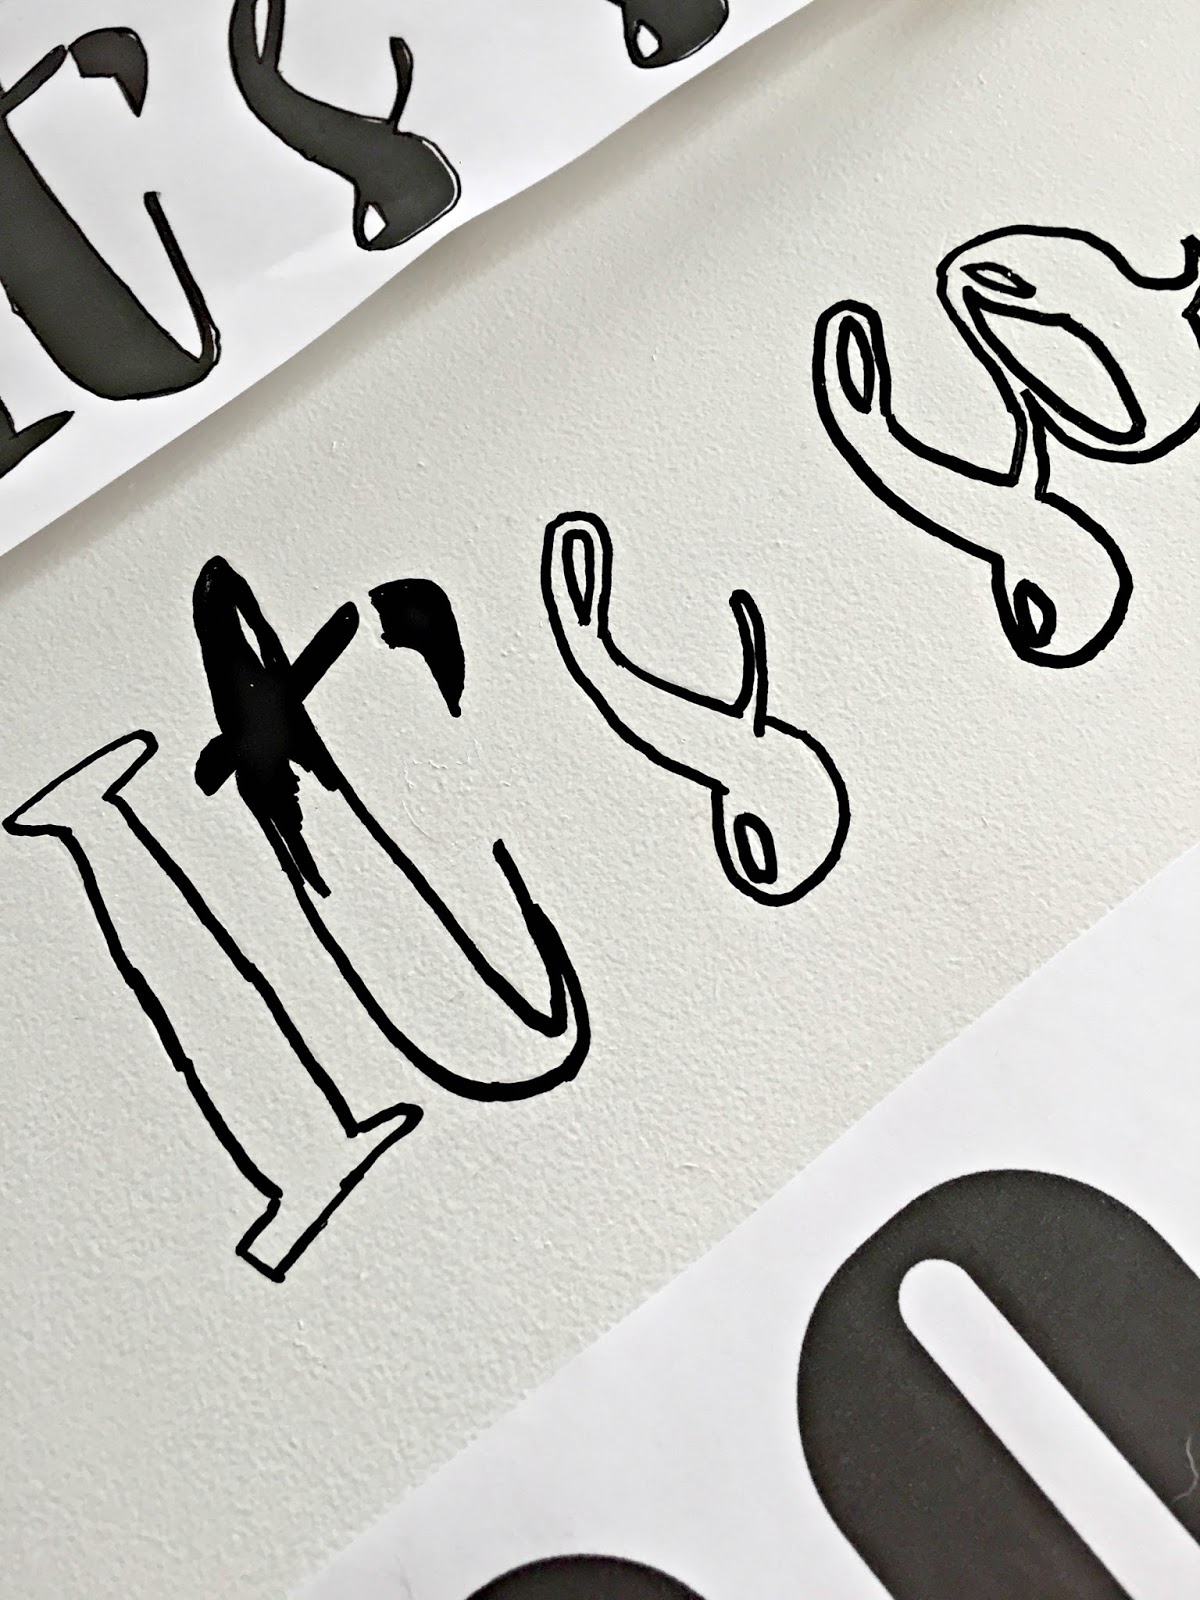
You can use a brush but you need to have a really steady hand! I’m not that talented. 🙂 I prefer the paint pens because you can really control your writing:
As you can see, it doesn’t have to be perfect because you’ll be filling it in. You can make adjustments as you go and that’s another reason I like the pens — it’s way easier to make small fixes.
I used the thin paint pen for the tracing and smaller areas and the larger one for the bigger letters:
That’s it! It just feels like you’re coloring. 🙂
I stained a piece of wood in one of my favorite stain colors (Provincial by Minwax) and framed the art with it.
Oh my goodness. I love it!:
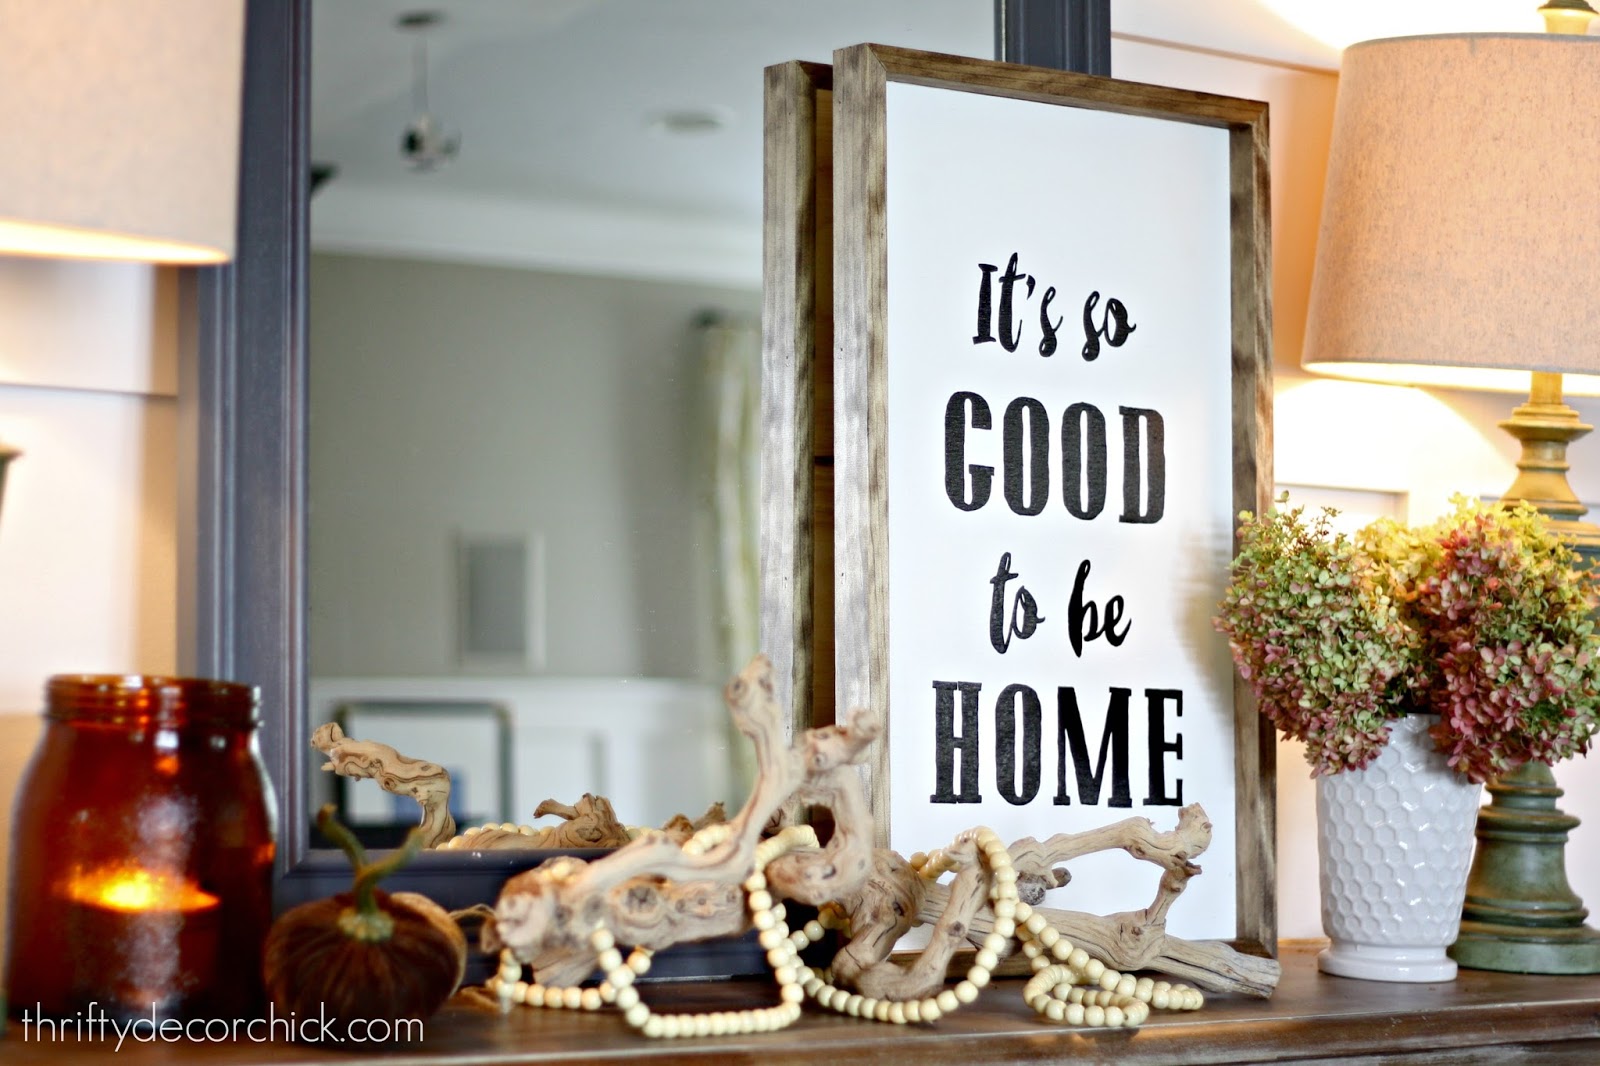
It will stay up all year but it looks perfect with the warm seasonal decor, right?
So cozy!:
I love the combo of the two fonts — and I have to say, I like my version even better than the one I saw in the store! I’m really digging that Pottery Barn font.
It leans against the large mirror I made years ago. This Everett hall table is still one of my favorite pieces in our house. I love the pretty finish on it and the hardware I added years ago:

We see the sign right when we walk in the house and it makes me smile every time! And yes, those baskets hold dog toys and basketballs. Form and function at it’s best!
It’s simple but sweet — it is always SO good to be home!

Have you tried this lettering technique? I actually find it soothing — I find the tracing and coloring in to be relaxing. 🙂
If you love the look of signs that are so popular right now this is such an easy DIY project — it just takes time. I finished the tracing, letters and filling in under an hour while I watched TV. This cost me the price of the piece of wood for the frame and the paint pens — after coupons it was less than $ 10!
I hung this sign in our new home as well — here it is in the mud room/laundry combo:

Here’s an image to pin for later if you’d like to try this yourself!:

See more of our home here. To shop items in our home, click here! Never miss a post by signing up to get posts via email.


