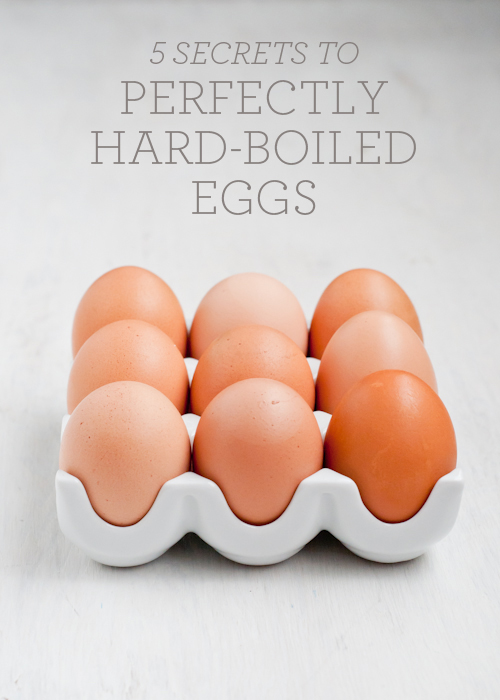
In March and April, eggs go on sale at the market, so this is an ideal time to learn, or improve, our egg boiling skills. You may have big plans to dye some Easter eggs, or maybe you’re just craving an egg salad sandwich. Either way, knowing how to perfectly hard-boil an egg is a skill everyone should have.
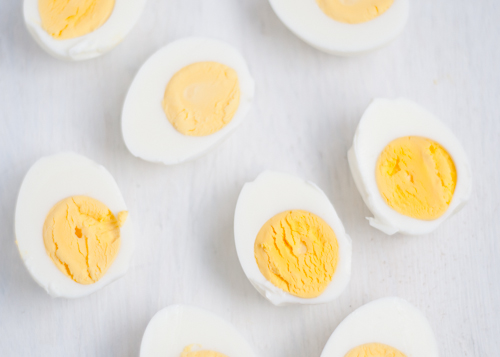
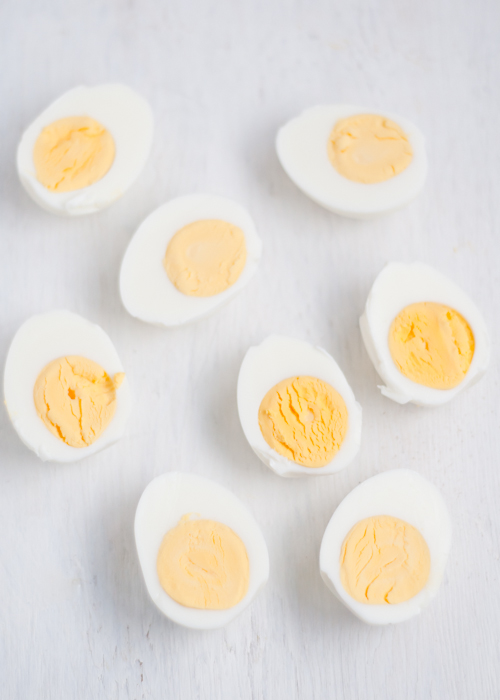
Do you ever peel and cut open an hard-boiled egg only to find a pesky grey-green ring around the yolk, or that the yolk is still a little raw? This post is here to help! Soon you’ll be an egg-spert and be able to show all your friends how easy it is to hard-boil eggs.
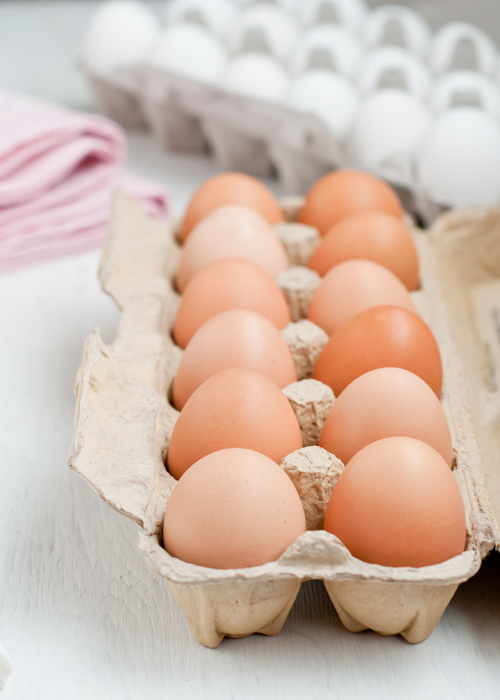
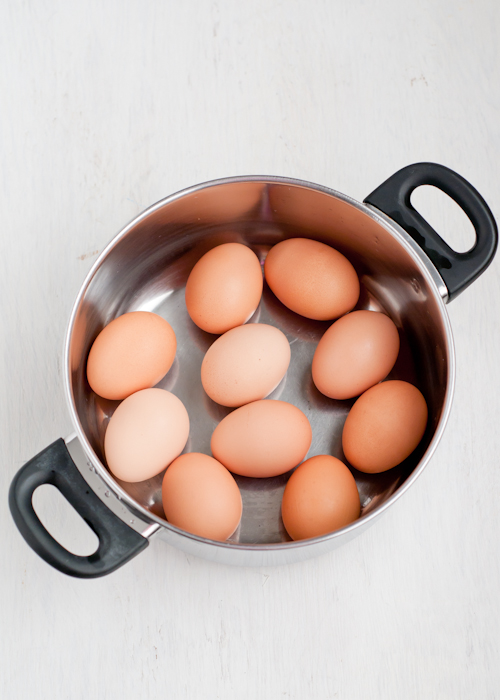
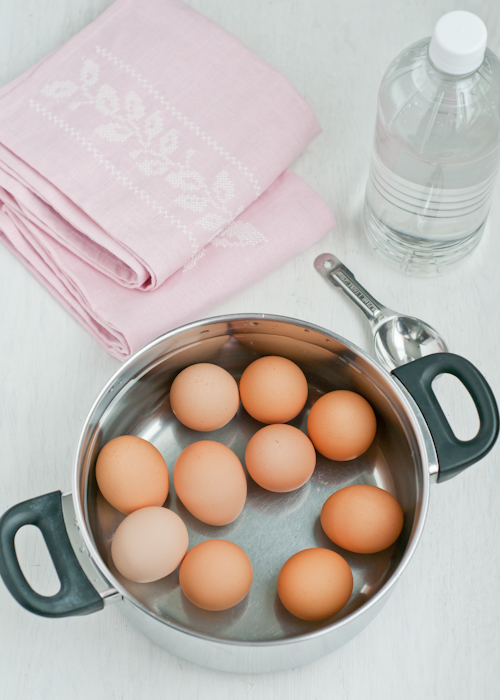
Put the eggs into a deep pot in a single layer. Secret #1: Fill the pan with cold, not hot, water. The goal here is to bring the eggs up to boiling temperature along with the water, which will also help prevent cracking and promote even cooking. The eggs should be covered by 1-2 inches of water. To measure, dip your finger in and touch an egg. If the water reaches anywhere between your first and second knuckle, you’re probably good to go. If not, add a little more.
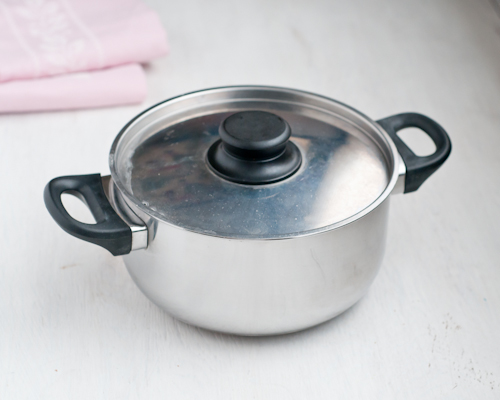
Bring the water up to a boil. Secret #2: Let the eggs boil for one minute, then cover and remove from heat. The heat in the water will continue to cook the eggs after they are off the burner. If you have an electric stove with coil burners, you can skip boiling the eggs for one minute because the burner will retain heat. Let the eggs sit in the covered pot for 12- 15 minutes.
Secret #3: The actual time is going to vary a bit due to the size of the eggs. Medium eggs will take less time, about 9 minutes, and extra large eggs will take more time, about 15 minutes. The altitude where you live will affect the cooking time as well. I live at about 5,000 ft. above sea level, so I keep the eggs cooking in the covered pot a few minutes longer so the yolks aren’t too raw. Plan on practicing with a few small batches till you get the timing just right.
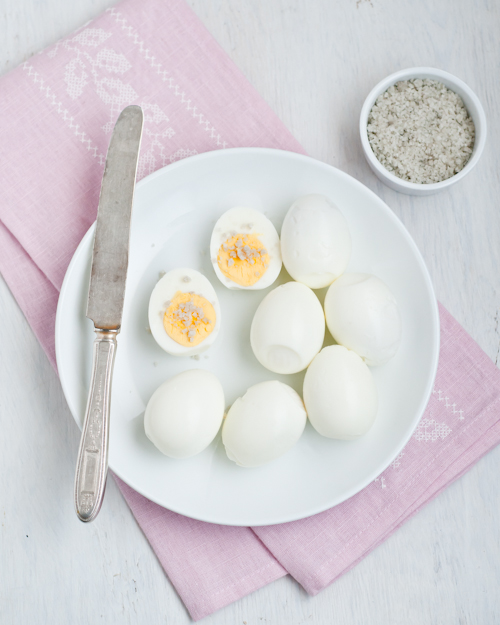
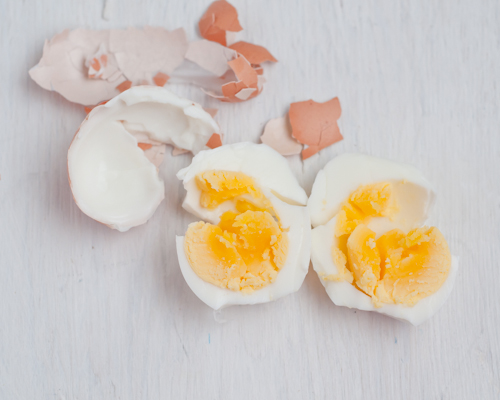
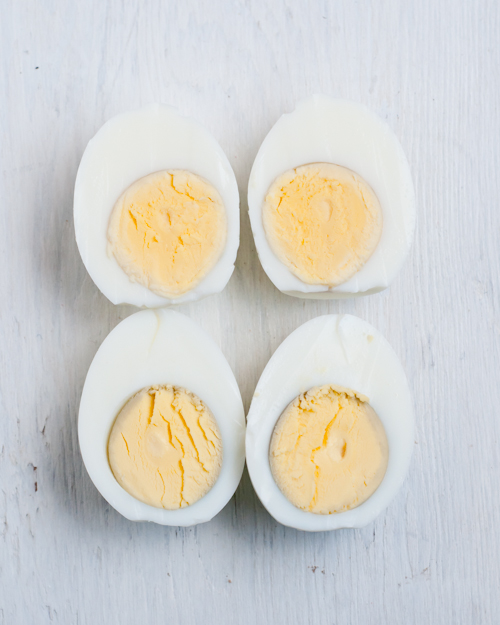
If you’re boiling a lot of eggs at one time, sometimes it’s worth sacrificing one egg to ensure the others are properly cooked. Remove one egg from the pan, cool it as quickly as you can in ice water, peel it and cut it open to see if it’s cooked all the way. Undercooked yolks are almost as bad as overcooked ones! They will be darker yellow and look raw. If your tester egg isn’t cooked through yet, keep the rest of the eggs cooking in the hot water for a few minutes longer. (Alas, there’s no going back once the yolk is overcooked.)
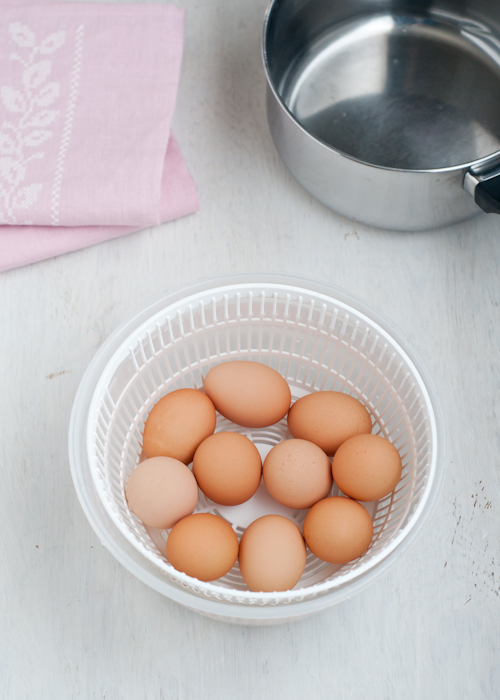
Next step is Secret #4: To stop the cooking (and avoid over-cooking) you’ll need to cool the eggs quickly. There are two options. You can gently drain off the hot cooking water and add cool water to the pan. Or, you can remove the eggs from the hot water with a slotted spoon and carefully transfer to a bowl of cool water. As I mentioned, this stops the cooking process, so be sure not to skip this step.
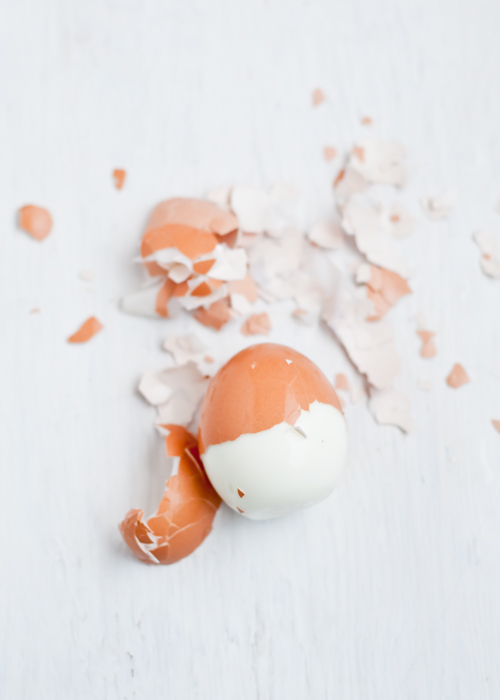
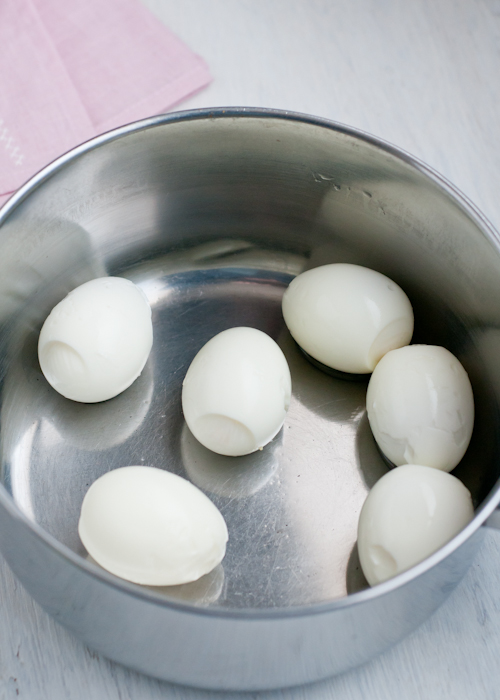
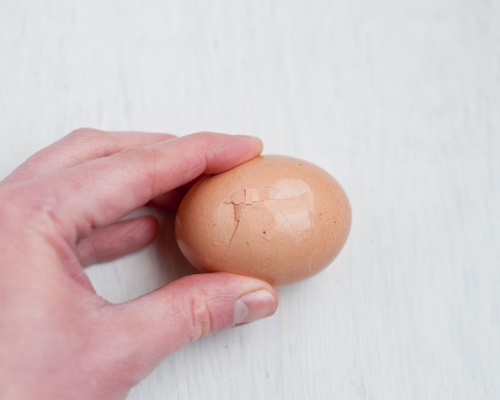
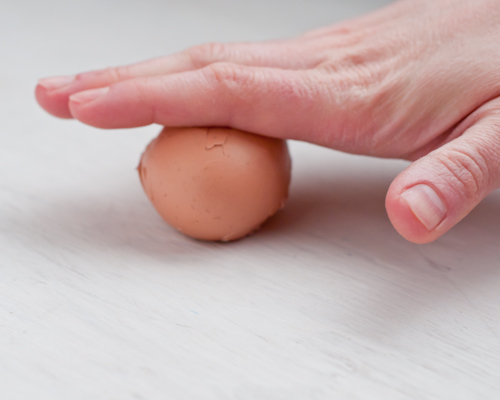
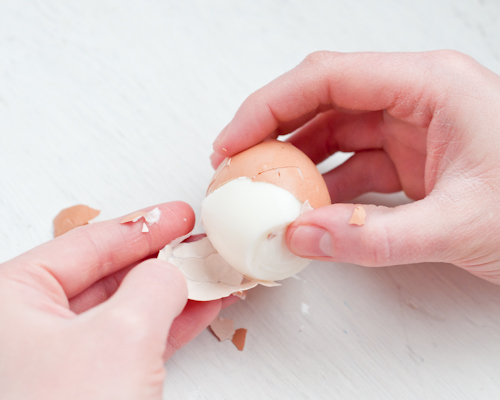
Now we’ve come to the funnest part: peeling. Secret #5: Cold eggs peel much more easily than warm or room temperature eggs. Begin cracking the cooled egg by rolling it gently against a flat surface, like a counter or cutting board. Go ahead and roll until the entire shell is covered in cracks. Then carefully peel the shell off. If the shell sticks to the egg white, help things along by either peeling under cold running water or in a bowl of water. I have also found that cracking the larger bottom end first, then rolling can help the shell come away more easily. Be sure not to crack it too hard or you’ll chance breaking the egg white right in half!
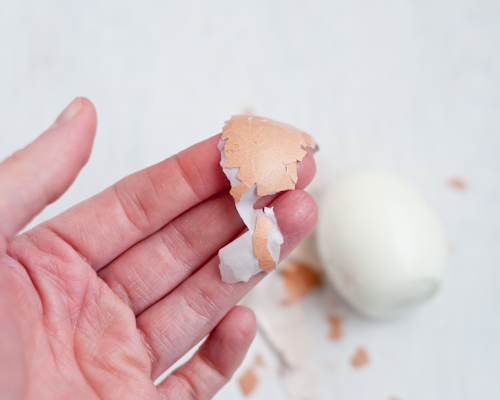
Peeled eggs should be used very soon after peeling. Unpeeled eggs should be kept in a container with a lid (to prevent odors) in the fridge for up to a week. (Tip: Save those shells! They can add extra calcium and other nutrients to your garden.)
TROUBLESHOOTING
Peeling
Have you followed all the tips and you’re still having a hard time peeling the egg? It might be because your eggs are too fresh. (Too fresh? Who knew that being fresh could be a problem?) Fresh eggs are known to be harder to peel, and that includes those fresh from the farm. Eggs in the store are typically about a week old, so plan ahead. The fix: Let your eggs sit in the fridge for a few days or even two weeks before you boil them. Or try the pin trick I mention in a bit…
Cracking
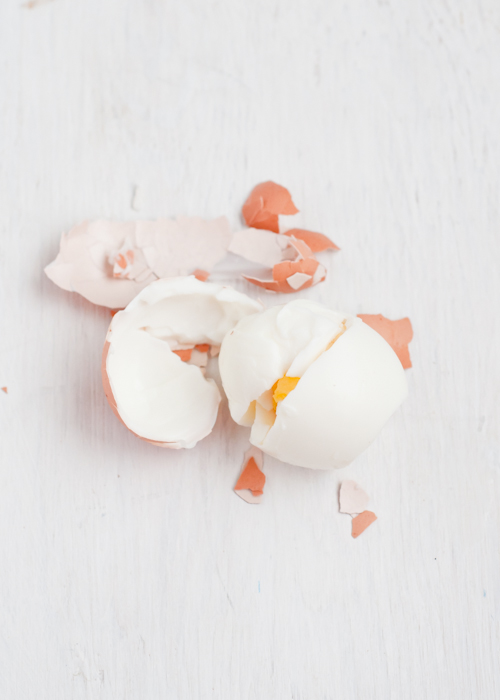
If your eggs are cracking during the boiling process, try this: add a little vinegar or salt to the water. The vinegar/salt will help any escaping egg whites coagulate and stop leaking out of the crack.
Or, you can follow my Mother’s tip: prick the bottom of the egg, where there’s a tiny space between the membrane and the shell. The idea is to release a little bit of air. It’s supposed to help prevent cracking — and some people swear it makes peeling easier too!
Grey-Green Ring on the Yolk
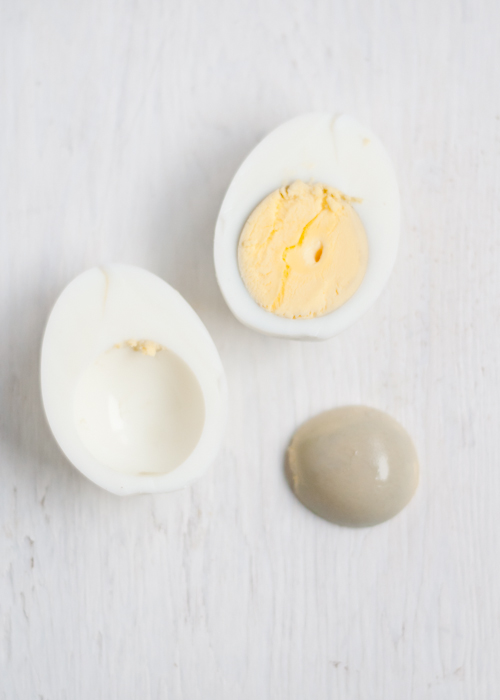
Found a grey-green ring? Don’t worry it’s not dangerous and doesn’t affect the taste of the egg. It’s just a little unappealing. That dark colored ring is a natural reaction between sulfur and iron reacting at the surface of the yolk and the egg white. It does mean that your hard-boiled eggs cooked for too long. Make a note of how long the eggs cooked and cook them for a few minutes less the next time.
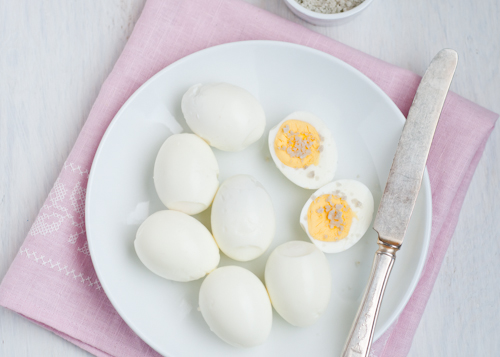
And that’s it! Now those hard-boiled eggs are ready for Grandma’s Deviled Eggs, dyeing with the kids, or eating as a quick snack or breakfast on the run.
Your turn: do you have any tips you’d add to these? Have you ever tested and timed your eggs so that you know the exact amount of cooking time for your stove and elevation?
P.S. — Love secrets? More helpful and practical posts.
Created by Lindsey Johnson for Design Mom.
