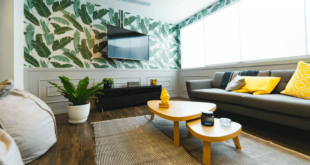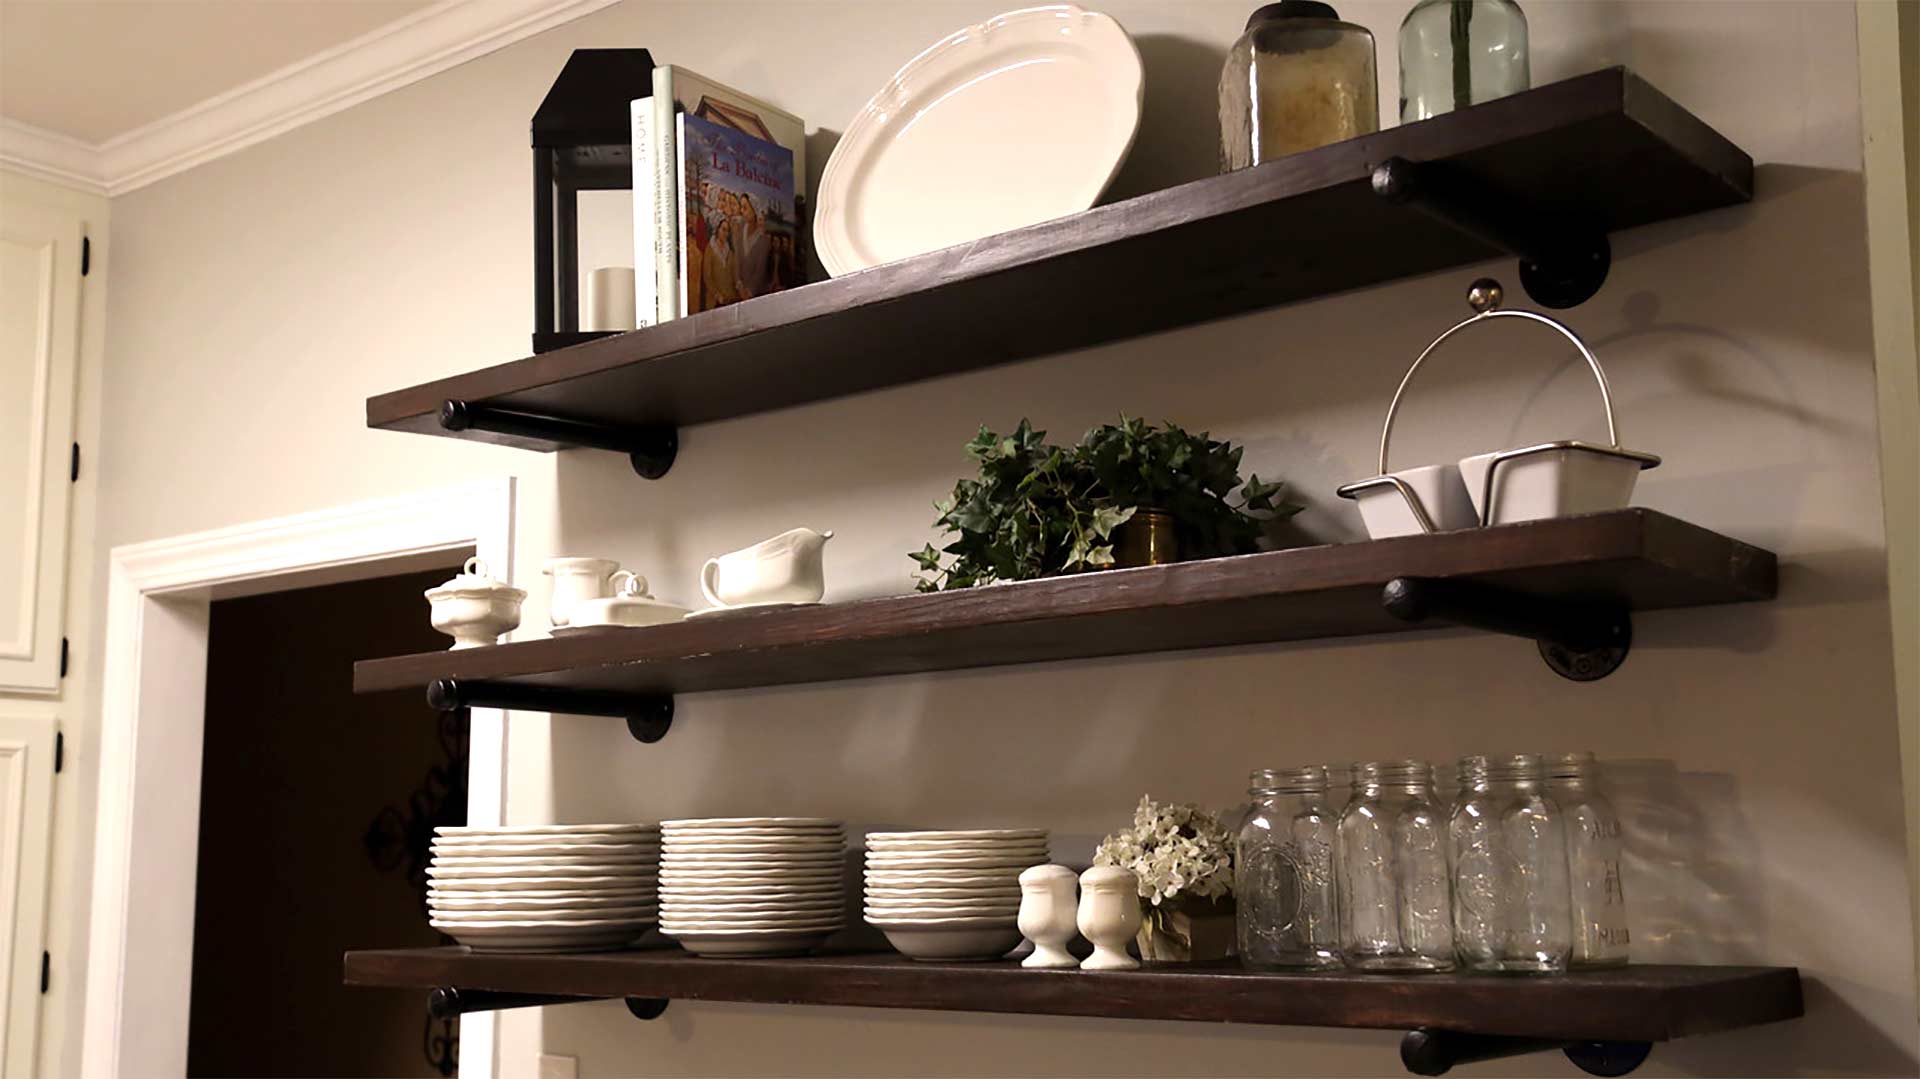
These DIY floating shelves will expand your kitchen’s storage and enhance its design without overpowering the space.
Watch the video above to learn how to make them, and follow along, step by step, to ‘DIY’ your own floating shelves.
Our floating shelves’ supports are made from a 12-inch piece of galvanized threaded pipe with a floor flange on one end and a pipe cap on the other.
Screw the pre-painted supports into the wall studs with 3-inch-long wood screws. We’ll have two supports for each row of these DIY floating shelves; in this case, that means they are about 48 inches apart.
Check the level between the two supports before securing them in order to have about a 7-inch overhang on each end.
We’re cutting our 2-by-12 shelf boards at 62 inches long. After sanding the boards, we apply a coat of stain to all sides of the wood, let it dry and apply a coat of clear polyurethane to all sides.
Once they’re dry, you can put them in place to complete this DIY floating shelves project.