Hello there! I’m back with a project I’ve been planning for a few months! I was finally able to get to it last week. I’ve been holding off on starting until I could get a sconce installed on the wall first.
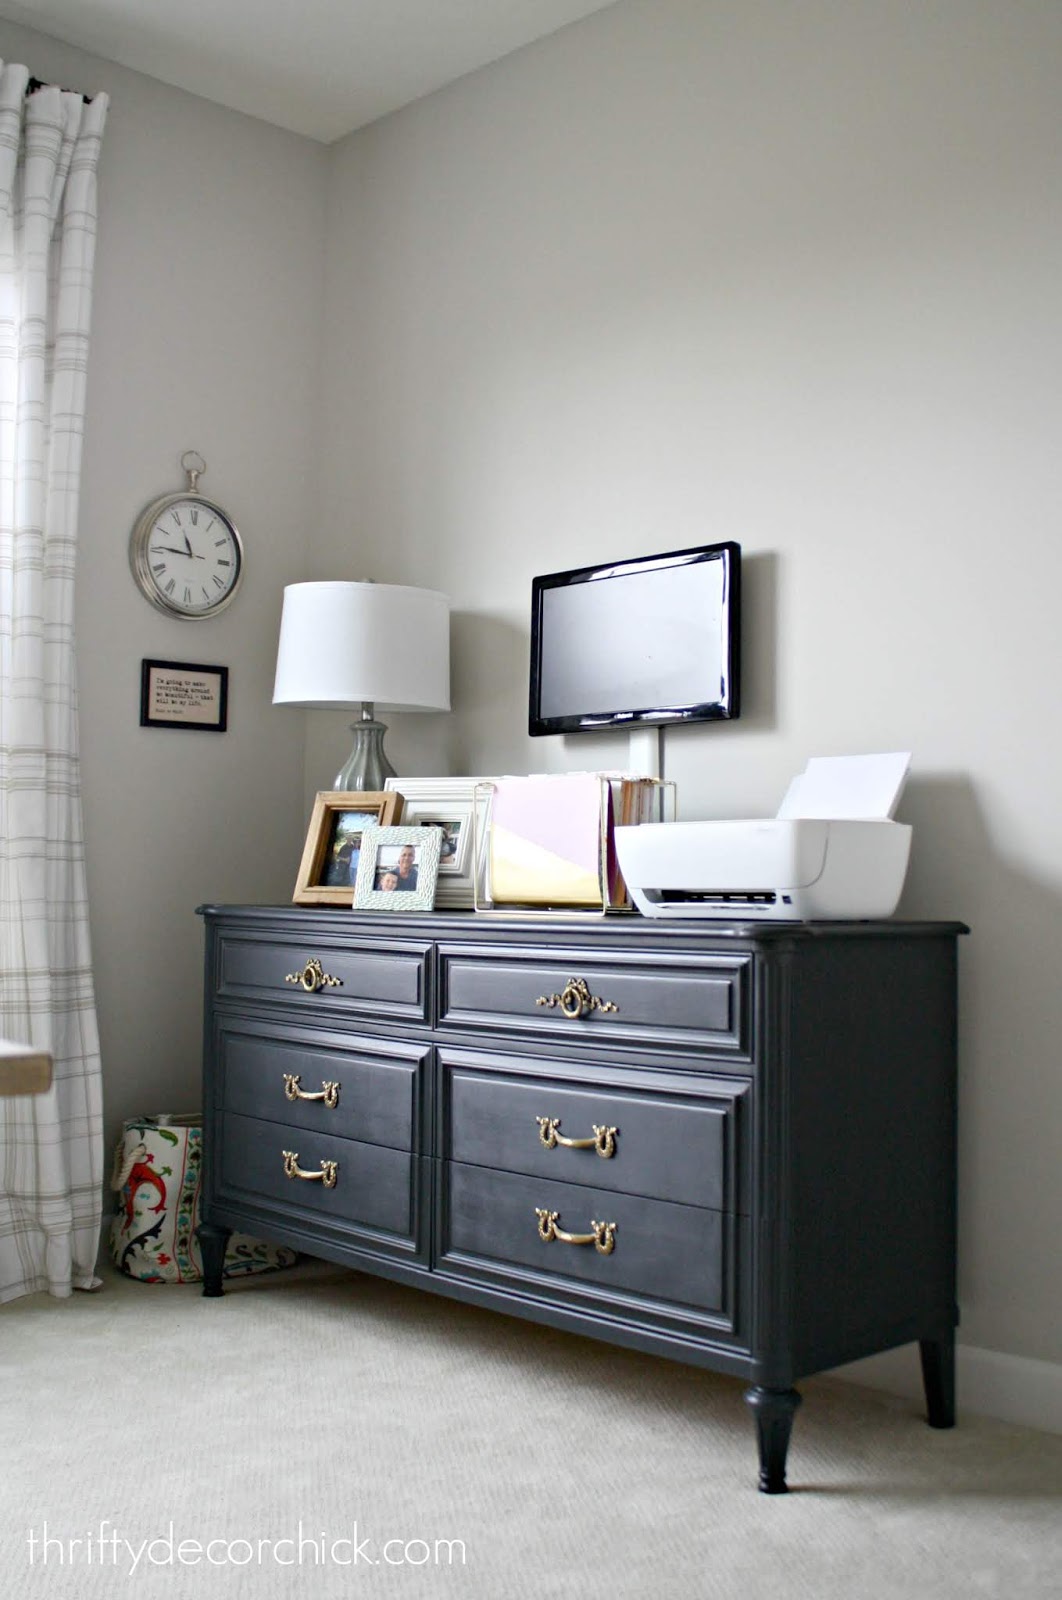
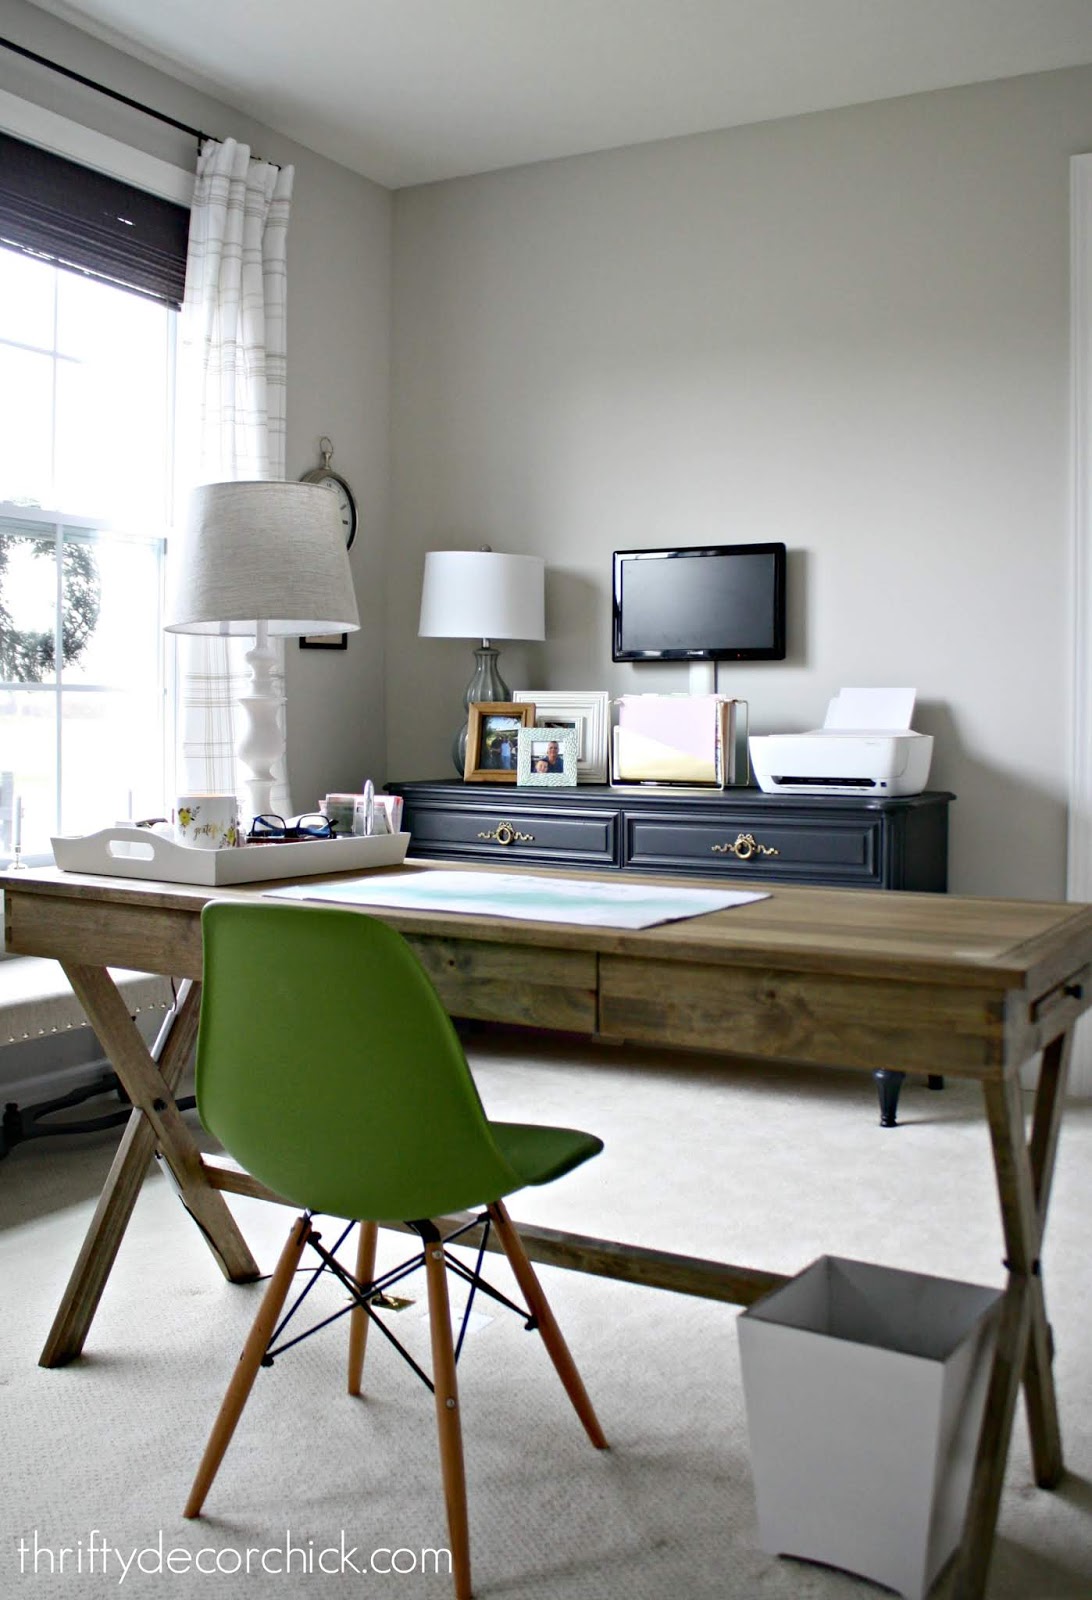
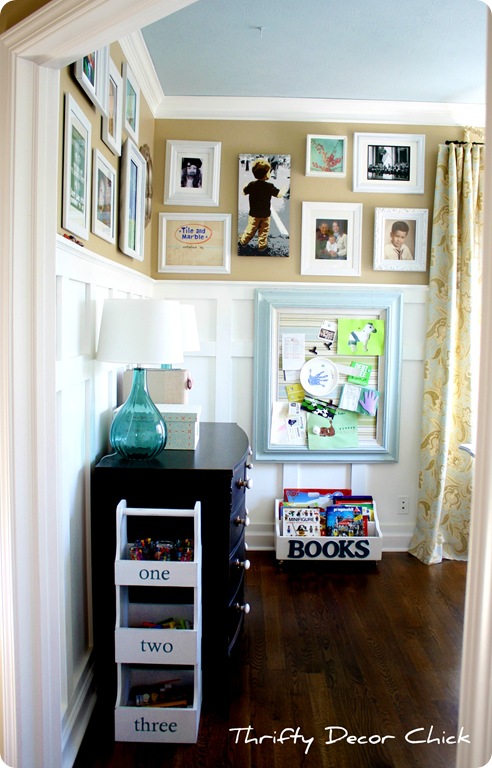
I’ve only shared this side of my office once because it’s hasn’t been much to look at. I showed you this wall early last year:
It certainly wasn’t awful, but it wasn’t nearly as cool as the other side of the room!:
Since that before picture I’ve changed out the TV for a slightly larger one and moved the dresser to another room. The bookcases gave me plenty of storage. (I replaced the dresser with a smaller table for the printer.)
I’ve had an idea for a big bulletin board in my head for a long time, but as I mentioned, I wanted to get a sconce installed first. If you have an outlet it’s pretty easy for an electrician to run wiring for a sconce and switch. I’ve done it many times over the years!
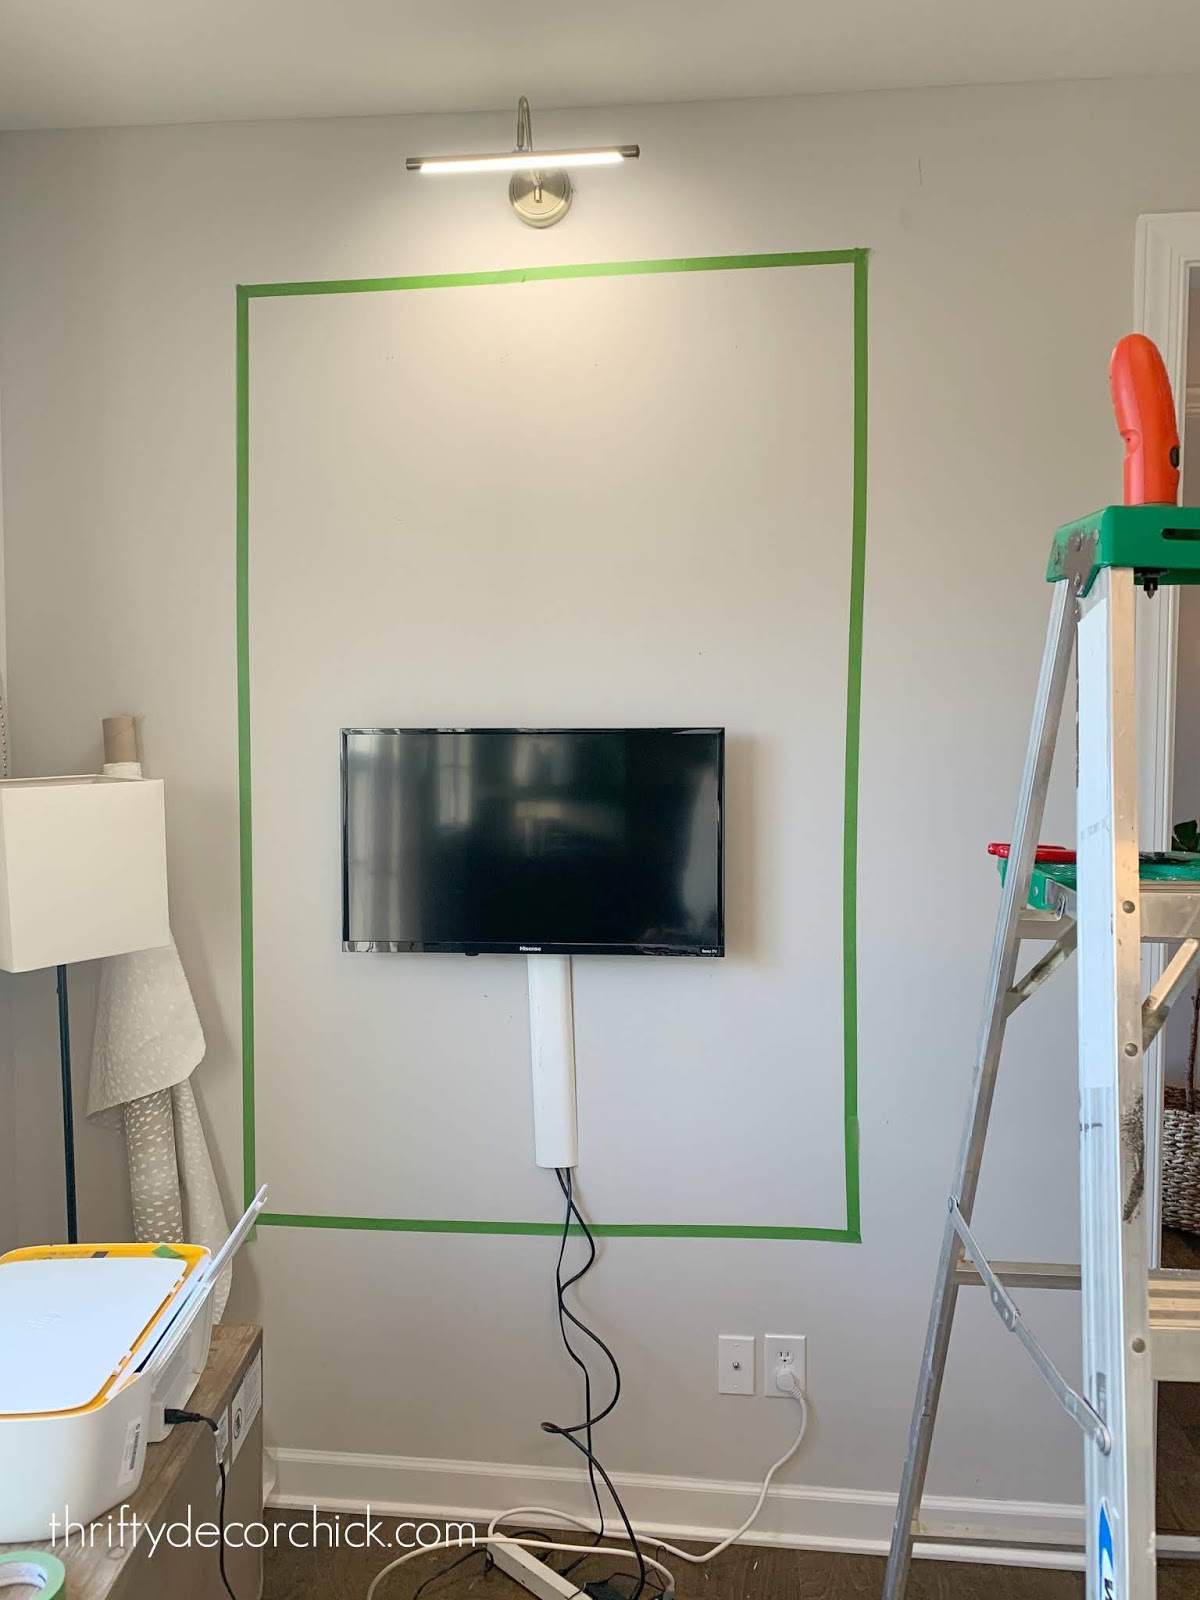
I taped out the size for the board before starting:
I use painter’s tape all of the time to figure out the placement and sizing of things — it’s great for figuring out furniture layouts too!
This post may contain affiliate links for your convenience.
I found the brass sconce here (I’ll show you a closer pic in a bit) and it was only $ 36! It is an LED light, so if you don’t like that brighter daylight look, you’ll want to pick something else.
Step one: Hang particle board
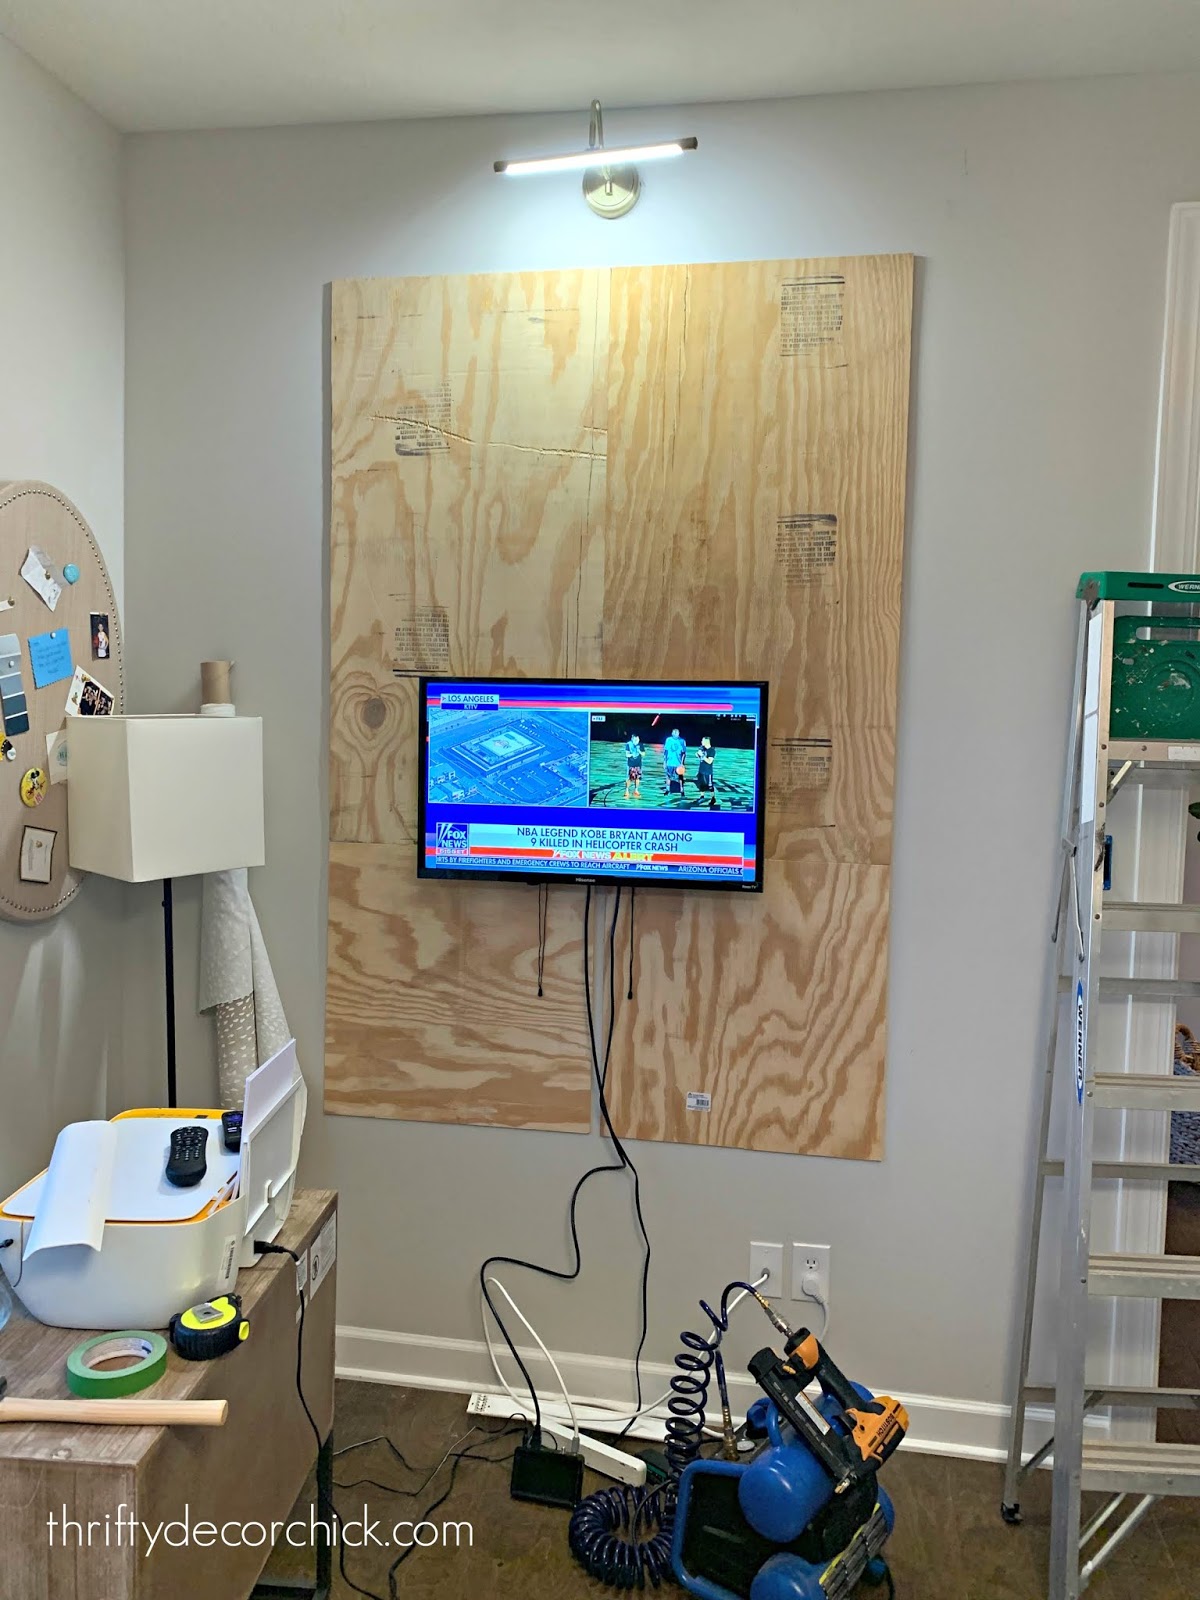
I had to give my bulletin board a base on the wall — otherwise I would be gluing the foam directly to the wall. I learned a long time ago avoid glue on the wall at all costs. 🙂
My bulletin board size is four by six feet so three 2×4 boards were enough:
I think they were $ 7 each. (It would be slightly cheaper to get a 4×8 piece cut down, but I get impatient sometimes.) As you can see, the TV was staying. I left it up as I worked because I wanted the bulletin board to surround the TV mount as closely as possible.
At the bottom I cut the boards short so the cords could go through that channel:
I don’t have a pic, but I later put
my favorite cord hider down the middle with the cords inside. If I have to remove the TV I can still take it off the wall and pull the cords through the bottom.
Step two: Install foam boards over the particle board
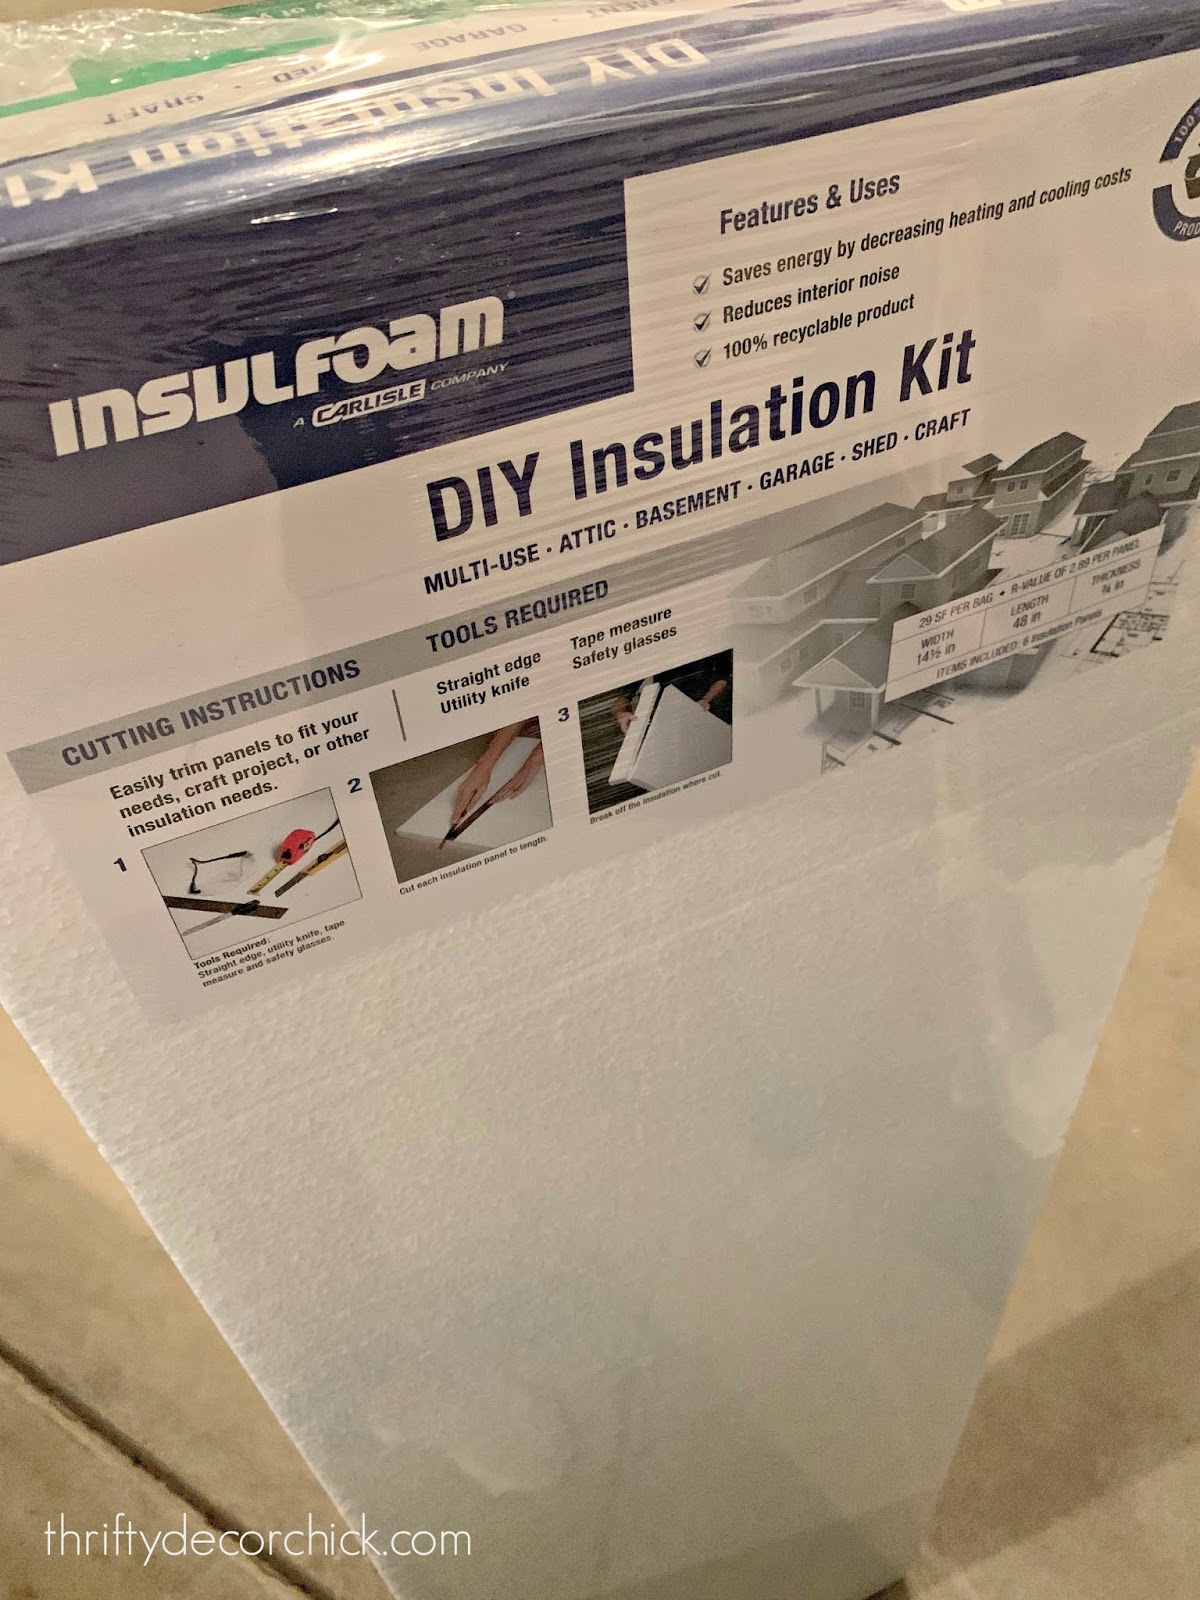
I’ve used the large 4×8 insulation boards you can find at the hardware store for bulletin boards before, but they are bulky and hard to get home. (I’d have to score and cut it there to get it in my car.)
So instead I used this insulation kit I found at Home Depot:
I can’t remember the exact price because I bought it so long ago, but it wasn’t bad!
It comes with six sheets and they are about 3/4 inch I believe. One kit was plenty!:
I used
Liquid Nails (in a caulk gun) on the back of each piece of foam to secure it to the wood:
As you can see I just pieced it together as well as I went. Cutting it down is easy, it’s just MESSY. I used a razor to score the foam and it popped off with a pretty clean edge.
It looked like it had snowed in my office after I was done, but it worked!
Step three: Attach the fabric
This is where I made a little misstep, so learn from my mistake! It ended up working out much better in the end thankfully!
I used a staple gun to attach my fabric at the top and then started working my way down. You’ll need to be patient with this part! To make sure the fabric stayed against the foam, I used
this spray glue as I worked. Just spray over the foam and then smooth your fabric down as you staple it around the boards.
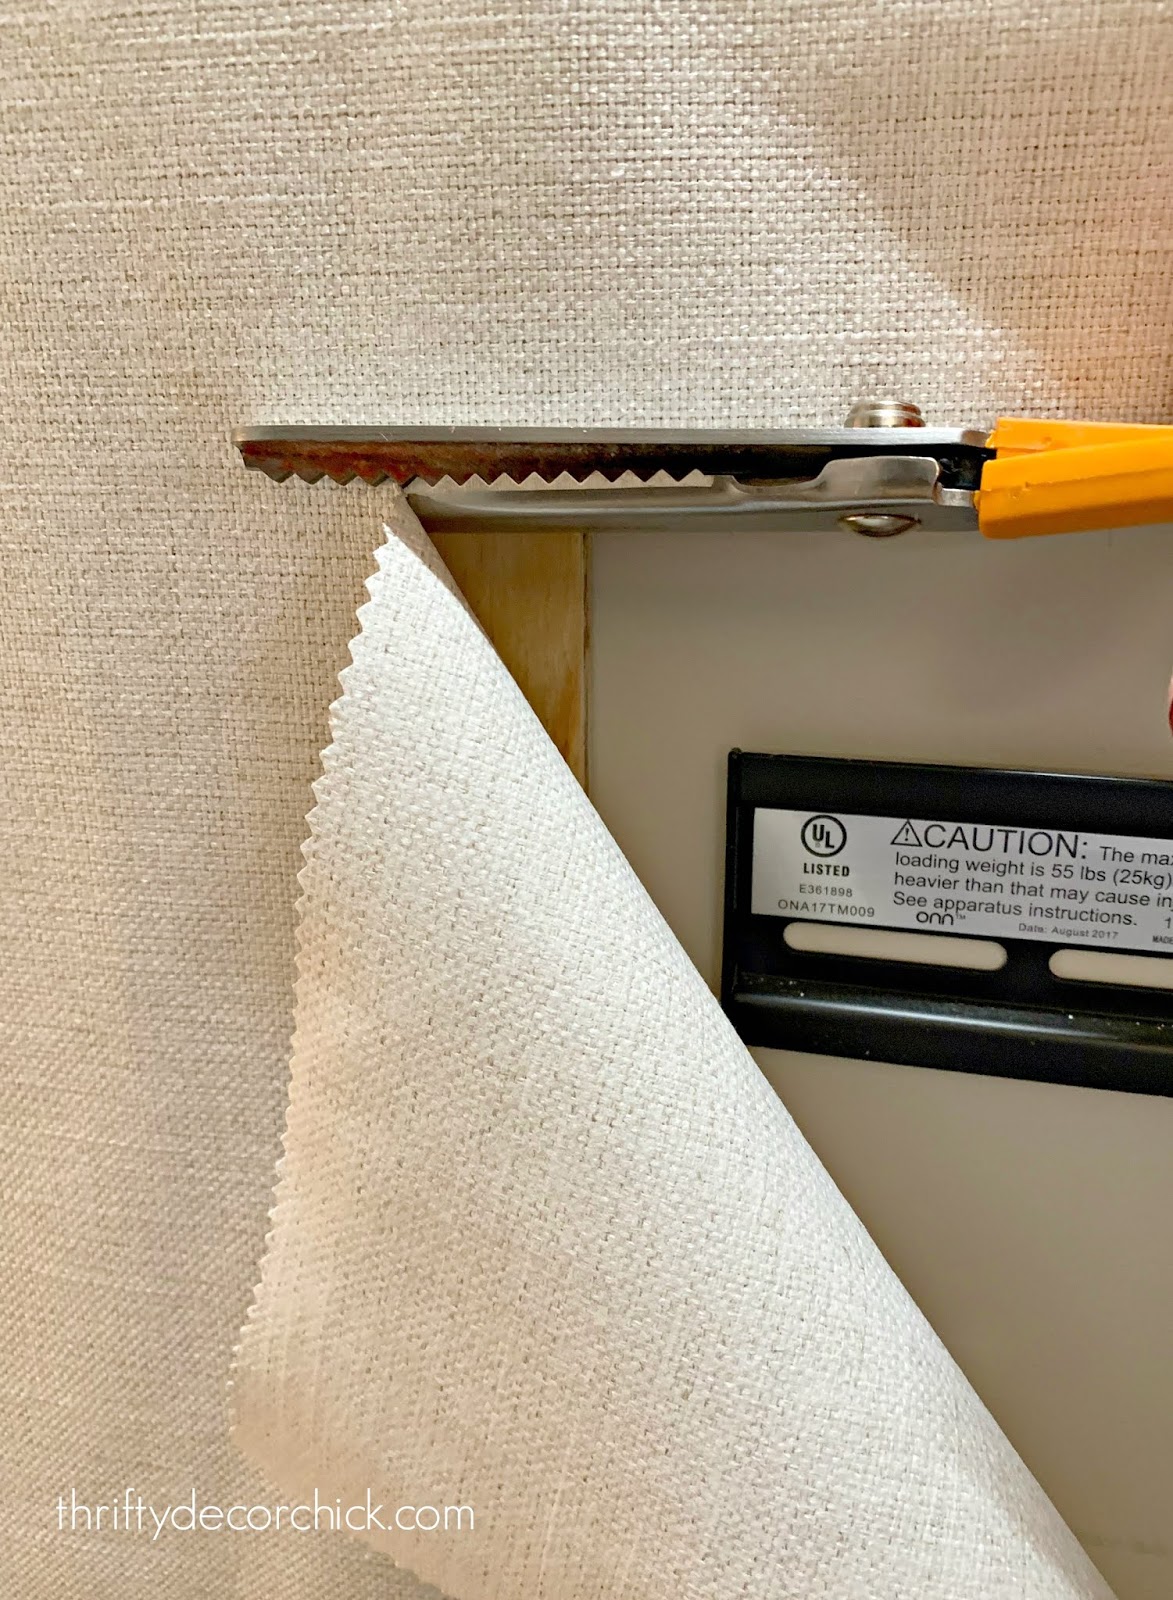
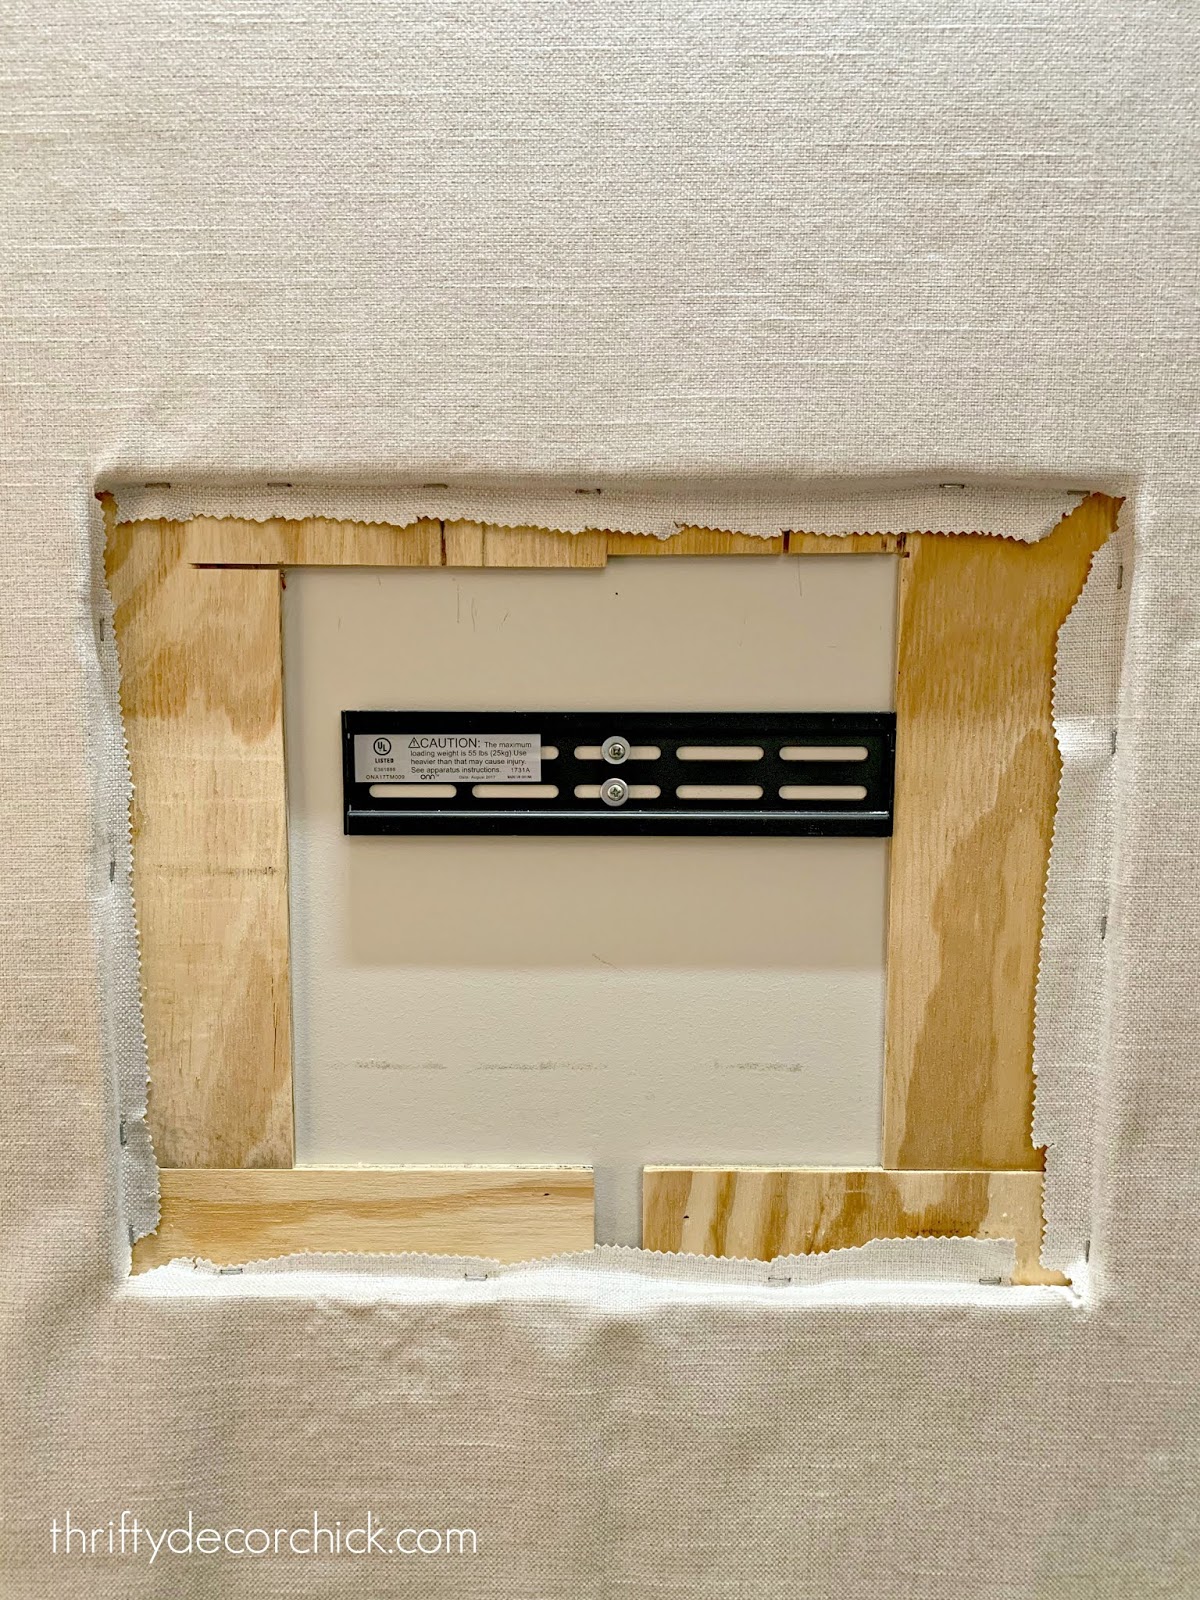
I removed the TV for the middle part and just cut through the fabric:
Trim the fabric and staple around the hole like so:
I could have taken the TV mount off and installed it over the particle board, but that seemed like extra work to me. Either way would work — just be careful not to put the foam and fabric right up against the vents of your TV so it can “breathe.”
The spray glue method worked GREAT! Almost too well — the problem was, after I was done I could see the minor imperfections in the foam (because the fabric adhered so well). I wish I would have taken a photo to show you. It wasn’t crazy noticeable, but enough that I knew it would bug me.
Thing is, I bought a fabric for this project months ago, but when it came time to install it, I chickened out. It was out of my comfort zone a bit, so I went with a basic cream tweed fabric instead — trying to play it safe. But when I got it up, not only could I see the imperfections…but it was BORING. 😂
Sooooo…I went back with my original fabric and LOVED it. I should have stuck with my gut, but it ended up being a good mistake because the first layer of fabric hid the imperfections. (I installed the final fabric over the first.)
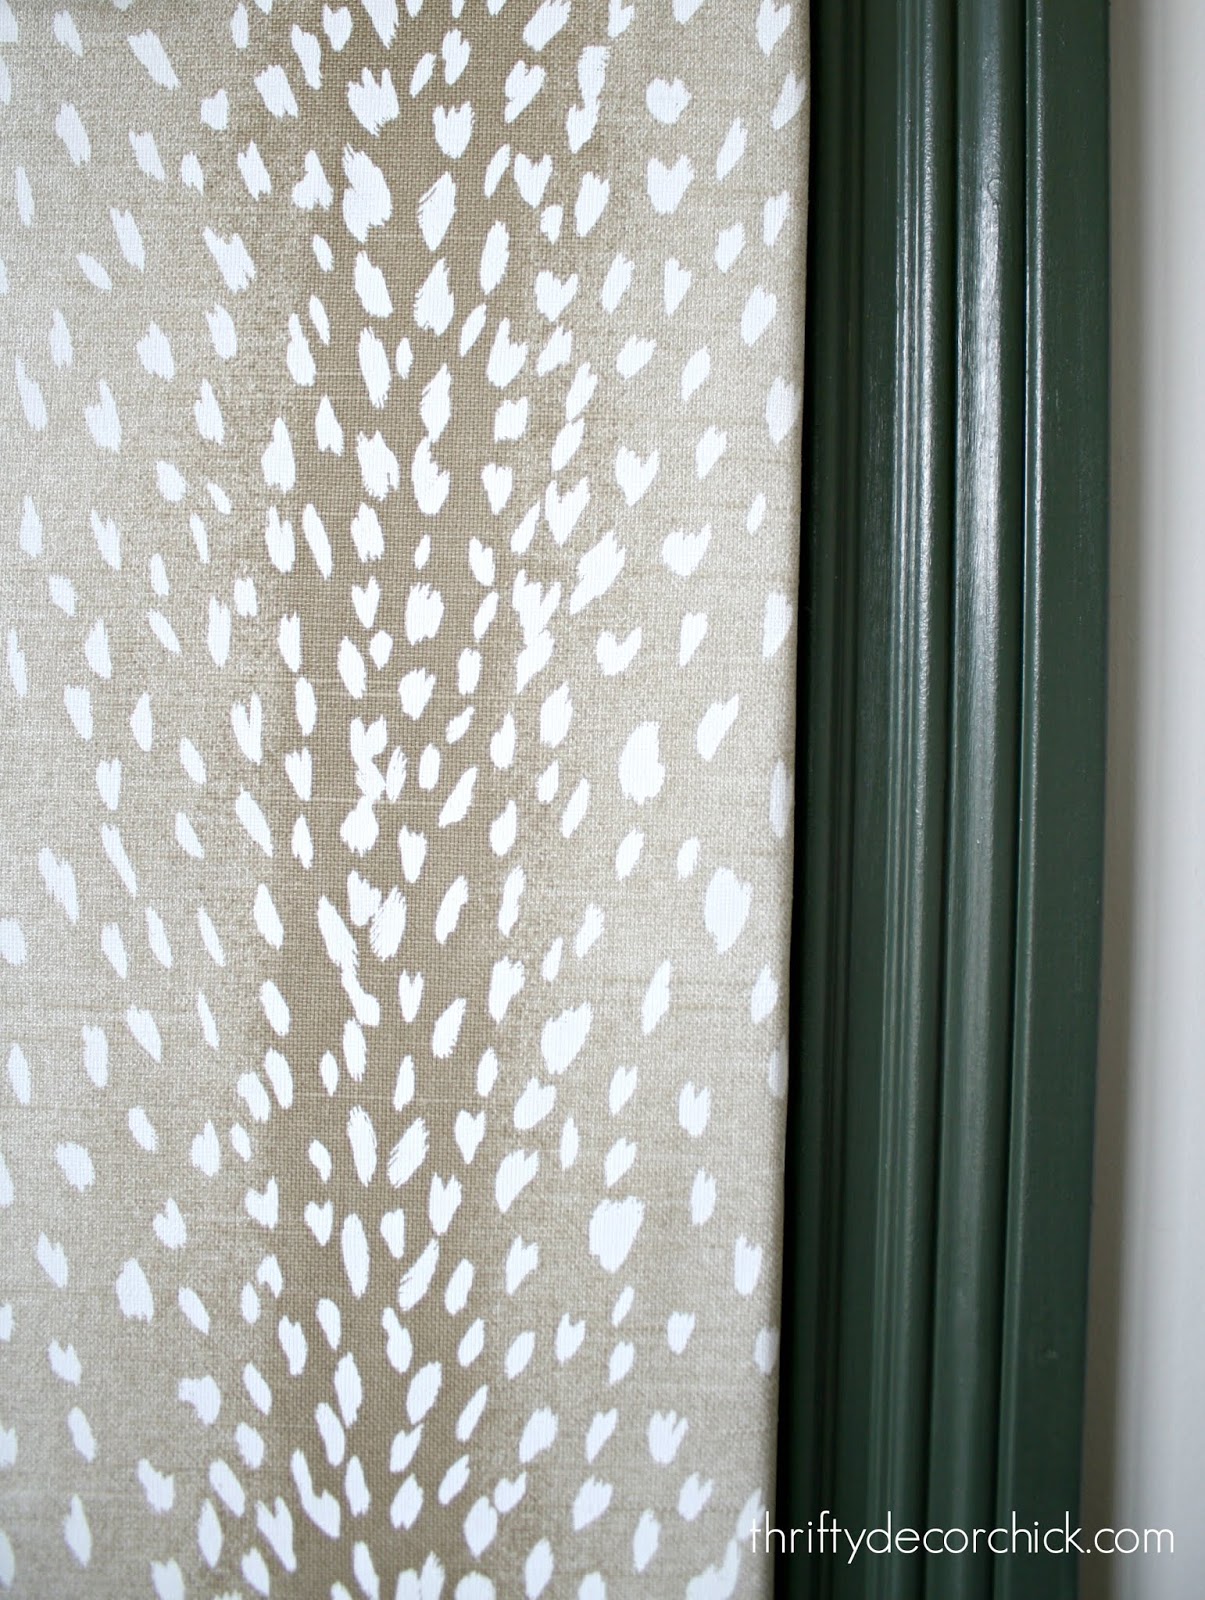
After I got my fabric up, I painted and installed trim around the whole thing to frame it out:
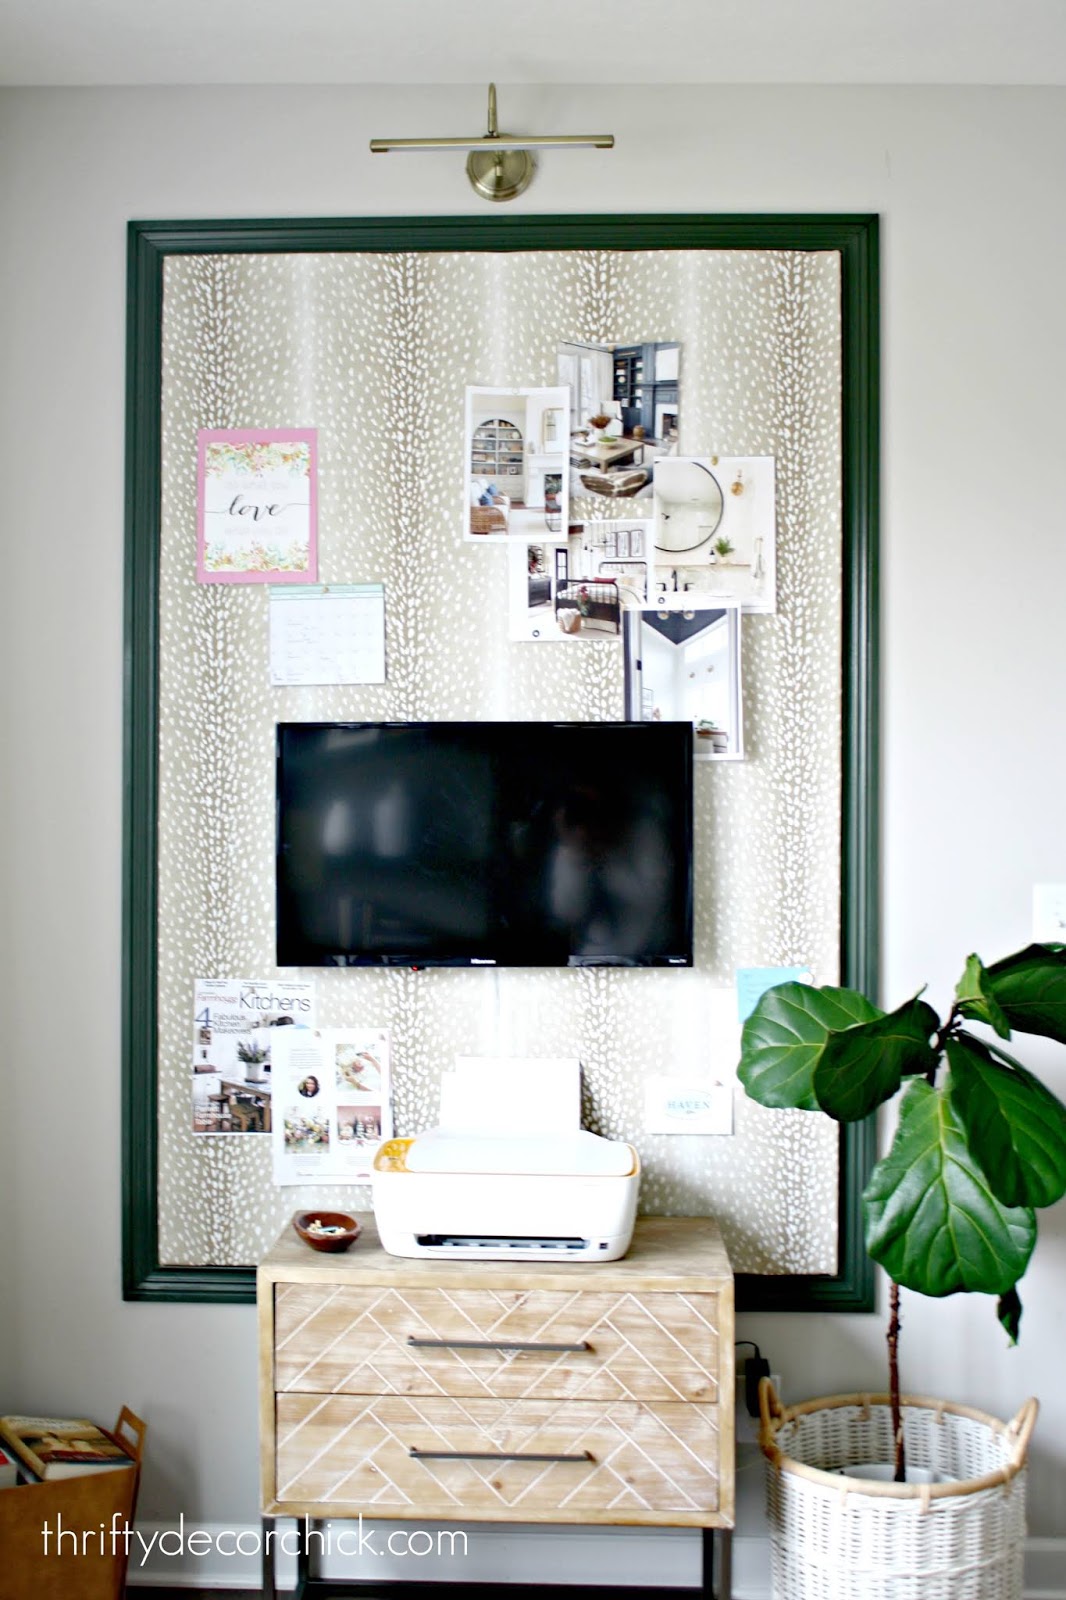
I carried the beautiful green (called Vintage Vogue) on the built ins over to this side of the room and I absolutely love it against the fabric.
The fabric makes a statement but isn’t busy. A larger print (like a floral) would look great, but I was worried it would get super busy with the photos/notes I want to put on here.
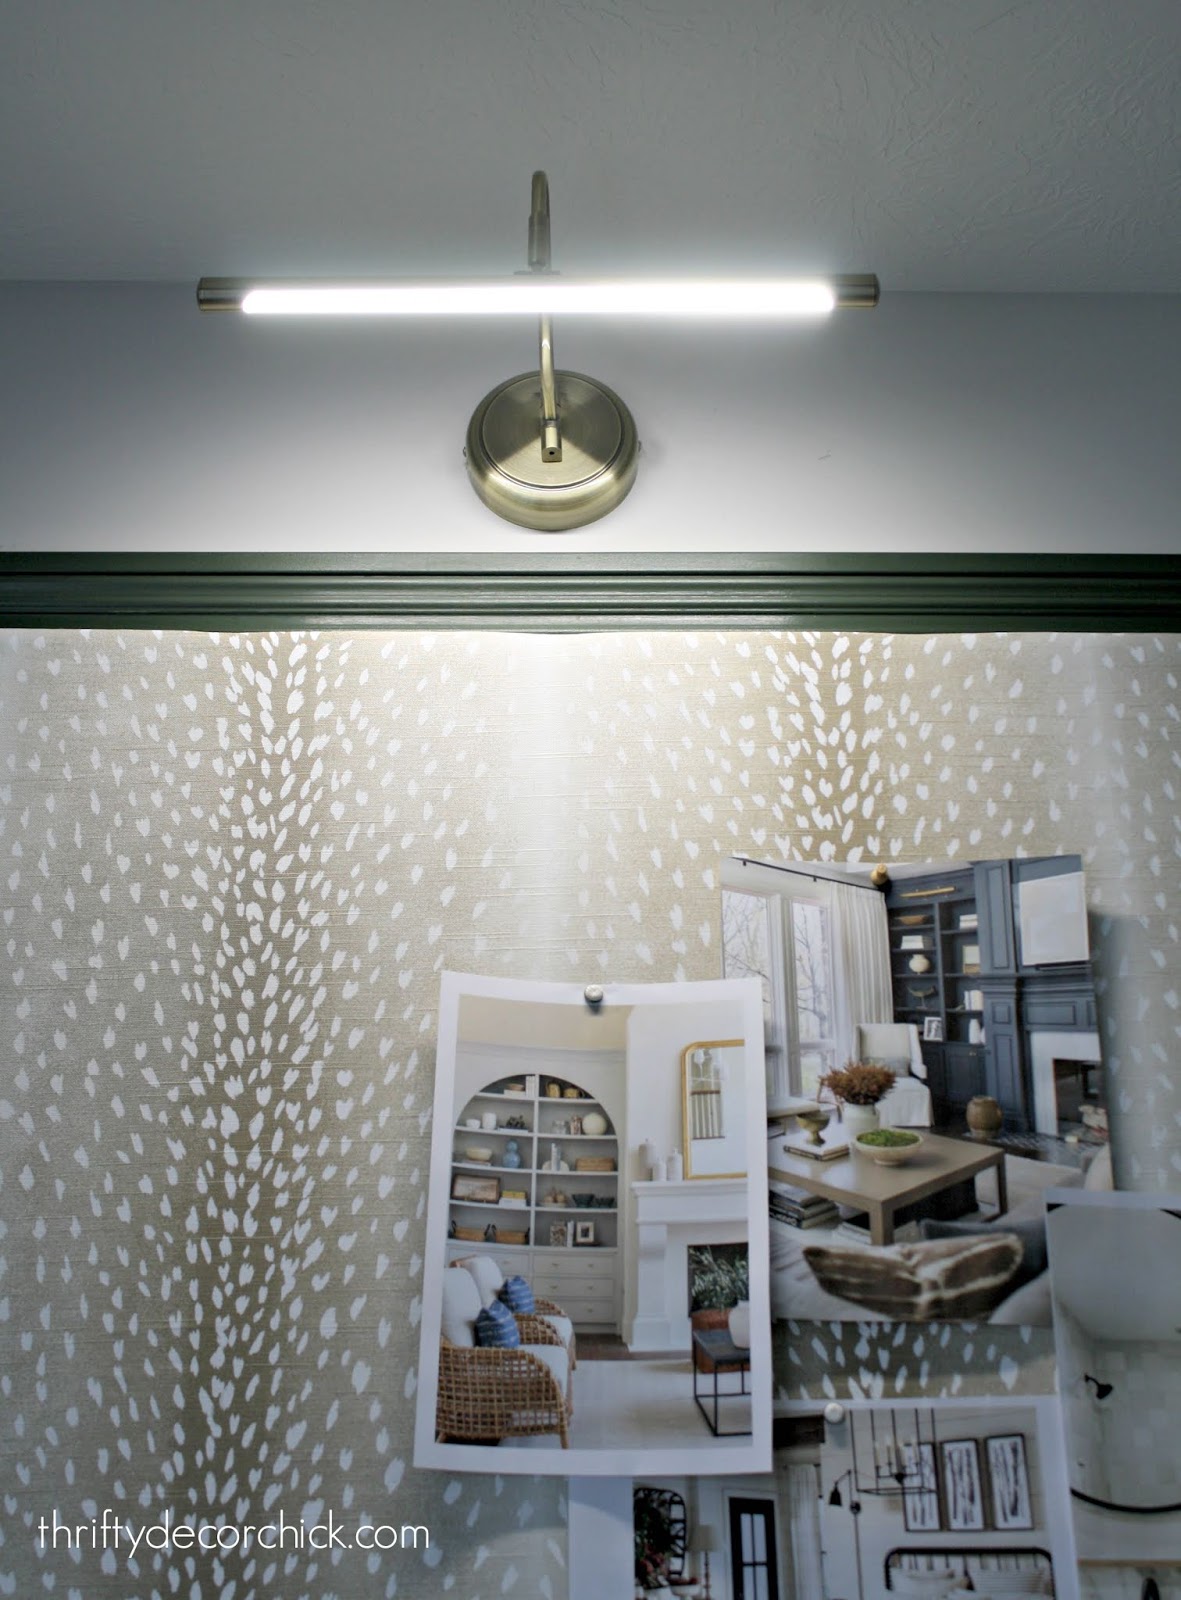
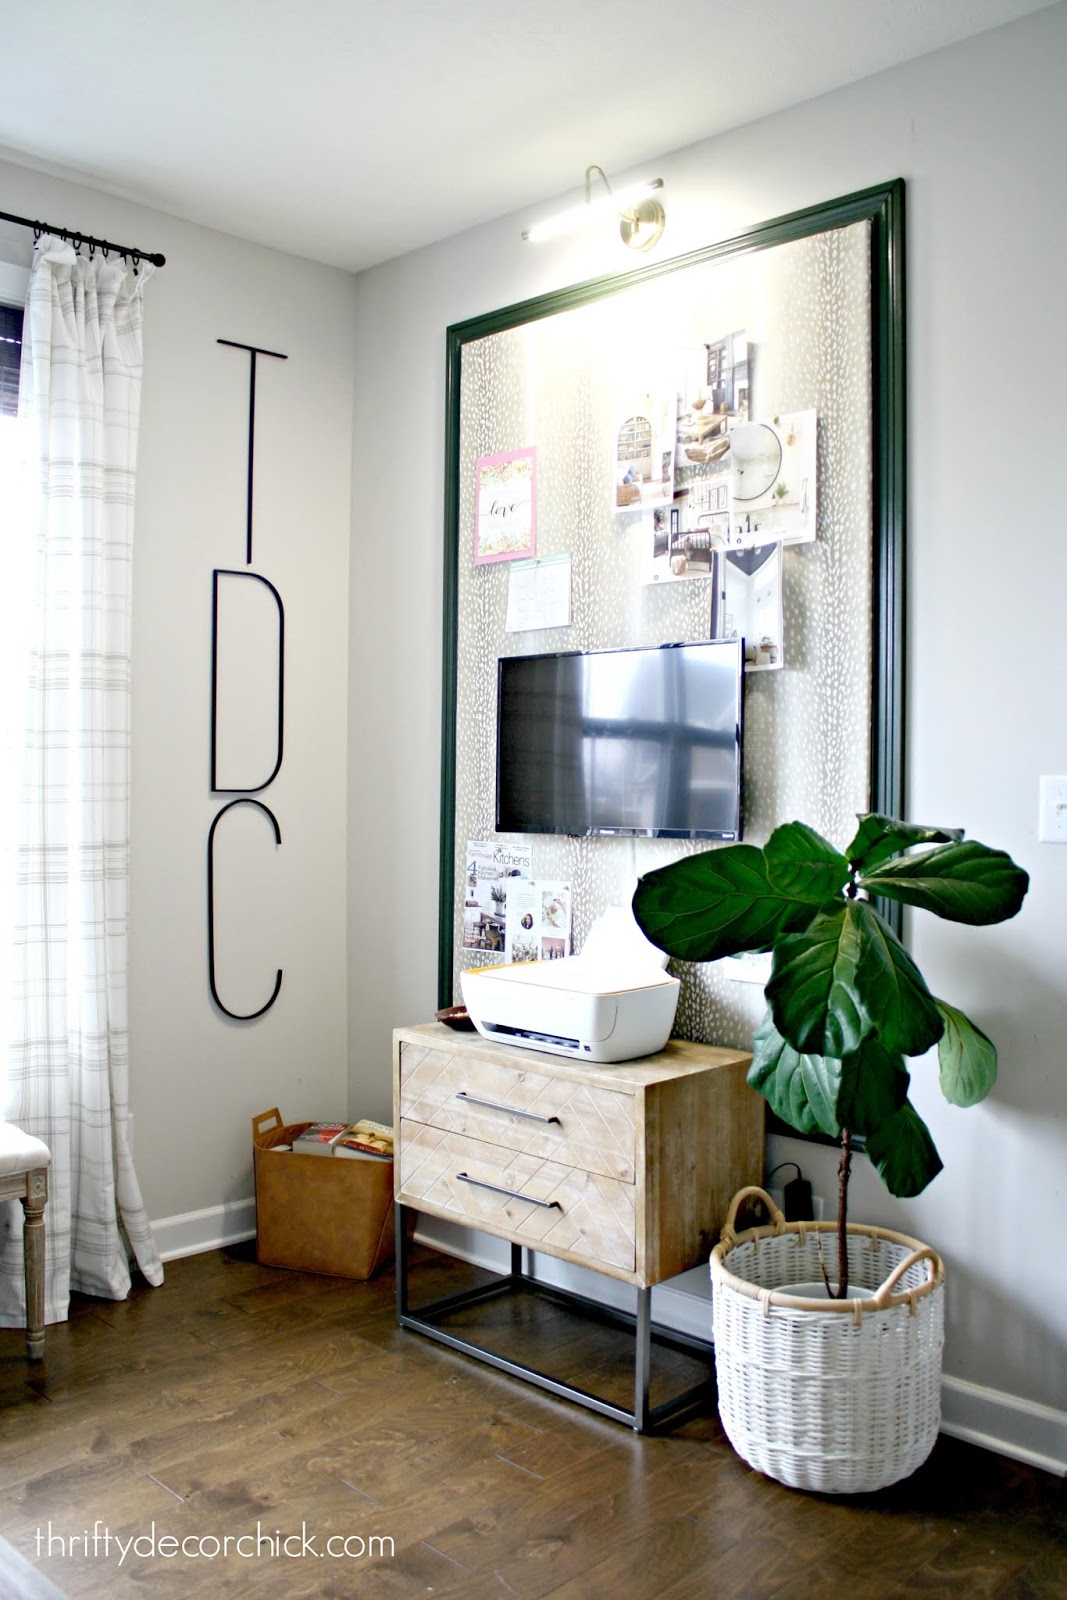
Here’s a closer view of the art light:
You can see how bright the LED light is!
I am SO in love with how this turned out!! I found my antelope (faux) fabric at Hobby Lobby for 40 percent off, but you can also
find it here online:
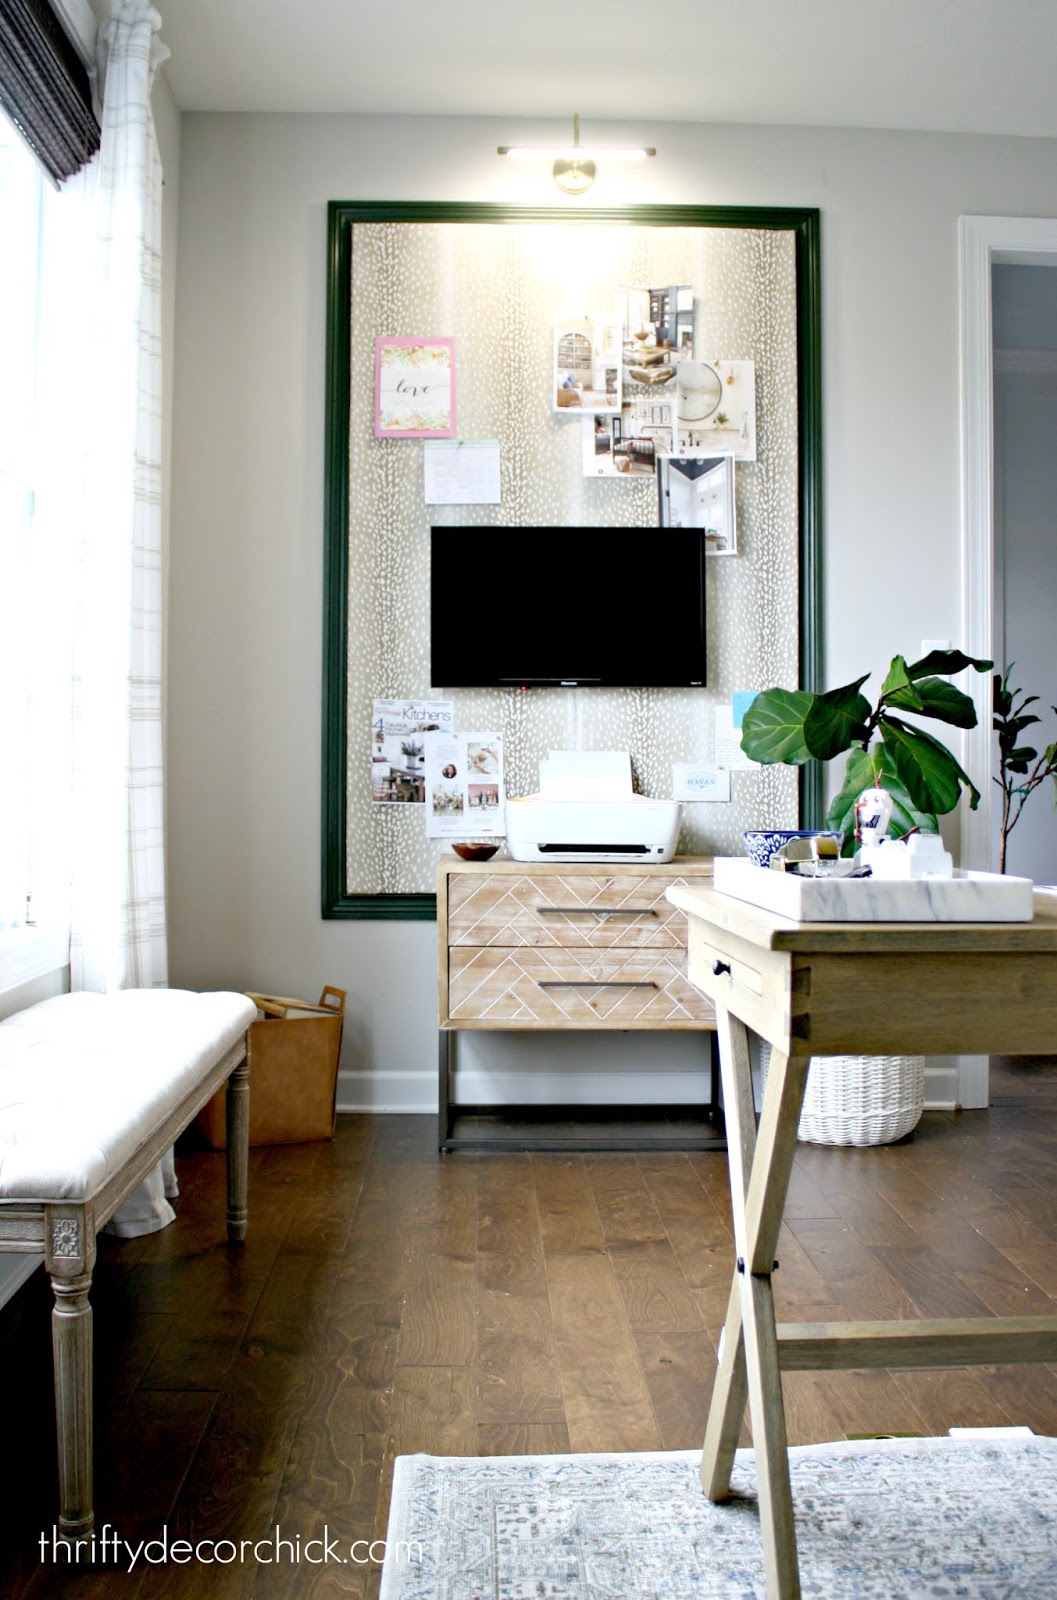
The little console was from At Home and it’s perfect for extra printer paper and ink.
I’ve already started filling up the board with things I’ve wanted to display for awhile — some inspiration pics, mementos and recent magazine spreads:
Aren’t those huge letters fun? I found those at Hobby Lobby too. I think they still have them!
It turned out just as I had envisioned all these months. I love that I have a spot to display these in a “neat” way:
Here are a few things to think about if you tackle this project:
- Use a fabric with a loose weave — something that will allow your pins to get through easily (and won’t show or snag when you pull them out).
- Remember you can only go as big as your fabric width — length can be as long as you want. If you want one piece of fabric, you can only go about 50 inches across.
- To avoid seeing any imperfections in the foam you can do a layer of a thin fabric (like muslin) over it first. I think anything with a pattern (like what I ended up with) would also help to hide it.
Here’s a look at the before of this wall again:
And how it looks now!:
I have plans for one more big project in this room! But after wanting to do this big bulletin board for so long, it feels complete to me for now.
Have you created a big bulletin board like this for your home?
——————————————————
Here are a couple of other ideas for office organization!
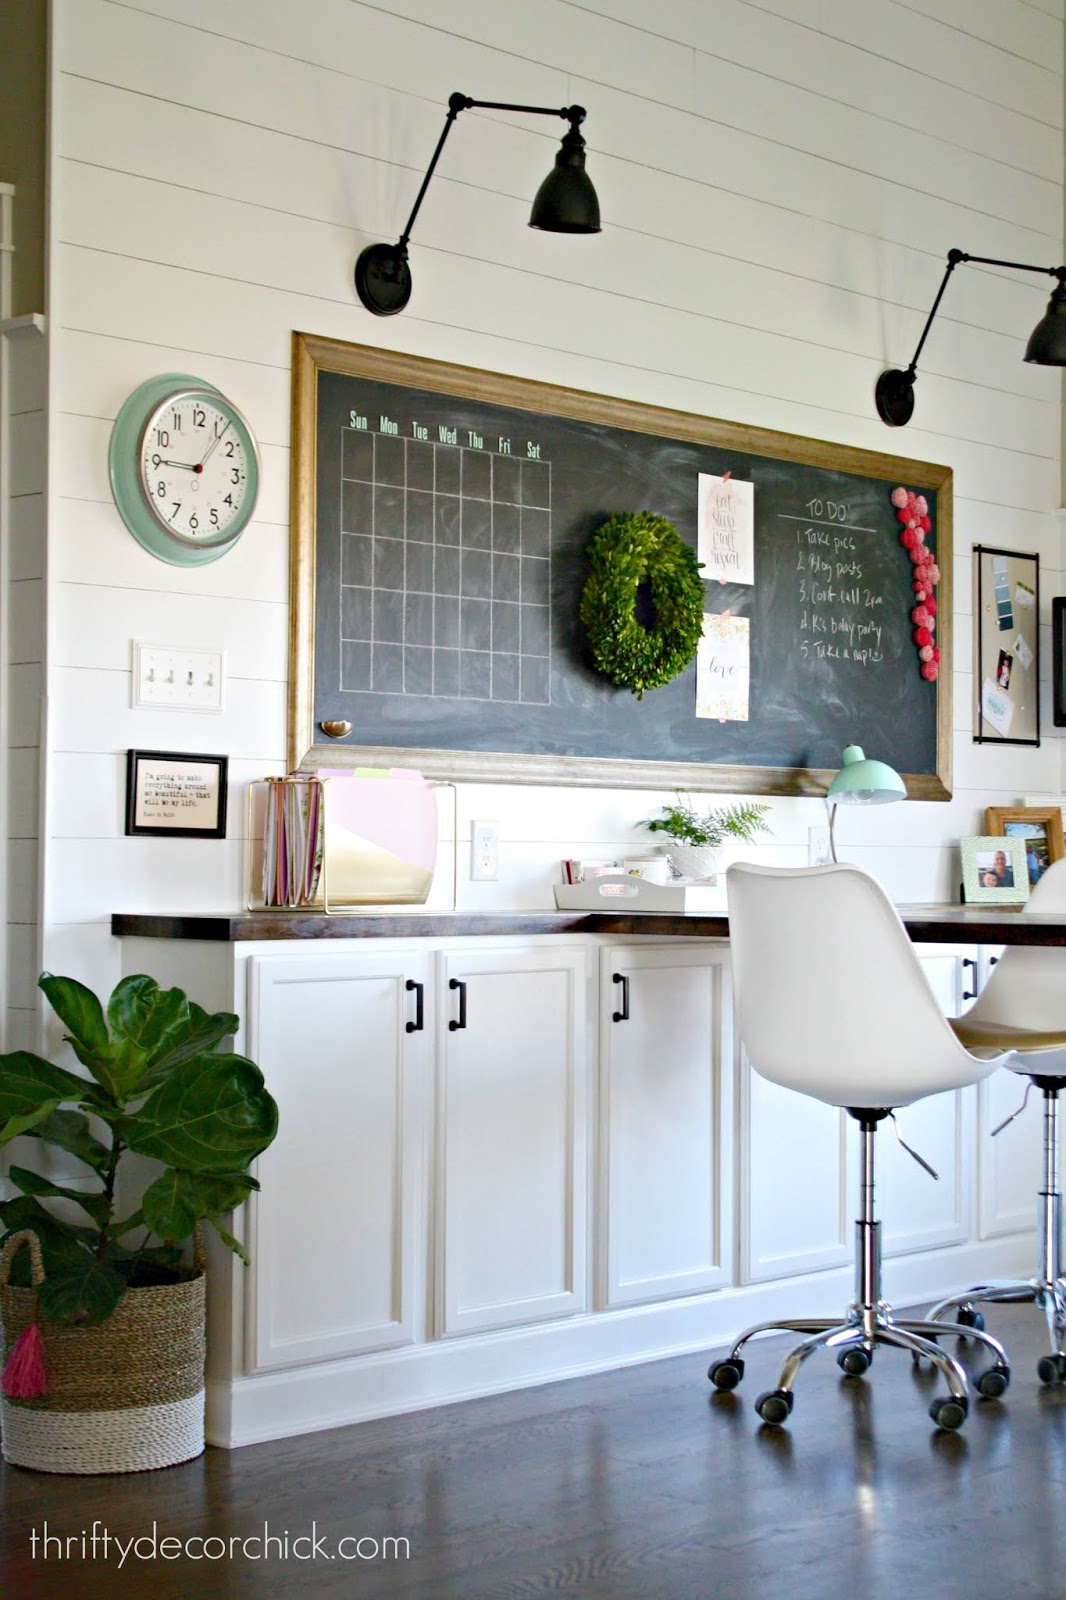
You can also make a HUGE chalkboard using my tutorial here:
(I later changed it out to a magnetic board instead of using pins!)
See more of our home here. To shop items in our home, click here! Never miss a post by signing up to get posts via email.
Let’s block ads! (Why?)
Thrifty Decor Chick
