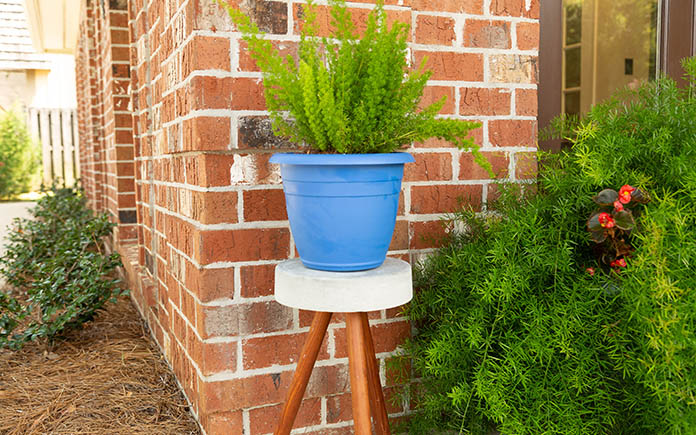
I love helping people realize their home’s potential. Sometimes, that just means dressing it up! You can instantly make a blank front porch look welcoming with a DIY plant stand.
Whether you’re a new homeowner wanting to make the place your own, or you just want to spruce things up, follow me as we make something special with Quikrete and dowels!
Materials:
- 1-1/4-inch dowel
- 5-gallon bucket (or 2-gallon if you want a smaller plant stand)
- Quikrete (I used their countertop mix)
- Gloves
- Bucket for mixing
- Cooking spray
- Sandpaper
- Trowel
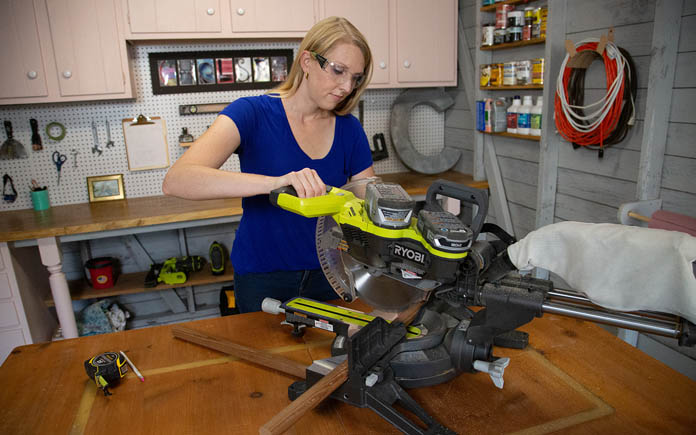
1. Cut the Dowel
Home centers sell a wide variety of dowels, especially birch, oak and poplar. Consider the dowel’s color and density before choosing one. Unless, of course, you want to stain or paint the dowel. That’s always an option!
The dowel will usually be longer than the project requires. For instance, you may end up purchasing a 96-inch dowel, which would be too big for this DIY plant stand’s legs. So, go ahead and cut the dowel to three 18-inch pieces. I used my trusty miter saw to do this.
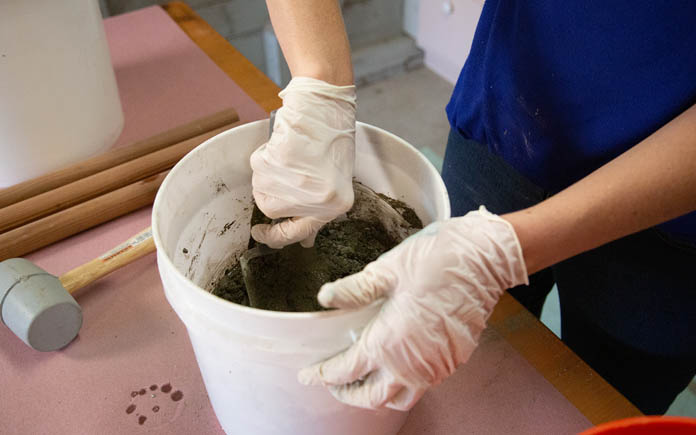
2. Mix the Concrete
Combine Quikrete Countertop Mix, or Quikrete 5000, and about three quarts of water in a plastic bucket. Countertop mix is thick, doesn’t contain rocks, and leaves a smooth finish — perfect for outdoor décor! (Plus, I had some on hand. In fact, I had all this project’s materials on hand, so this entire project is free!)
The great thing about working with concrete is it’s so user-friendly! You can hand-mix concrete with a trowel (which I used), or do the job with a shovel or a hoe. If you want to speed things up, grab a drill with a mixing paddle. Your call.
Also, I just want to point out something: the gloves. They’re a must if you’re working with concrete — protect your skin and eyes whenever you work with concrete products!
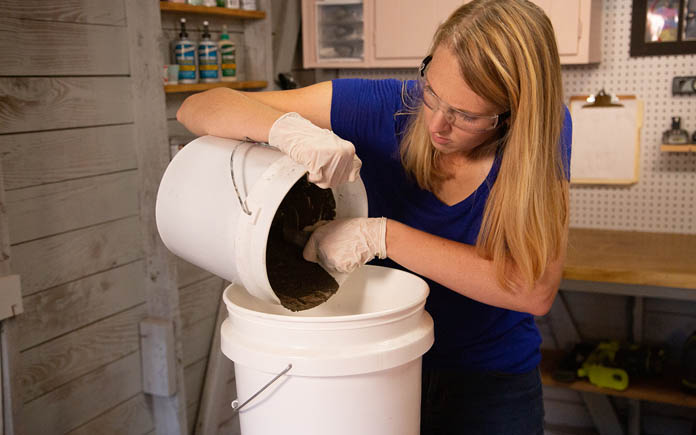
3. Fill with Concrete
Let’s knock out three quick tasks after mixing the concrete.
First, coat the 5-gallon bucket — the form for the DIY plant stand’s concrete top — with cooking spray. This helps prevent the concrete from sticking (Note: Use of cooking spray may cause some slight discoloration.)
Second, mark the bucket’s exterior, about 2 and ½ inches from the bottom. This is the fill line for the concrete mix. Stop when you’ve reached the mark!
Third, fill the bucket with concrete mix!
4. Insert the Dowels
This concrete plant stand consists of two parts: a concrete top and three wooden legs. (It’s a tripod!) I love mixing building materials for a modern look. And I love how easy this project is to create.
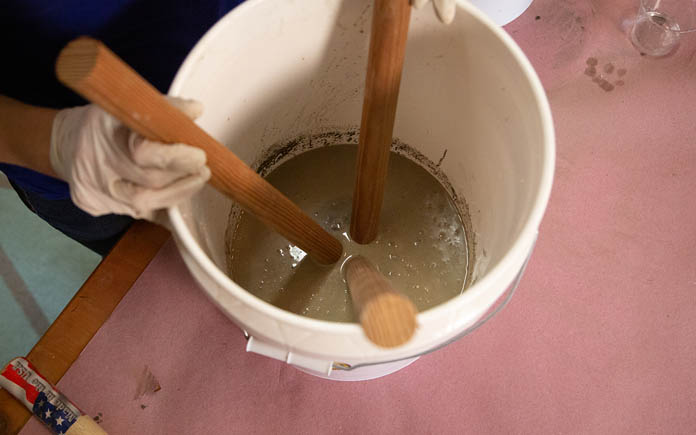
Which brings me to the next step: We’re going to simply insert dowels at the center and lay each one against a different side of the bucket.
Then we’ll tap the form with a mallet — this gets any bubbles in your concrete to rise to the top.
5. Measure and Level the Dowels
This DIY plant stand will be beautiful — that’s a given — but it also needs to be functional. The last things you want are wobbles and spacing issues.
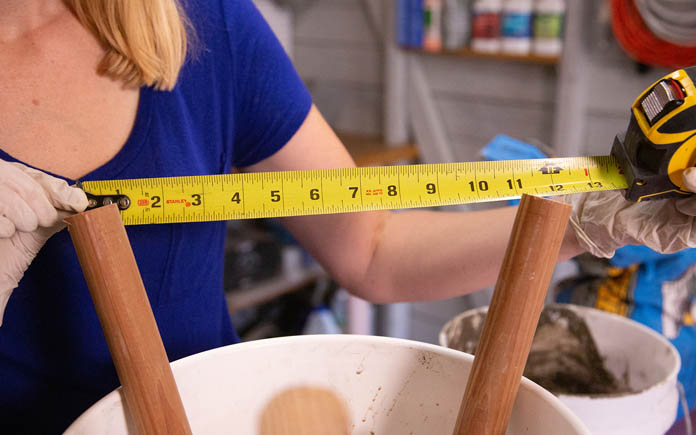
Measure between the dowels / legs to make sure they are uniformly apart. Mine were 11.5 inches on center from each other.
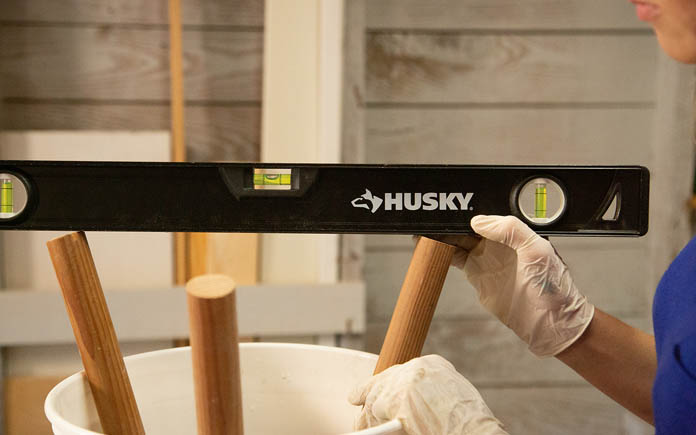
Then use a level to make sure they are relatively level with each other so your plant stand won’t be crooked!
6. Dry and Enjoy!
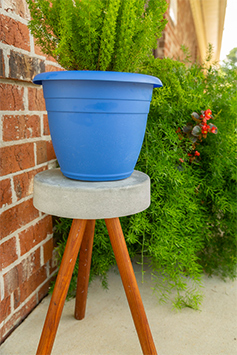
| Let the plant stand dry for 24 hours before removing it from the bucket. Turn the bucket upside down and tap with a mallet or hammer to help the concrete release from the bucket. You may need to let it dry a little longer out of the bucket before sanding with 220-grit sandpaper and setting on your front porch. The finished product will add height, dimension and texture to your home’s entry! |
Bonus Projects
If you enjoyed the DIY plant stand, here are two more concrete creations for inspiration. I didn’t make these specific projects — the photos come from my friends at Quikrete — but they’ve certainly inspired me!
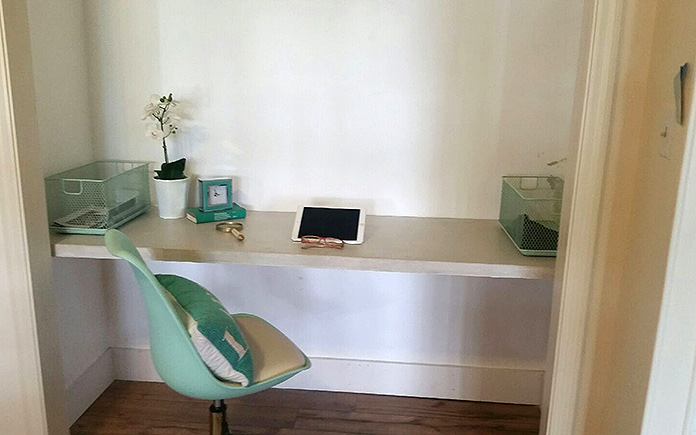
Concrete Desk
Have you ever outgrown a home and needed to make the most of the space? (I sure have!) Or purchased a home, only to realize after move-in that it doesn’t fully meet your needs?
If you need a nook for office space and can spare a bedroom closet, this concrete desk is the perfect solution!
The build isn’t much different from pouring a concrete countertop. Follow those steps, drill French cleats into the sides of the finished product and directly into the wall studs, and then hang the desk. Add a laptop, pull up a chair and get to work!
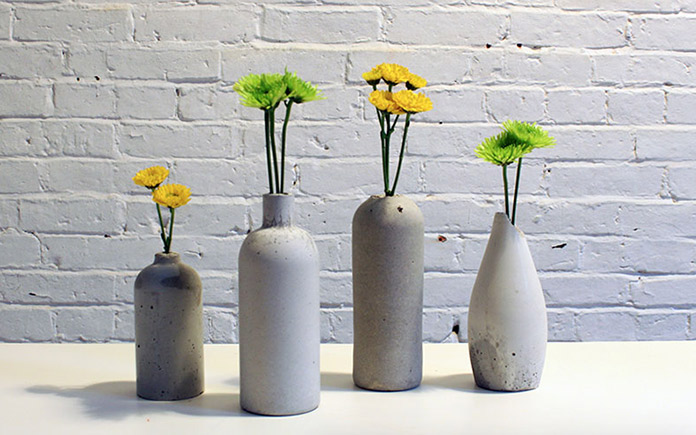
Concrete Vases
Every desktop needs a vase of pretty flowers, and these concrete vases will look like they were made for your home office!
Creating them is easy. Grab a plastic bottle, cut off the bottom, insert a roll of cardboard or paper that extends from the top to the bottom of the bottle, tape off both ends of that roll, set the bottle — top down — in a large cup for balance and then pour in the concrete mix! Gravity will do the rest.
The result is a modern, stylish take on the traditional glass flower vase. And it will look great with other concrete desk accessories including a concrete phone stand and concrete pen cup.
With concrete, it’s easy — and fun — to make anything. Only your imagination is the limit.
Tell me what you’ve made with concrete in the comments!

