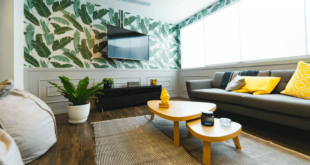
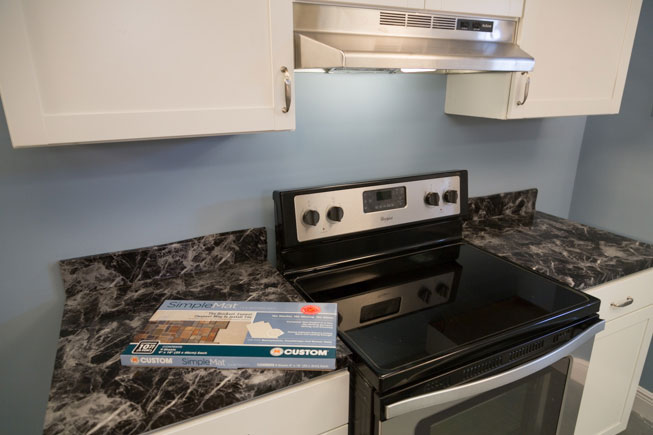
Tile backsplashes, countertops and shower walls are popular home improvements, but installations aren’t easy for do-it-yourselfers.
For many DIYers, the simpler the project is, the better. And that’s a problem with thinset mortar, a tile adhesive.
First, you have to spread mortar with the trowel’s flat side and then flip to its notched side to create ridges. Then you have to wait for the tile to set — cure time varies a lot and could be 16 hours or more! Slowly, but surely, the process comes together, but who has that kind of time?
That’s why I love time-saving tools like SimpleMat from Custom Building Products. It’s a double-sided adhesive mat designed to bond tile to drywall and many other surfaces without the hassle.
Want to install a backsplash and upgrade the look of your kitchen? Then read on!
Materials:

1. Measure the Area
SimpleMat comes in rolls or sheets. Rolls cover 30 square feet, and one box of SimpleMat covers 10 square feet. We’ll use sheets for this project because it’s a small space.
First, lay out the area, using full sheets when possible. Use regular household scissors to cut remaining sheets to size. Then mark any cuts for obstacles such as electrical outlets, light switches and molding. Cut those out the same way or with a utility knife.
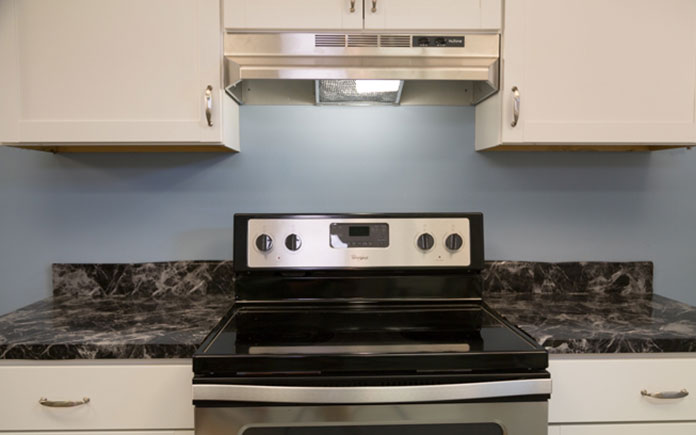
2. Prep the Surface
Concrete, drywall, plywood and laminates are just some of the surfaces that you can tile over with SimpleMat. But first, they need prepping.
For walls, use a degreaser or diluted dish soap and wipe them clean. Let them dry completely before moving on.
For countertops, set a level on the surface to make sure they’re even. If they are, go ahead and remove dust and debris, de-grease the area and wipe it down with a damp sponge.
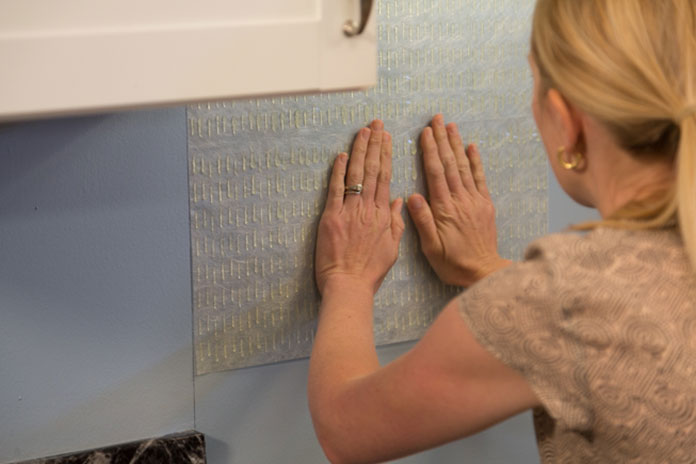
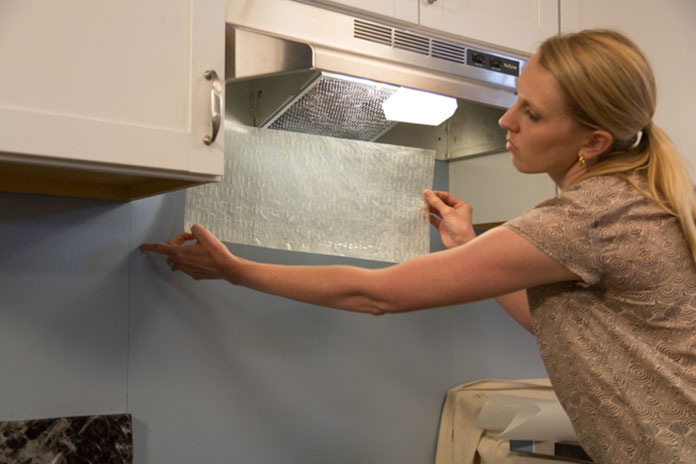
3. Apply Sheets to the Wall
Remove SimpleMat’s paper backing and apply each sheet to the wall. (We’re sticking the back of the mat to the wall right now — we’ll work with the front of the mat later.) Then use a grout float to flatten air bubbles and creases.
If the phone rings while you’re doing all this, feel free to answer it! SimpleMat is different from mortar in the best way because there’s no rush. You can work at your own pace and set tile on your timeline.
Be sure to wait until your tiles are prepped before removing the clear plastic film, though! Once you expose the adhesive beads, you’ll need to work as quickly as possible.
4. Prep the Tiles
Now it’s the tiles’ turn for prepping. You can use SimpleMat with ceramic, porcelain, stone or glass tile that’s 1 inch by 1 inch or larger. Mosaic tile with an open mesh backing can also be used. Tile shouldn’t be heavier than 7 pounds or larger than 8 inches by 8 inches.
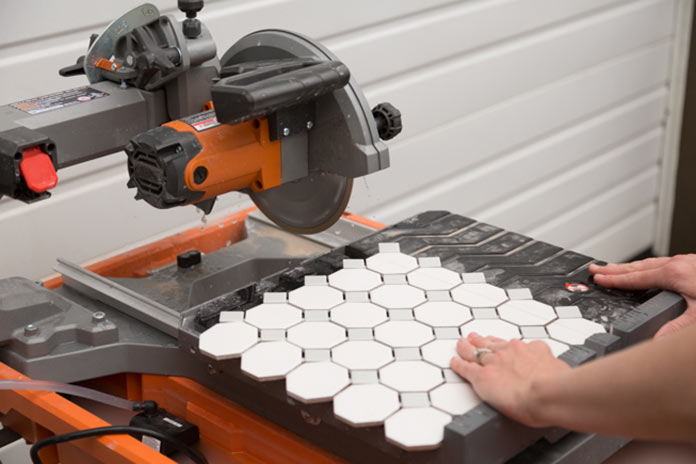
I’m working with small tiles that are matted together. It makes cutting a lot easier than trying to cut tiny, individual tiles!
Measure the tiles and make cuts as needed with a wet saw. Then clean the backs of the tiles or stones with a damp sponge and let dry.
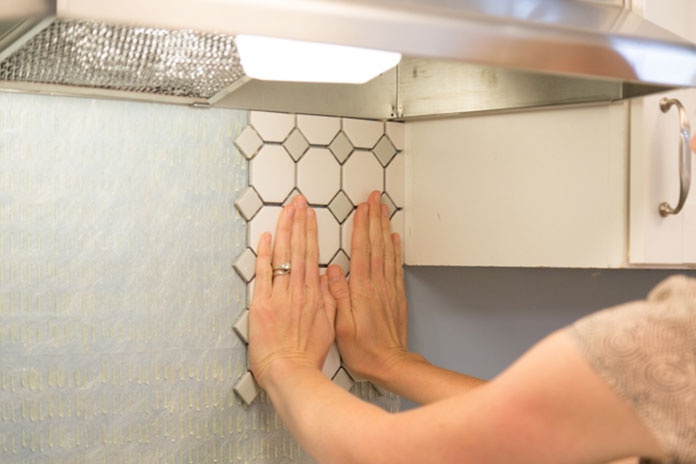
5. Press in Tiles
Remove each sheet’s clear plastic to expose the adhesive beads and lightly set tiles into place.
It’s OK if you make a mistake; adjust as needed. When you are ready to commit to a position, use a grout float to press the tile firmly into place.
Keep in mind, we’ve just applied SimpleMat and pressed our tiles onto the sheets at this point — no thinset mortar to deal with, and no excessive drying times to juggle.
Can you feel how much time and energy we’ve saved so far? I sure can!
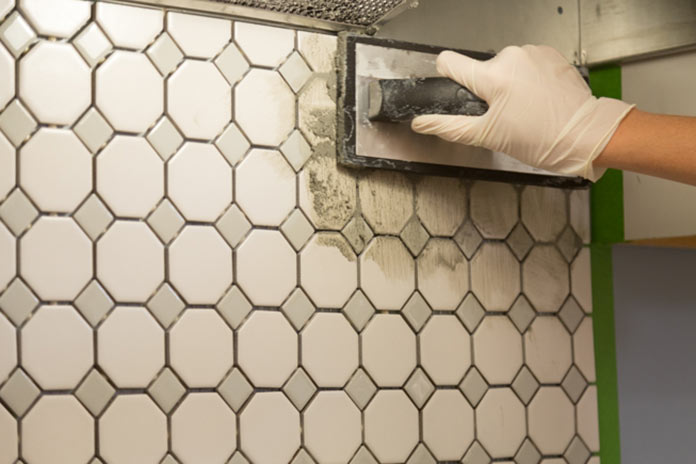
6. Grout the Tiles
Finally, we’re ready to grout. For the best results, do this immediately and always within 24 hours of setting the tile.
Hold a grout float at a 45-degree angle and apply Fusion Pro, Polyblend Grout, SimpleGrout or Prism Ultimate Performance Grout to the surface.
Carefully spread grout into each joint, going over in multiple directions if necessary.
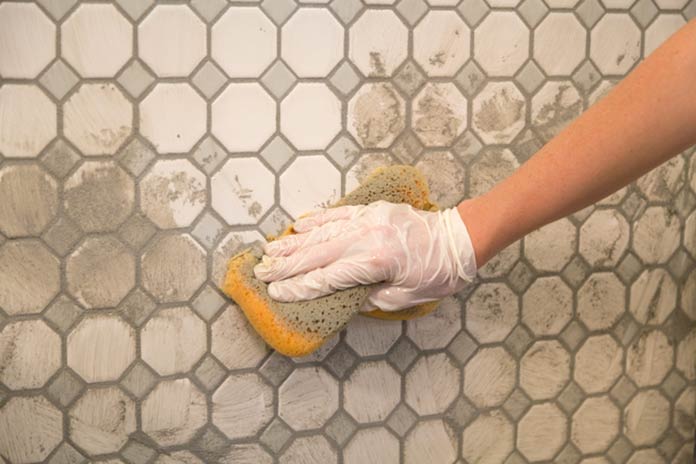
After you’re done with a small area, clean off the excess with a damp sponge using a circular motion.
Wait for the grout to set and harden; this varies a lot, so always read the grout’s instructions.
Then you can remove any haze with a clean, dry cheesecloth.
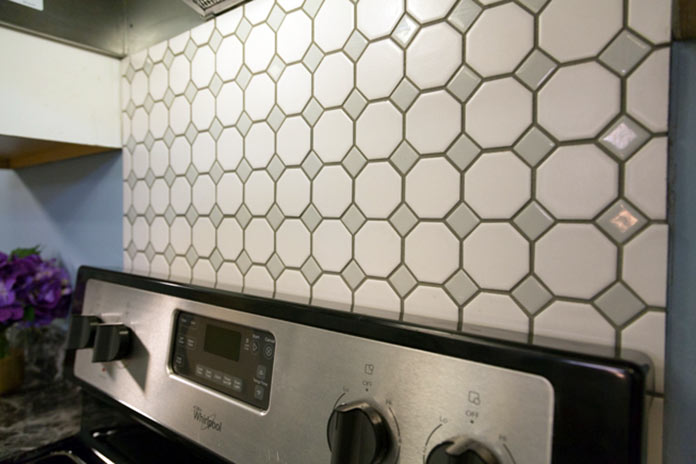
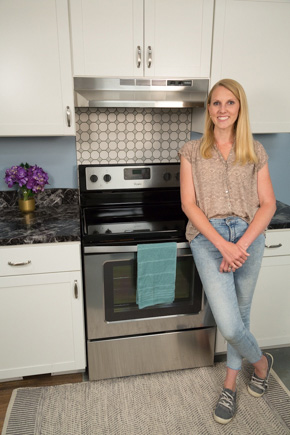
And that’s it!
You now have a beautiful backsplash in a fraction of the time it would take to use traditional methods.
Try this project, and let me know how it goes in the comments below!