Do you ever putt off attempting a DIY project (or any project!) because you’ve convinced yourself that it will be super difficult? I’ve had that happen many times over the years, but I find that if I do my research and just TRY…it’s never as bad as I think it will be. Most of the time it’s the projects that should be easy that give me fits. 😉
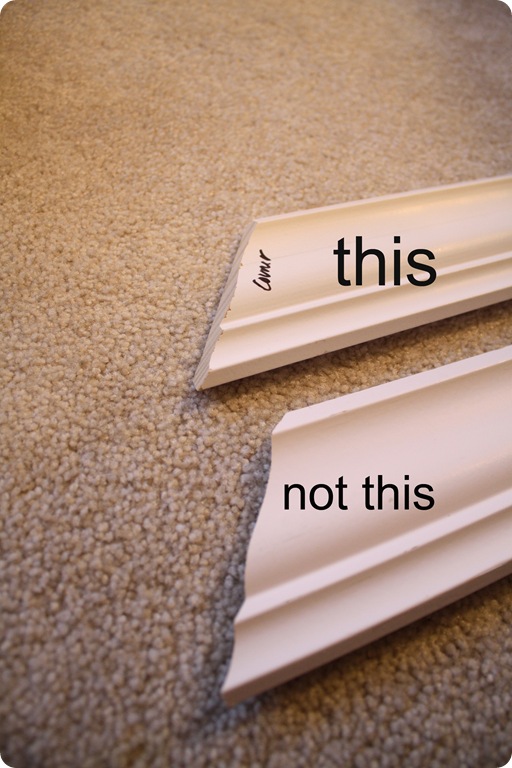
Cutting and installing crown molding was one project I put off for years. I mentioned years back that I didn’t know how to cope or cut crown molding — so I always used corner pieces like these when installing crown:
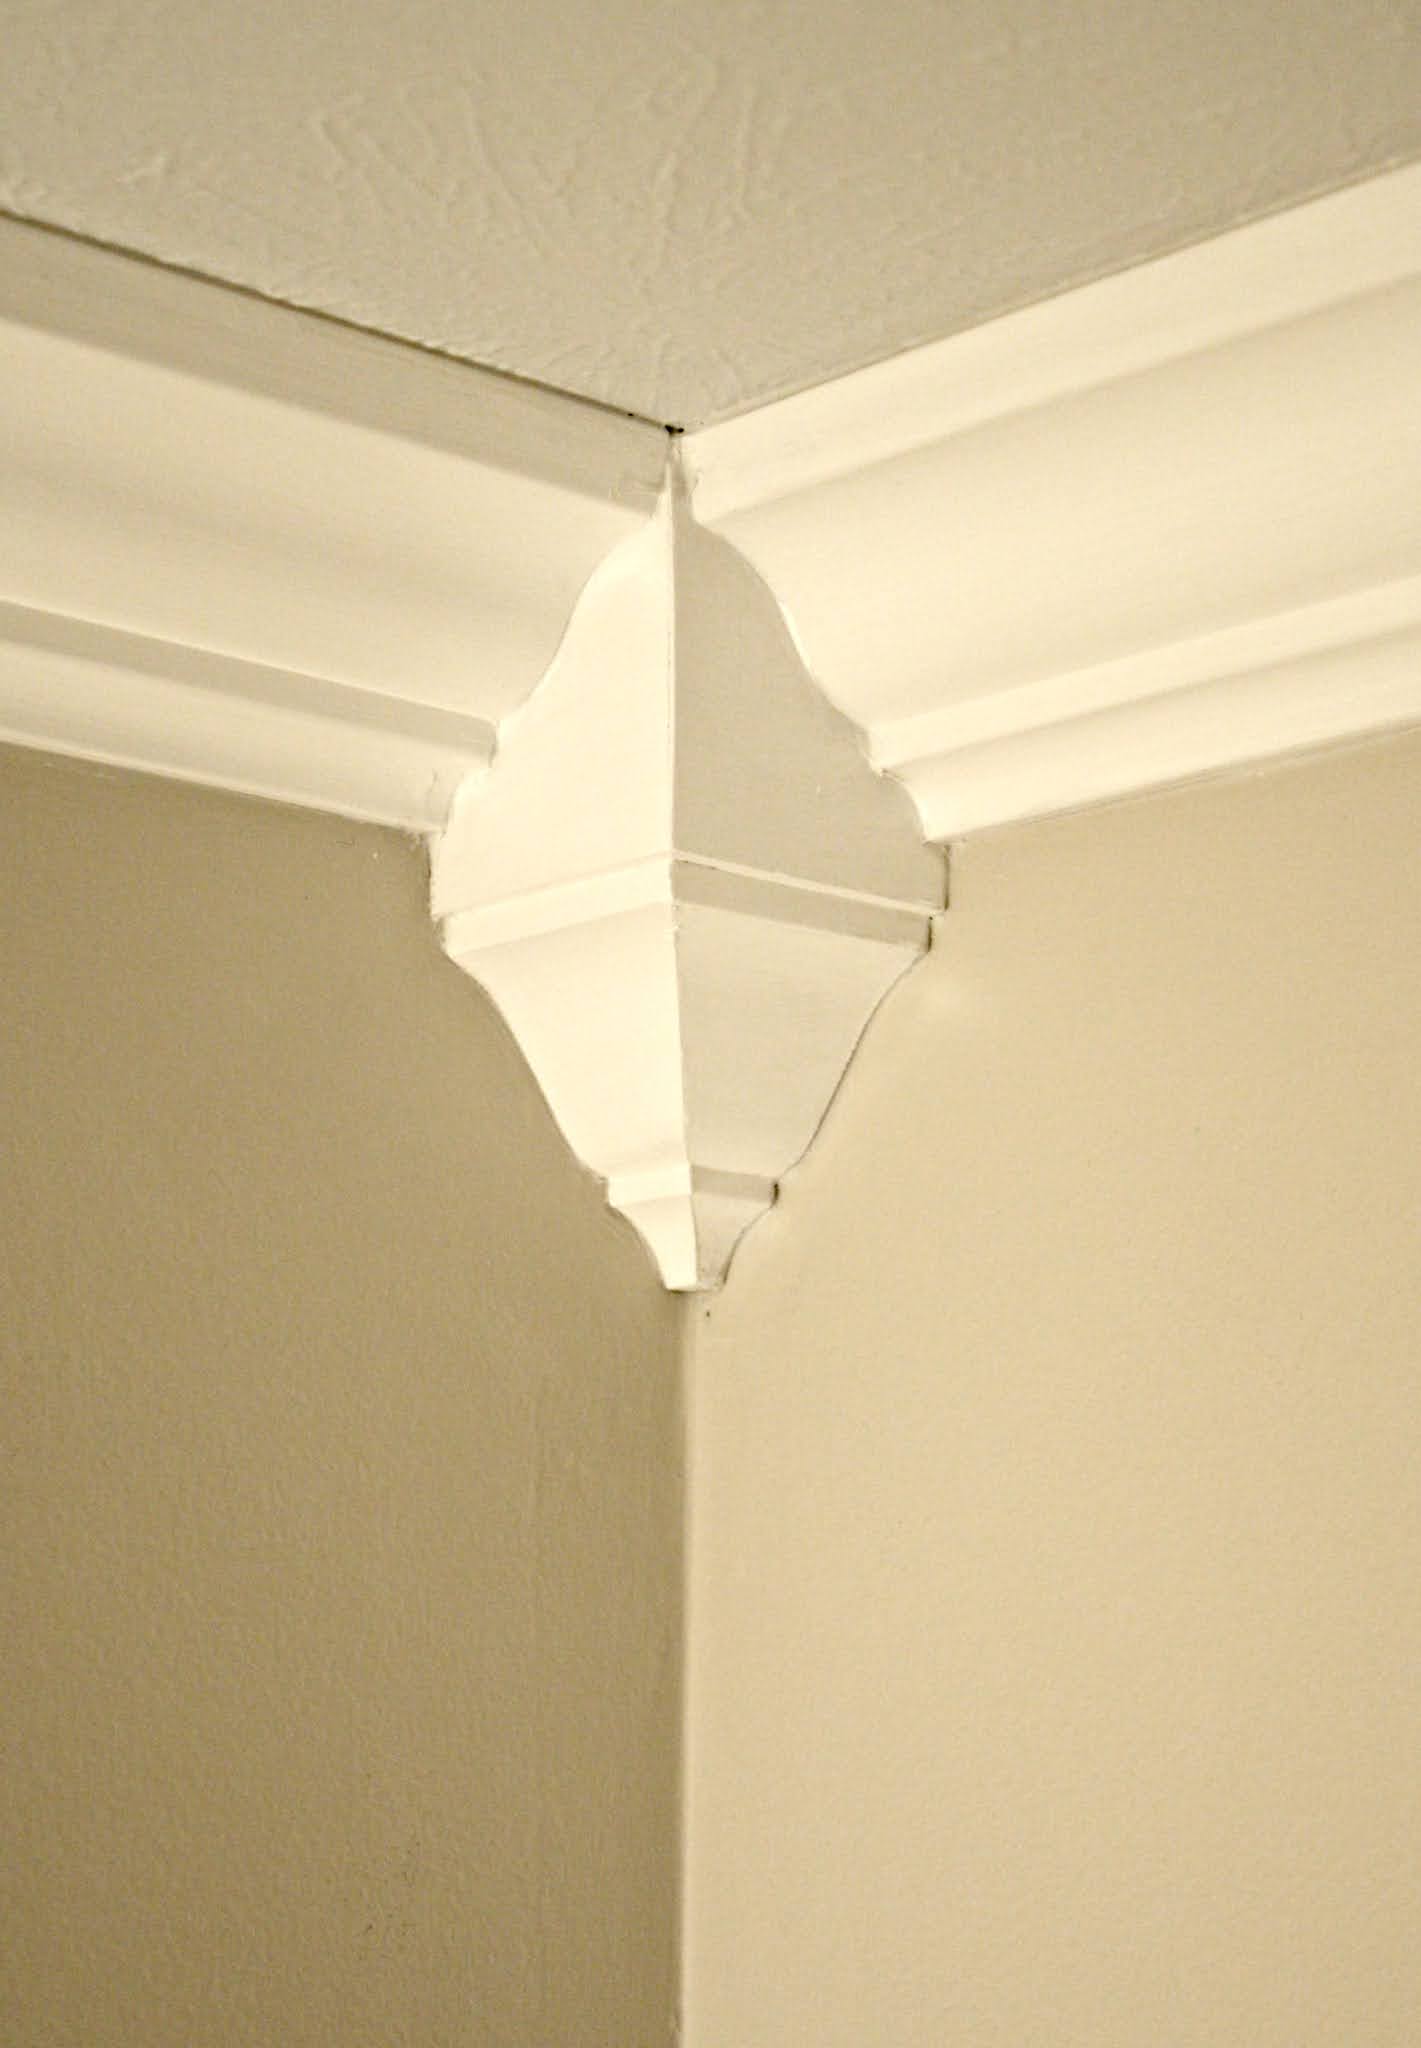

I really liked them — they add some nice architectural interest. They fit right into the corners and make the installation of crown SO much easier. You just cut straight cuts and butt the crown up against it.
The only issue is the cost — they aren’t cheap.
But eventually I wanted a more streamlined look…so I forced myself to learn how to install crown molding. When it comes to crown, you can cut it on a miter saw, or use a coping hand saw to cut out the shape of the molding so it fits snug into the other piece.
I do not cope well. 🙂 I can do it on simpler trim like baseboards no problem, but crown is much harder to cope in my opinion. Cutting and installing crown molding really isn’t that hard — I promise. The key to doing it correctly all comes down to how you place it on the saw to be cut.
I’ve been slowly adding crown molding to the basement family room where I recently finished the huge entertainment center: 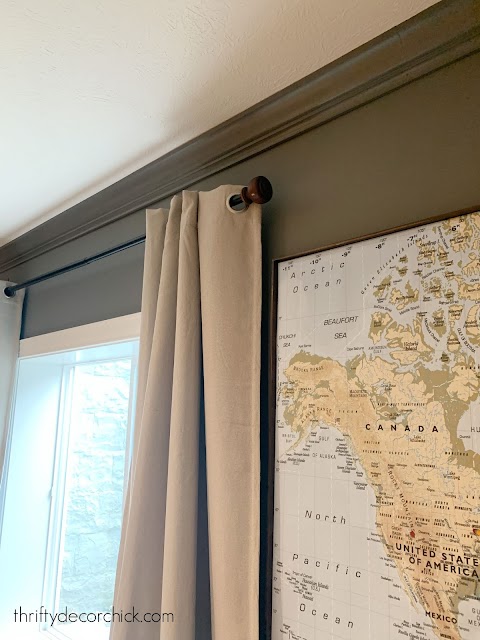

I STILL use the crown “jigs” I created for myself years ago!
I’ve figured out along the way that there are a few tricks to cutting and installing crown. First of all, it helps to have a compound miter saw. You don’t have to have one — a miter box and saw (like I used for years for my molding projects) will do just fine. It will just take more strength and endurance to cut. 😉
Because crown is installed at an angle, cutting it is different than regular trim. You need to position it a certain way on the saw when cutting it.
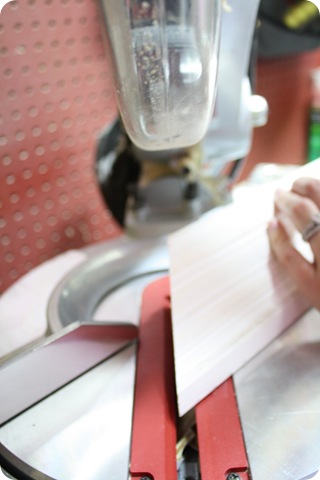
Here are some pictures to help explain. (Stay tuned for examples of each cut I’m describing.) For an inside cut (an inside corner in a room), you want to make sure the front is facing into the saw. This molding is set up for a cut that will be on an inside left corner:
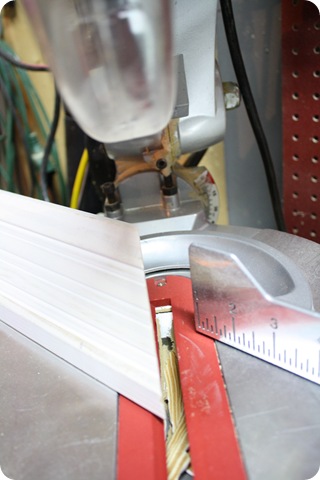
The front is facing into the saw, top on top, bottom on bottom.

The front is facing into the saw, top on top, bottom on bottom.
Here’s what it will look like on the saw:
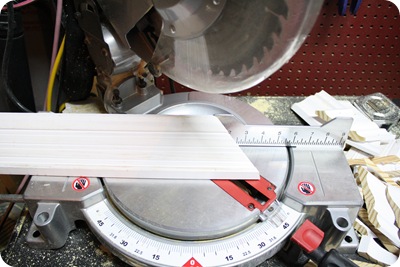
For a standard (inside) corner, you’ll want it set to a 45 degree angle:

You do the same thing for the right side of the molding:

For a standard (inside) corner, you’ll want it set to a 45 degree angle:

You do the same thing for the right side of the molding:

I know it can get confusing, so here’s a visual of how the inside cuts look:
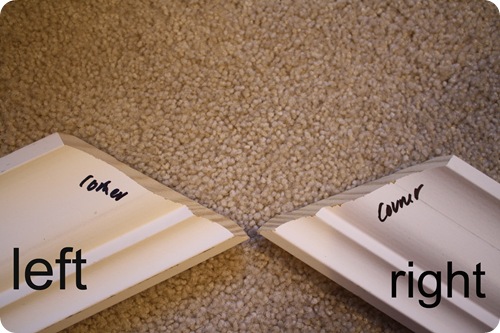
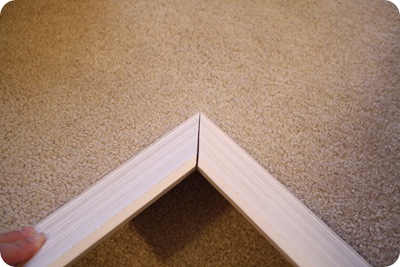
Notice you can see the edges of the cut wood? You want to see that, so when they go together up in the corner, they’ll meet up like this:
That’s the only tricky part, getting that angle right as you’re working around the room.

Notice you can see the edges of the cut wood? You want to see that, so when they go together up in the corner, they’ll meet up like this:

That’s the only tricky part, getting that angle right as you’re working around the room.
You want the back of the molding to be the longer edge, not the front:
Does that make sense? That part is huge! For outside cuts, you’ll want to have the front facing you on the saw, but you’ll need to flip it — so a left angled cut will need to be flipped over so that the length of the crown is on the left side of the saw, not the right.

Does that make sense? That part is huge! For outside cuts, you’ll want to have the front facing you on the saw, but you’ll need to flip it — so a left angled cut will need to be flipped over so that the length of the crown is on the left side of the saw, not the right.
If your cuts are correct, installing crown isn’t too bad at all — you’ll just need someone to help you hold up the pieces as you nail them in. (I keep eyeing this gadget that allows you to hang long crown pieces by yourself.)
Here are a few more tips that make cutting crown go much easier! When you place your crown against the saw, make sure the edges are flat, like so:
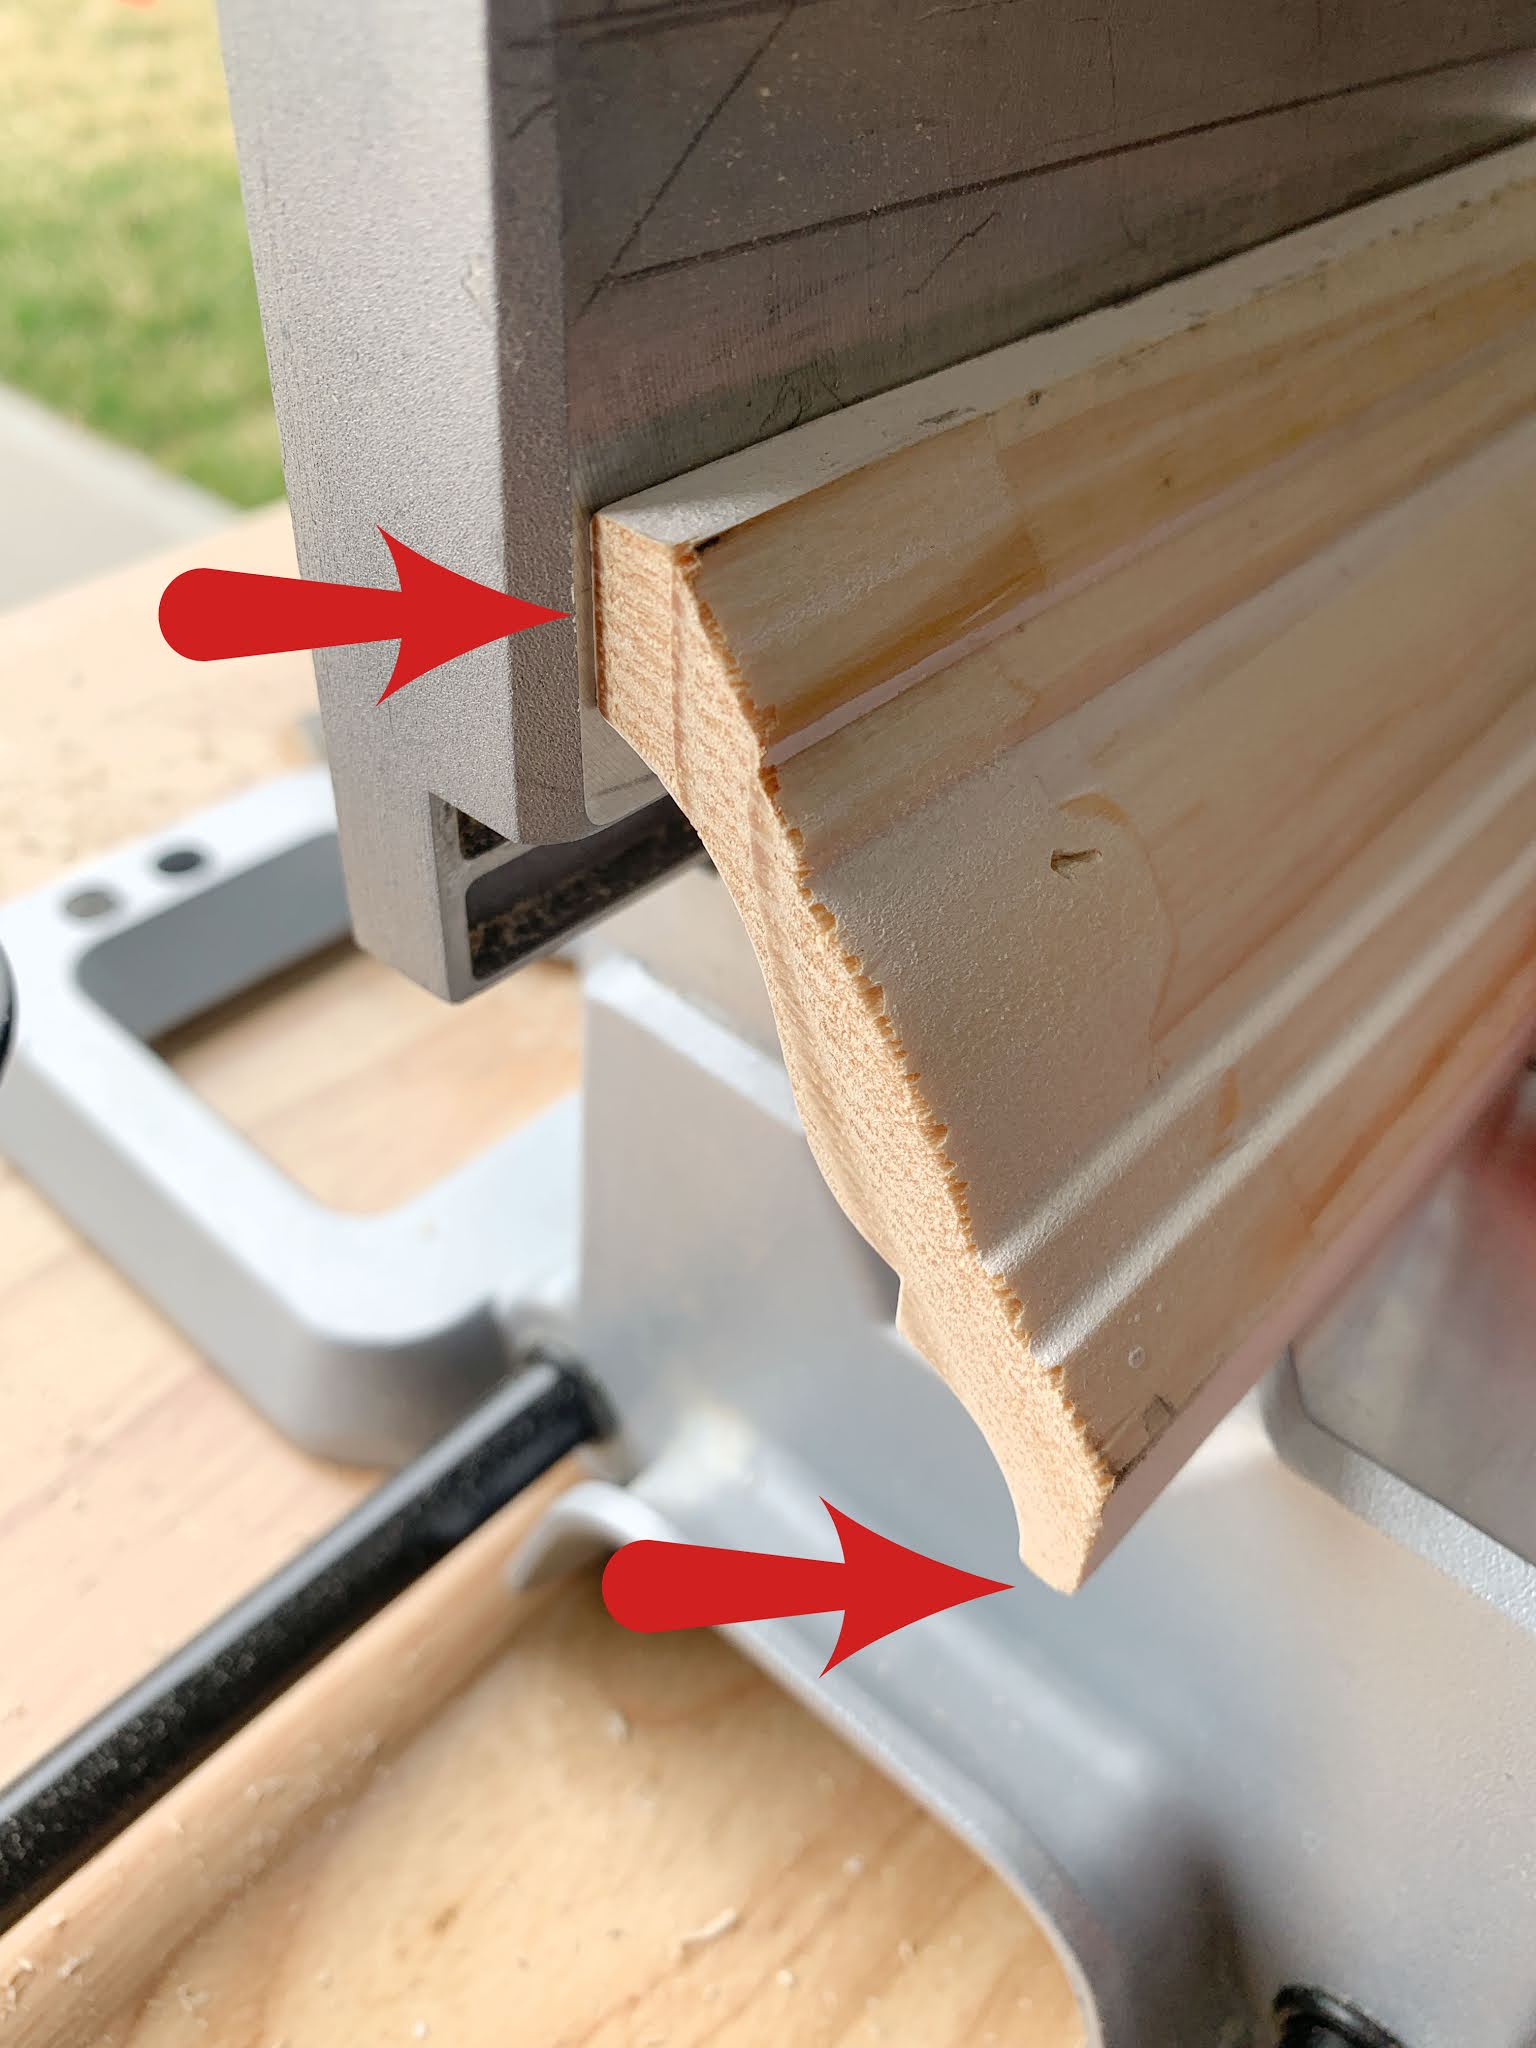
If those are not flush your cut will not match up in the corner.
Also, it’s helpful to mark a line you can match for every piece of crown as you’re working. I use a pencil to mark the height on the saw fence:
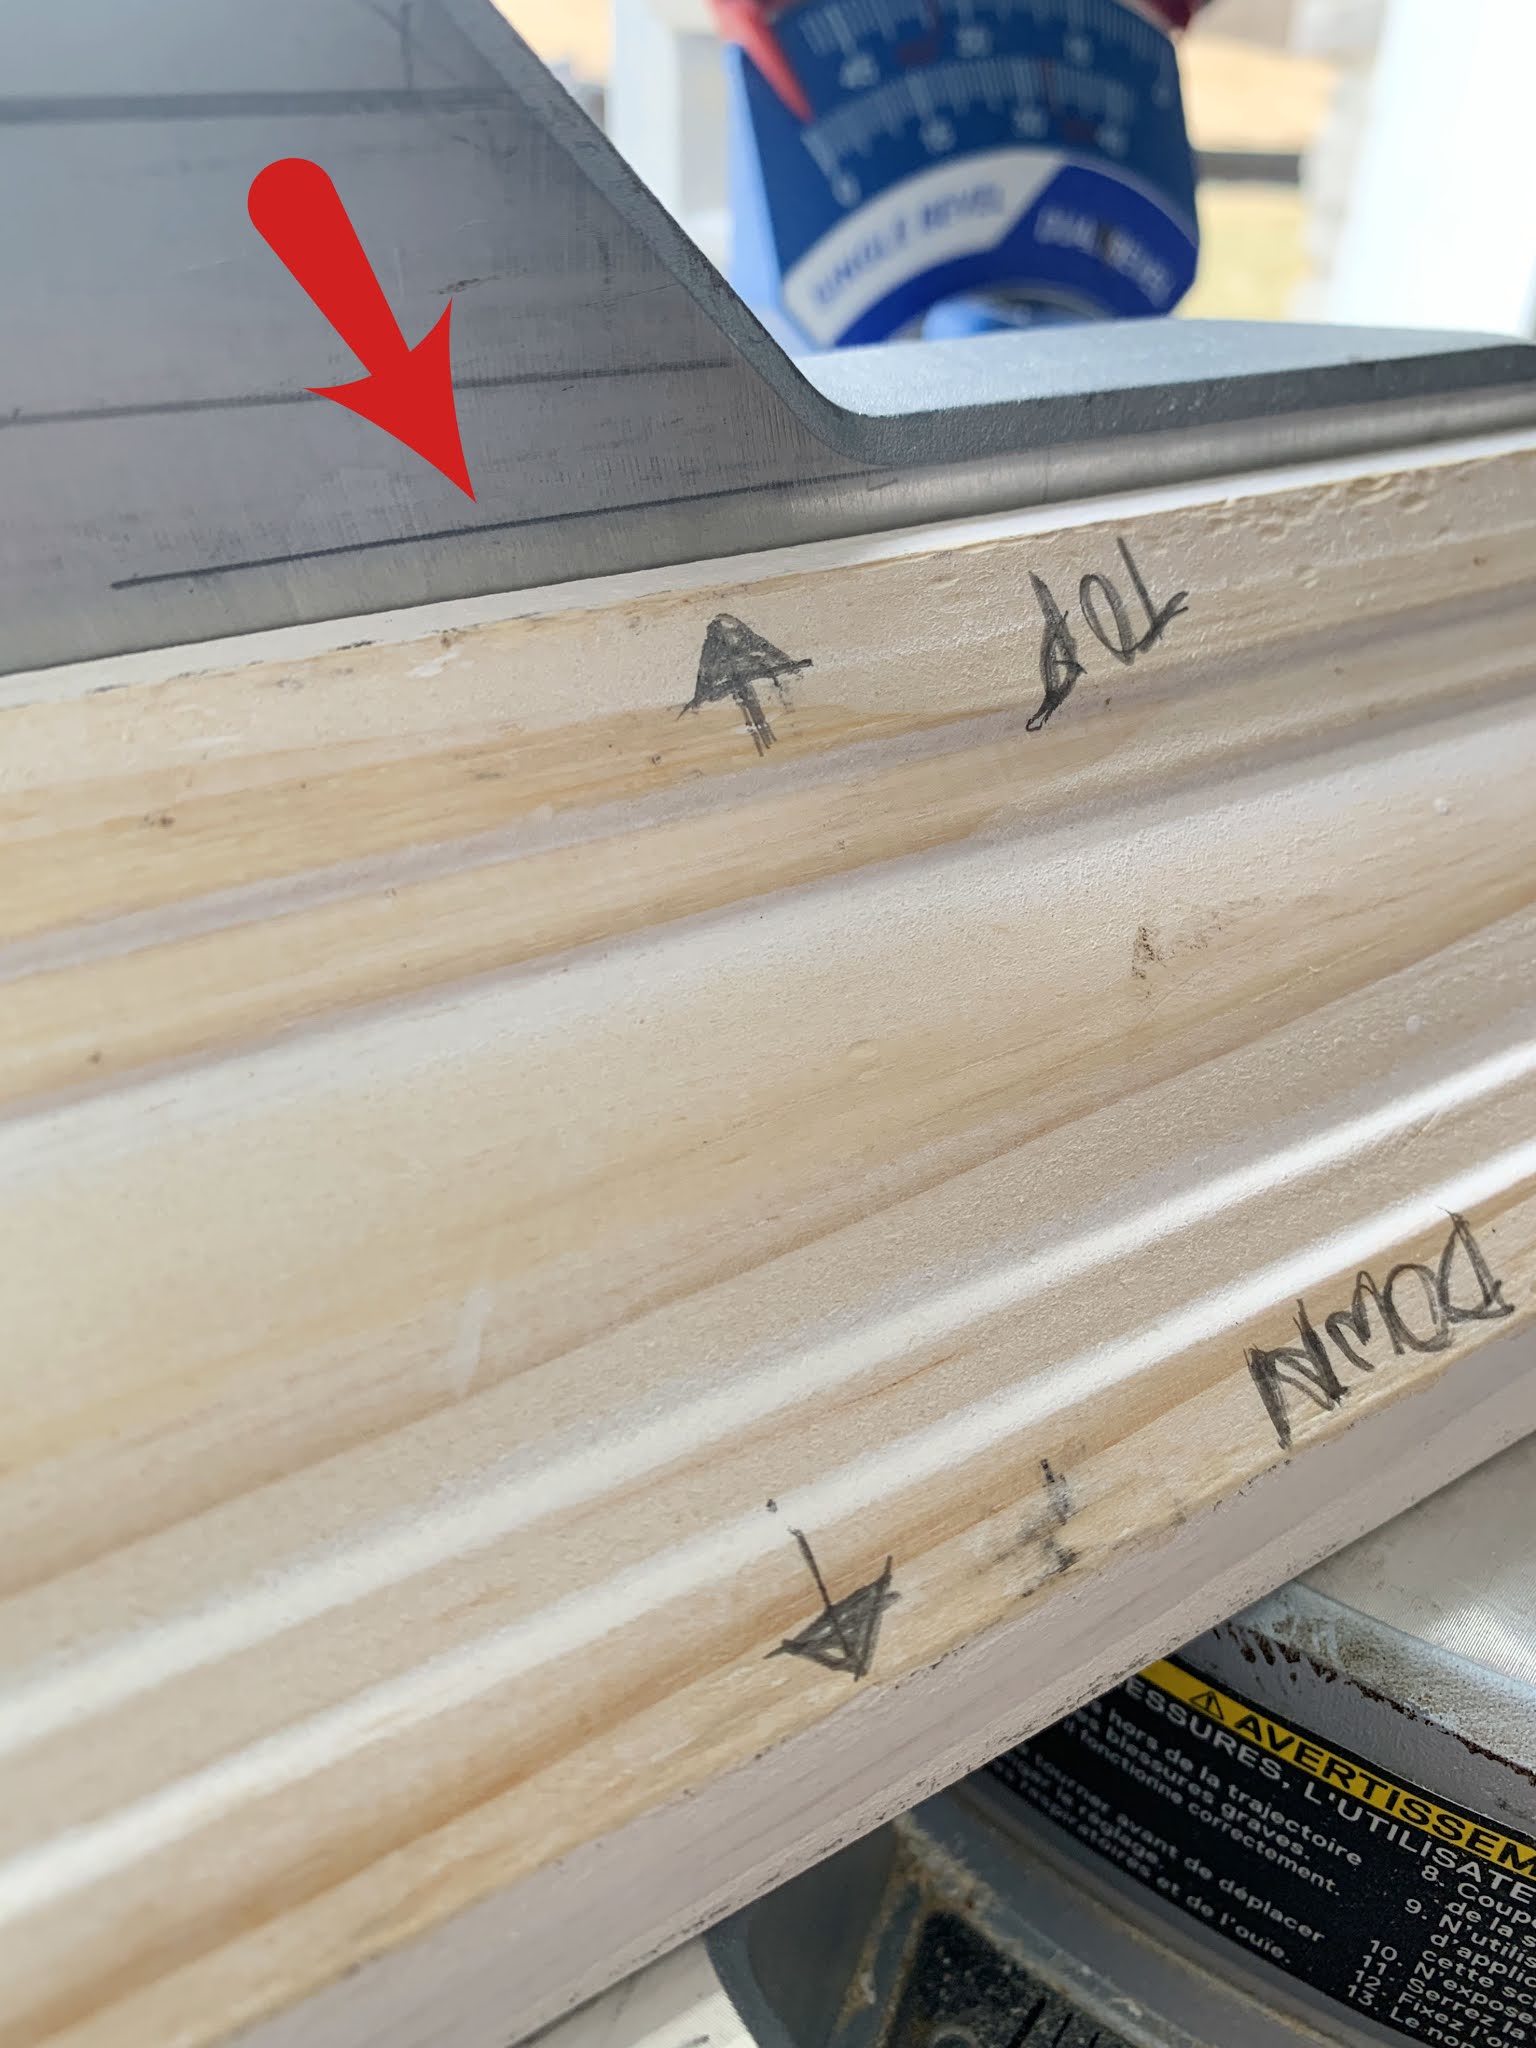
You can see here that I’ve labeled the back of my example pieces as well — it can get confusing as you’re cutting and these references really help me! I’ve marked heights for a few different sizes of crown, that’s why there are a few lines on the fence.
I have kept my example pieces for years and pull them out to remind me how to set up the cuts. Or you can use this jig that places crown at the right angle on the saw for you.
If you have an angle different from the rest, you can use this angle finder tool to figure it out:

Most of the time they are a 22.5 angle which is already set on most saws:

Keep in mind that most walls are not built at exact 90 degree angles. You’ll have some gaps most of the time — but don’t fret! This is why caulk is your BFF. It hides so many not-so-perfect spots. Here’s the before:

And the after:

(I hadn’t touched up the angled part where they meet up when I took his photo.)
Also, sometimes the trim will bow out from the wall a bit at the top or bottom:

If that bothers you, a line of caulk will make that disappear.
If your cuts are correct, installing crown isn’t too bad at all — you’ll just need someone to help you hold up the pieces as you nail them in. (I keep eyeing this gadget that allows you to hang long crown pieces by yourself.)
I find it helpful to mark where my crown hits on the wall and ceiling as I’m working around a room — this ensures that I’m installing it at the exact same angle as I go. You want to make sure your last piece is at the same spot on the wall as your first place so when you finish up they fit together perfectly.
Crown molding can be intimidating, but the trick is all in how you cut it! Once you have that figured out, it will go more smoothly! The elegant touch crown adds will never go out of style! It’s a little detail that makes a big difference in a space:


