Want to give your home some rustic curb appeal? Then build these slatted shutters.
They are made entirely from 1-by-4 cedar, nails and wood glue and couldn’t be easier to build.
Materials Needed
Before We Begin:
Remember to wear safety glasses — your protection is the most important thing.
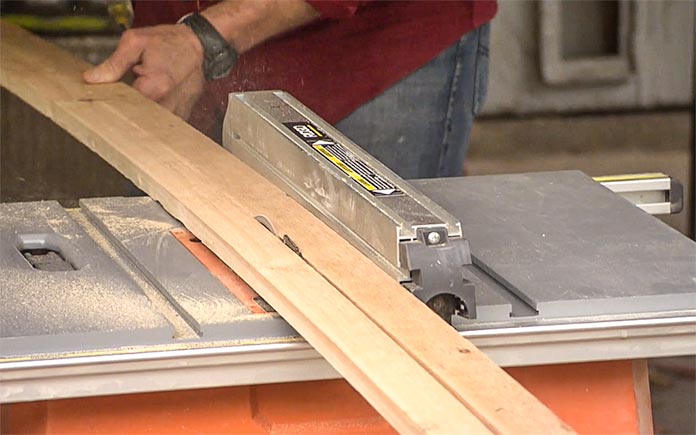
Exact measurements depend on your project. Once you determine the width of each shutter, begin cutting 1-by-4s to that dimension.
Since all these shutters are the same width, we’re setting up a “stop block,” or “jig,” to make multiple cuts at the same measurement.
We’re also ripping several pieces lengthwise down to 1 and 5/8 inches wide for the frame around each shutter.
Once you’ve done this, read on for how to build the shutters.

1. Prep the Wood
Seal the slats with a clear spar varnish to bring out the natural wood’s beauty. Then paint the framework pieces with black paint. Let dry.

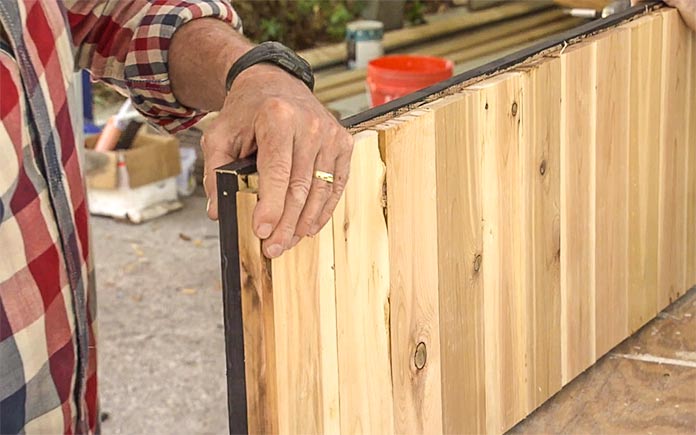
2. Assemble the Slats
Begin assembly with another jig. We’re using two 1-by-4s screwed to our worktable to align the slats. This way, the ends are even.
3. Prep the Trim Boards
Cut the trim boards to length with a 45-degree miter on each end. A blue chalk line on the jig boards allows trim pieces to be installed with a quarter-inch of overhang beyond the slats.

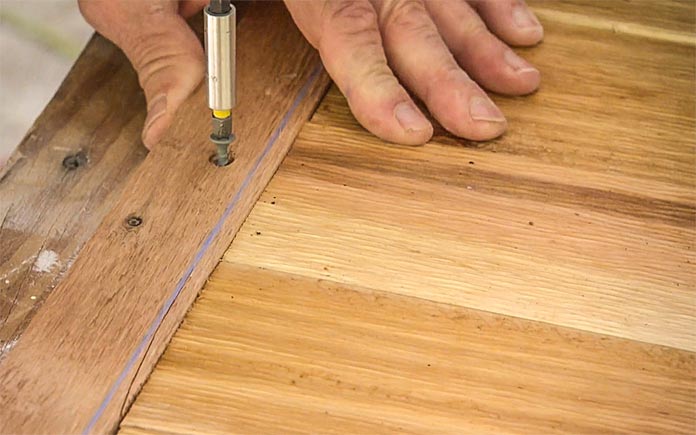
4. Secure Trim to Slats
Use Titebond III Ultimate Wood Glue and at least one nail through every slat to attach the trim to the slats. Make sure all the trim is secure.
5. Cover the Ends
Add quarter-inch strips on the edges of the slats to conceal the end grain and fill in that quarter-inch overhang.

6. Add Touch-Up Paint
Finally, touch up the paint around the shutters’ edges and let dry.
Now, your shutters are ready to hang — and prepare to wow your neighbors and visitors!
Watch the video above to see the entire process!