Well hello! I shared this quick tip on my Instagram stories this week but it was such a good one I thought it deserved it’s own post. 🙂 I’ve seen this tip a few times over the years but haven’t tried it — I just wasn’t sure how well it would work.
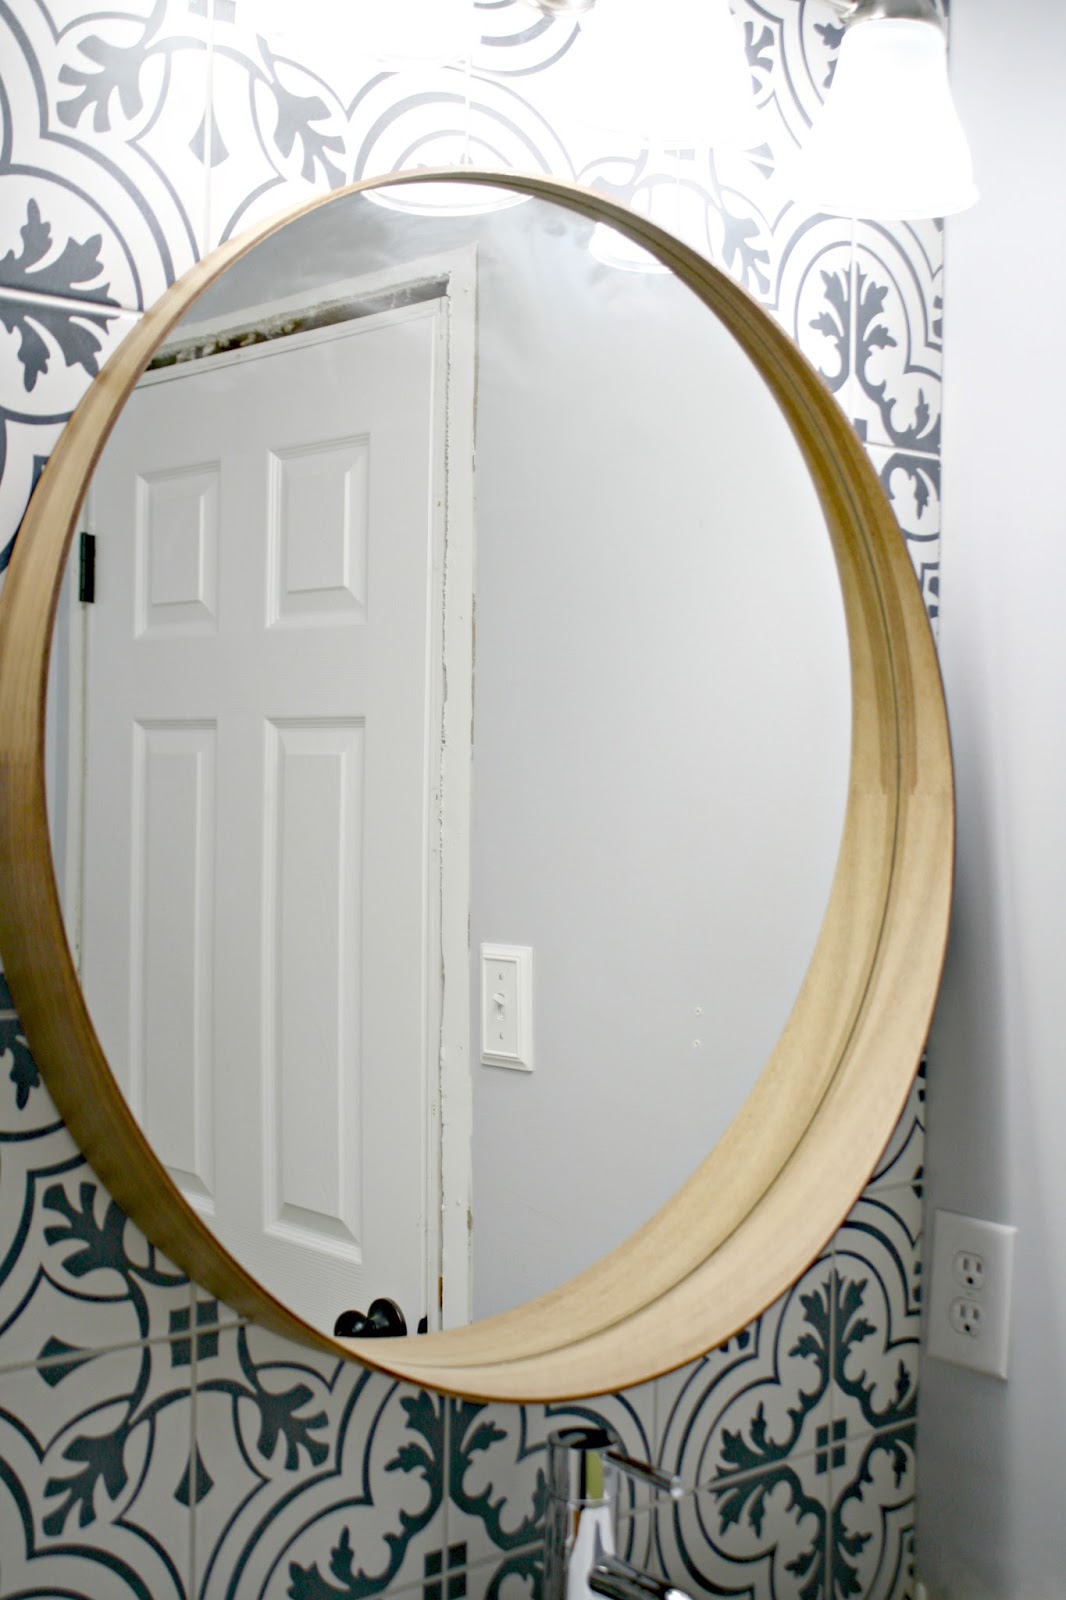
But it worked like a charm and I’ll be using it again! I bought two of these IKEA mirrors at least a year ago for the bathroom renovation:
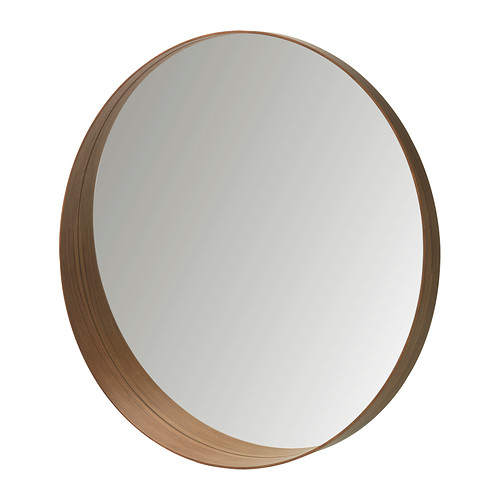
They are the Stockholm mirrors and are so pretty! I wasn’t sure how long it would be before I started the room, but it’s a long trip to our closest IKEA (before we had one open up here) so I grabbed them up.
This week I was finally to the point where it was time to hang them and it was very exciting. 🙂 They are quite large so the holes on the back were far apart. You can use a level (I have a couple long ones), but I found this trick to be much more precise than measuring and trying to transfer that measurement onto the wall.
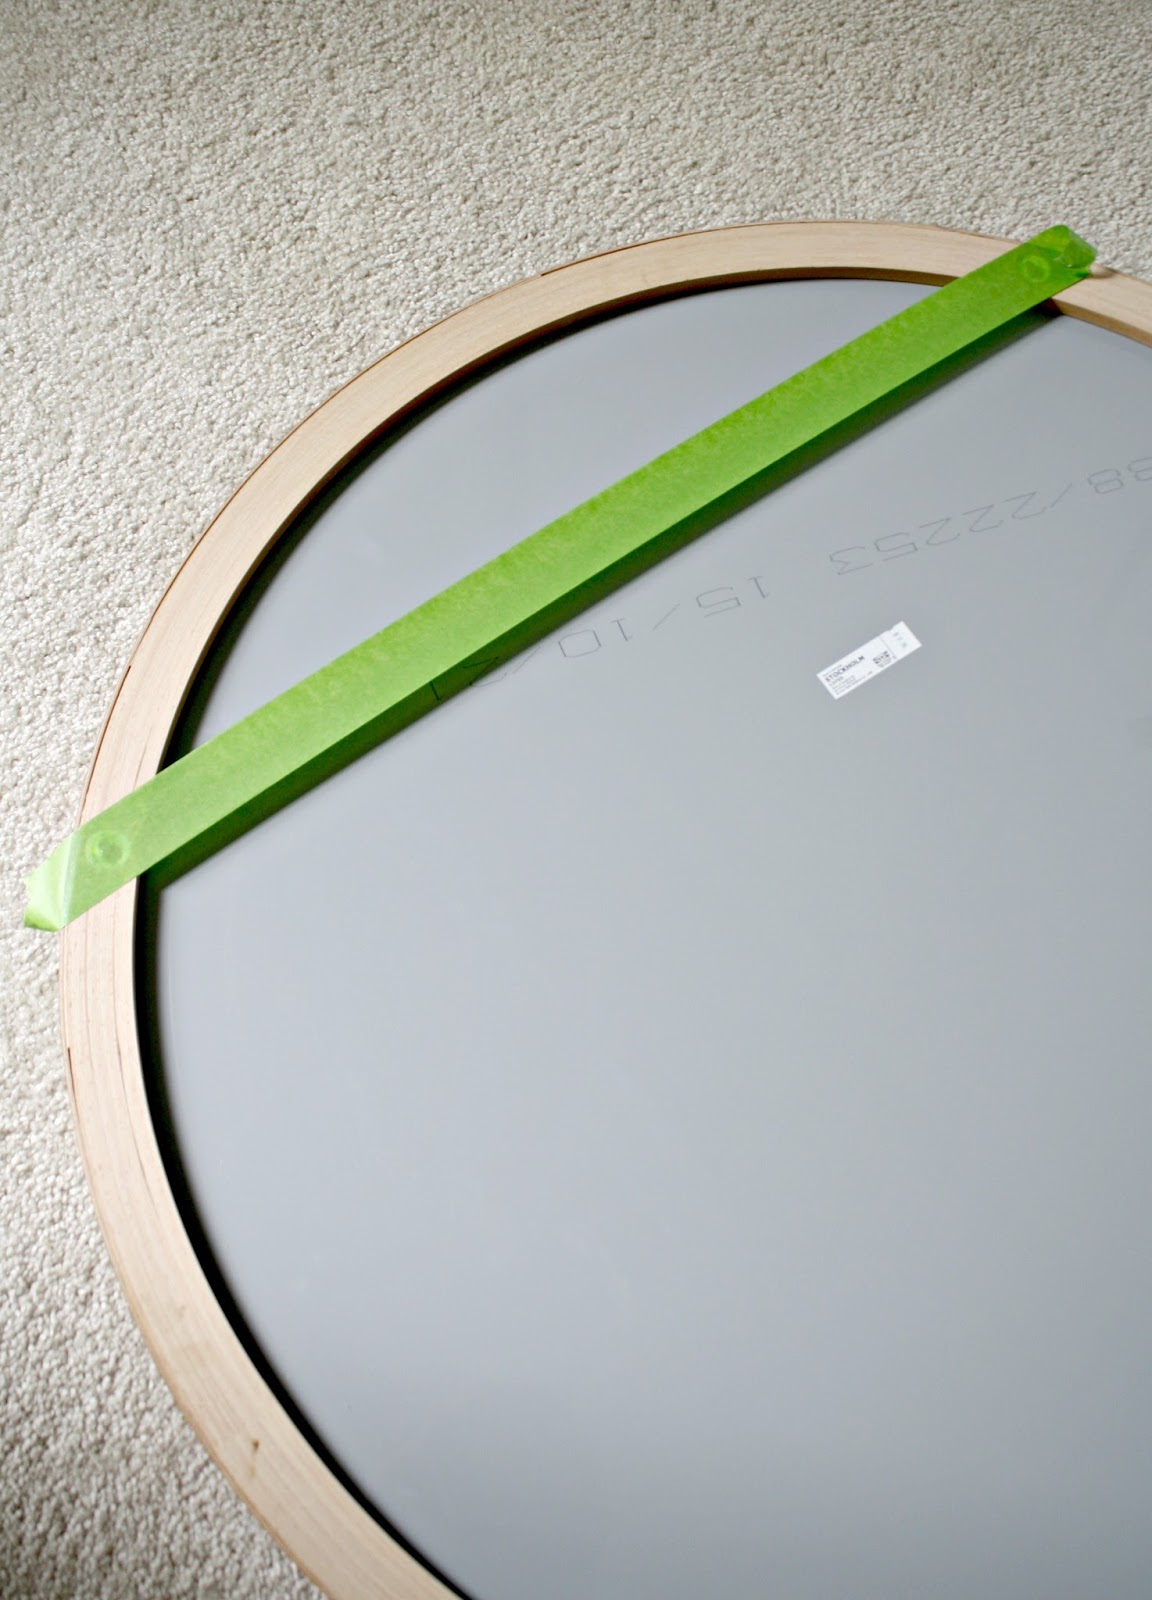
Because I was drilling into tile I wanted this to be as exact as possible. This little hack is pretty easy. You’ll need to grab some painter’s tape and put it across the holes on the back of your art or mirror:
This post may contain affiliate links for your convenience.
See my policies and disclosure page for more information.
Make sure the tape is placed at the same spot on each side. (Meaning the same distance from the top of the tape.) Then I poked a hole through the tape. You can also mark it with a pen for a really precise measurement:

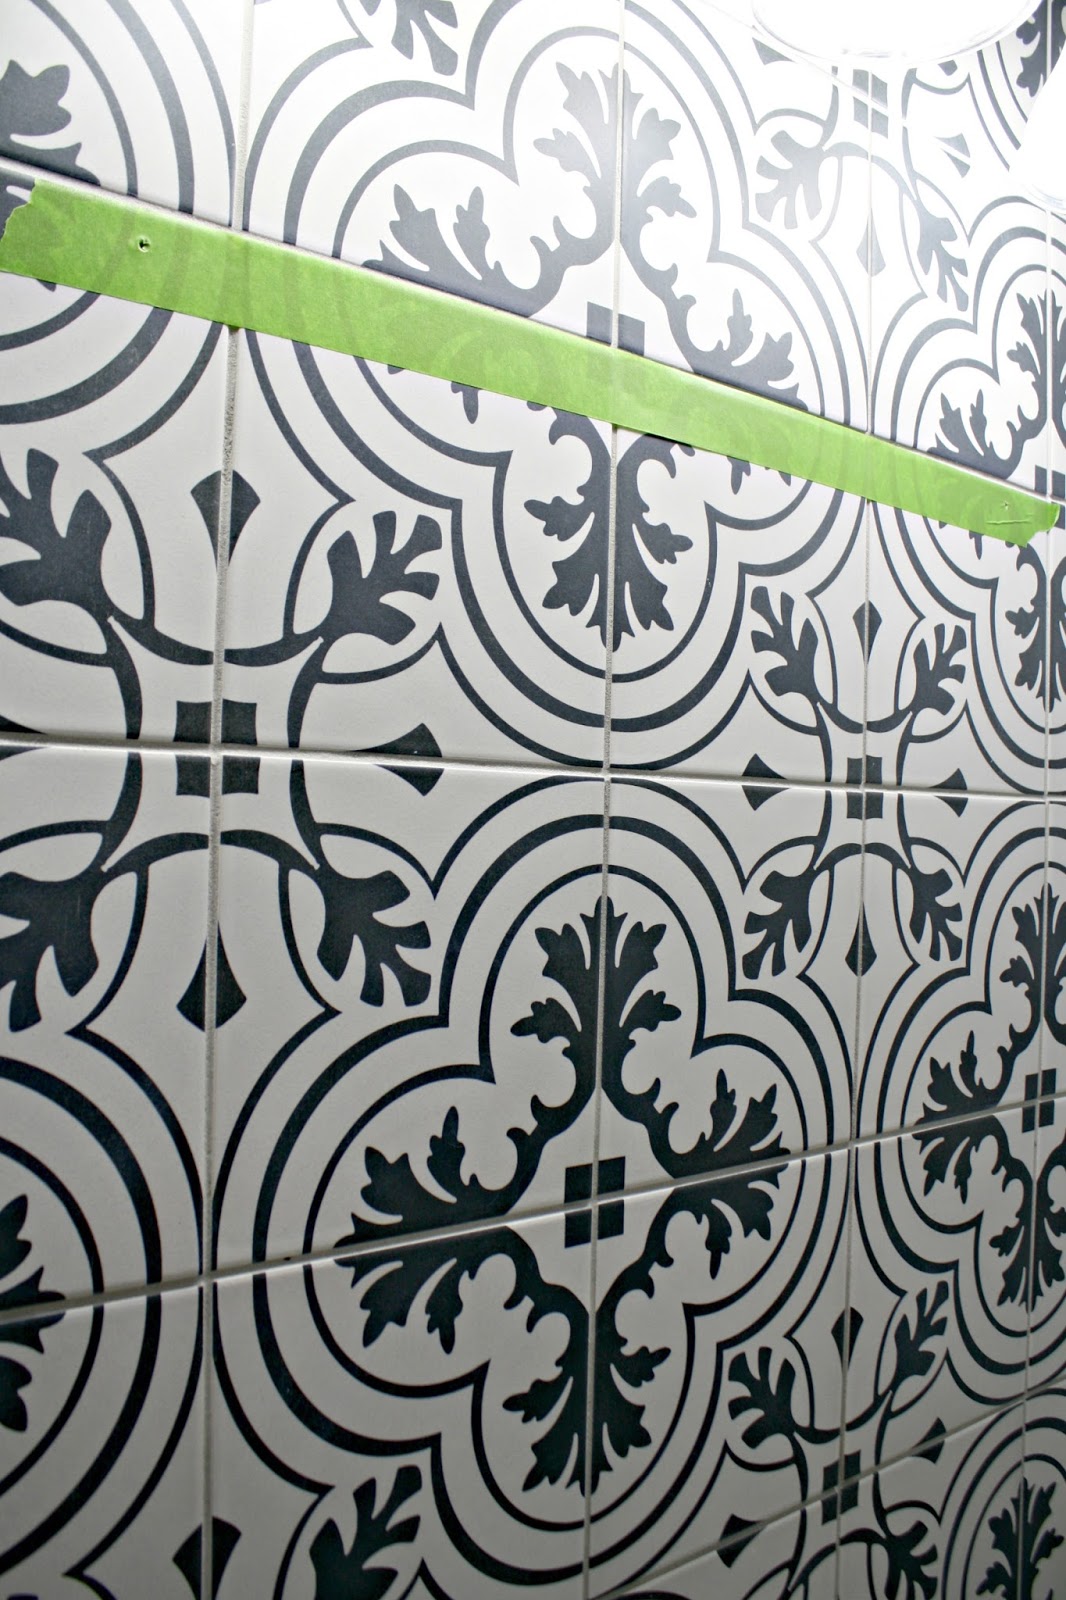
Then you take your tape and place it where you want on the wall. You’ll still need a level for this part — I forgot to take a photo of using it, but you need to hold it against the tape to check:
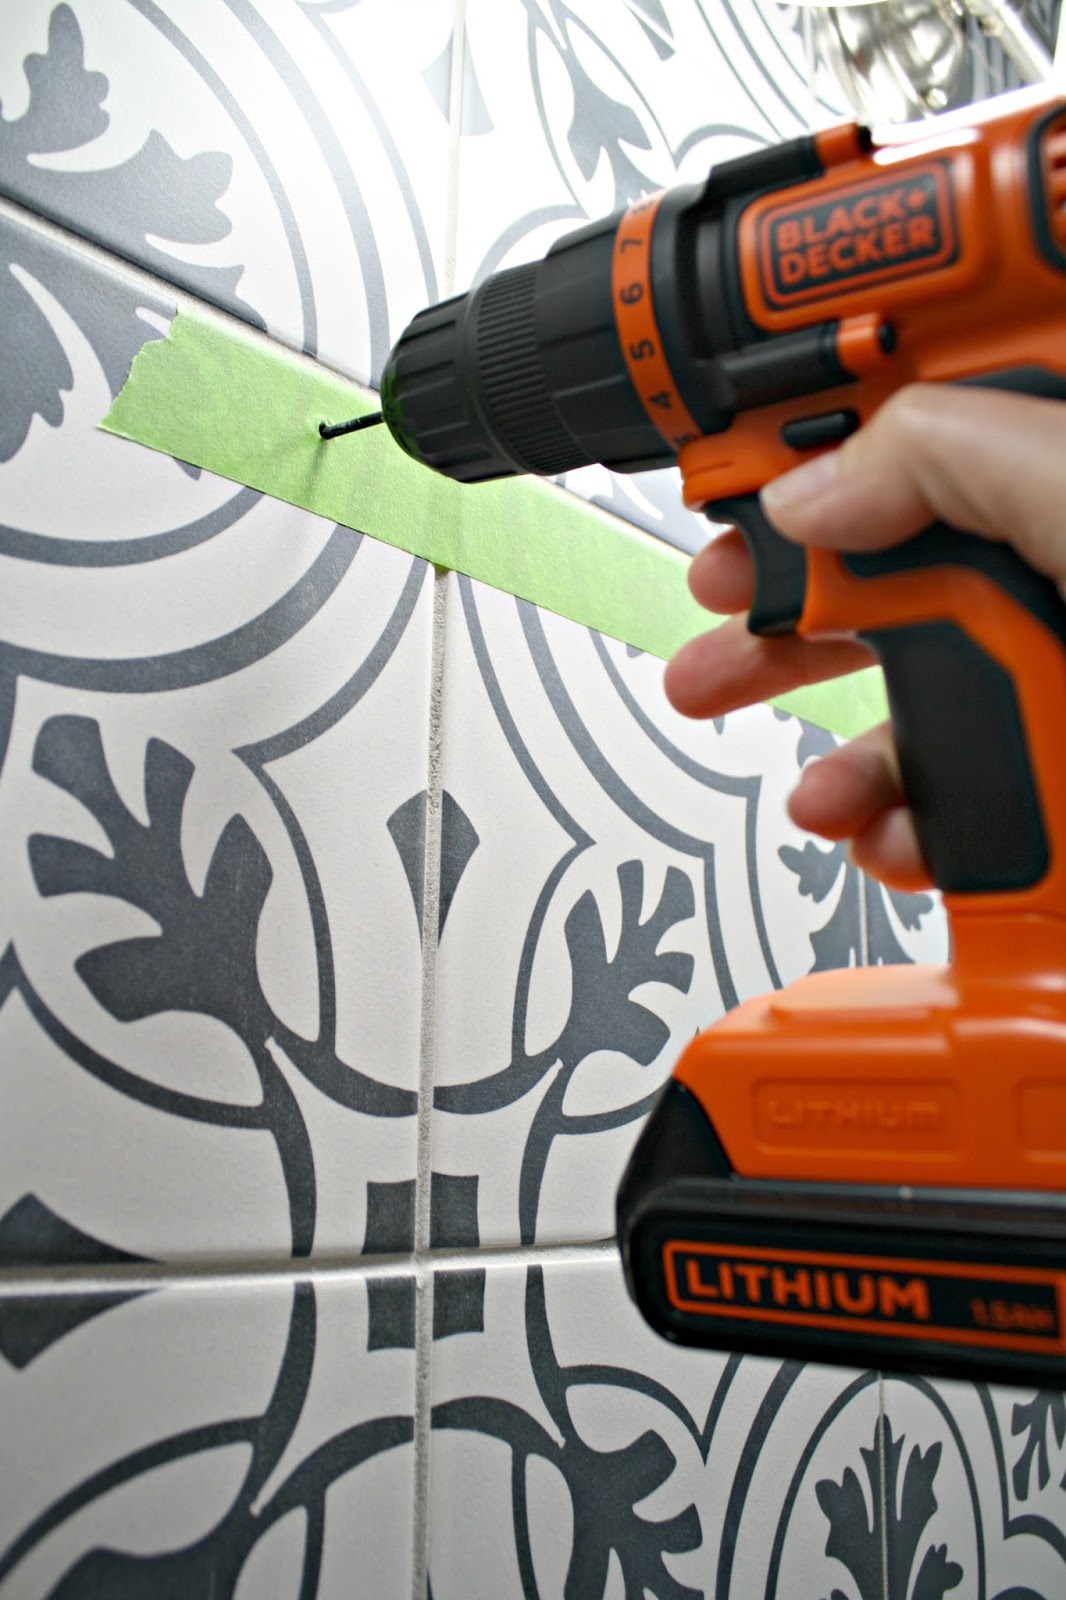
Then you just drill, using your marks as a guide!
Side note — you can find that beautiful cement looking tile here.
When you drill into tile you need to use a bit specifically for tile — this is the set I have and I like that they include four different sizes:

It takes awhile to get through the tile — you’ll need some patience and a fully charged drill. 😉
Then you can insert your anchors or screws and hang your item!
Again, I’ve always measured with tape or a level but I found this to be much more precise. I wasn’t going to mess around with this tile!:
Sorry for the messy mirror — the major cleaning will happen after the room is done. 😆
Now this part of the room is fully functional again and it only took maybe two months? Ha! I’m pretty sure I remember saying something about it only taking two weeks. I should know better.
So much left to do — today I plan to get that door trim up! Slow but sure, this room is coming together and is turning into one of my favorites in our house!
Have you used this hanging trick? I’m a fan for sure!
**You can see this full bathroom reveal here. It’s one of my favorite room makeovers ever!
See more of our home here. To shop items in our home, click here! Never miss a post by signing up to get posts via email.


