This simple way to “frost” a window, or make it private, is one of my favorite home hacks ever! It’s so simple and cheap, and helps with an annoying problem that would be expensive or messy to fix otherwise. I’ve actually shared this before (a looong time ago), but it’s one that’s worth sharing again!
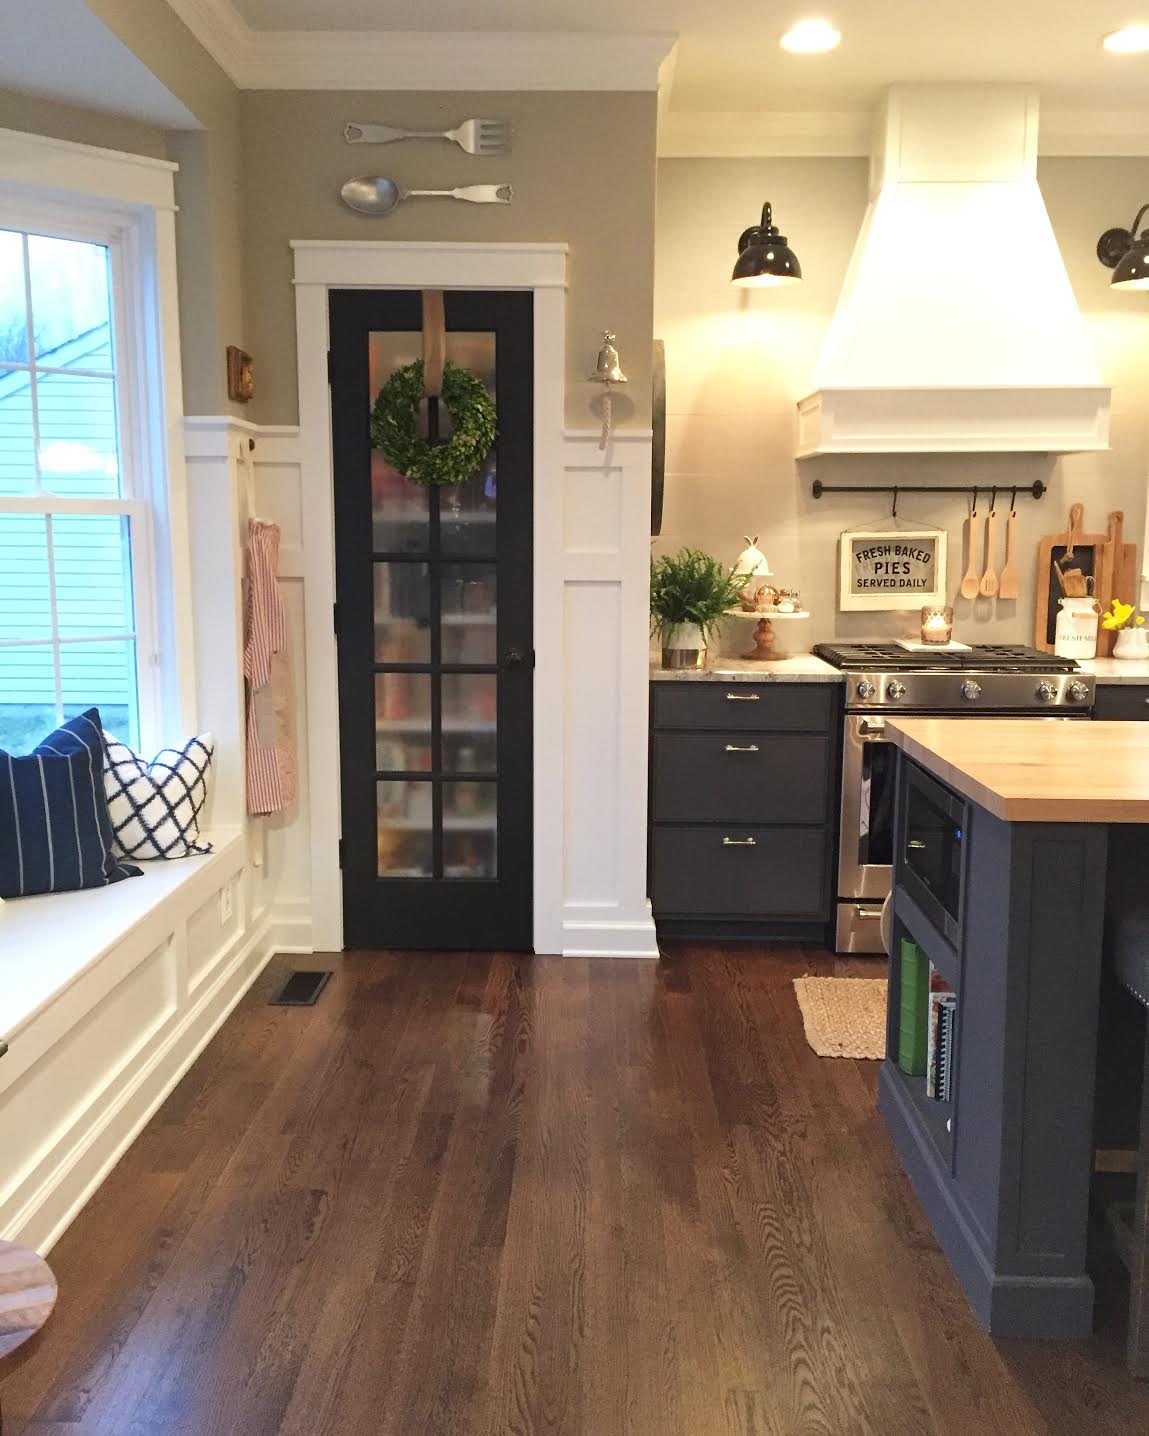
I’ve only had to use this trick a few times, but it’s been so helpful. The first time I did this was on our glass pantry door ten years ago:
I was able to
“frost” that pantry glass door for next to nothing! (Although getting the film placed perfectly on those panes was a PAIN…now I wouldn’t be quite so exact with it.)
A few helpful readers told me about this trick forever ago. Who knew transparant contact paper is the easiest and cheapest way to make a window private? I was so pleasantly surprised when this actually worked!
This post may contain affiliate links for your convenience.
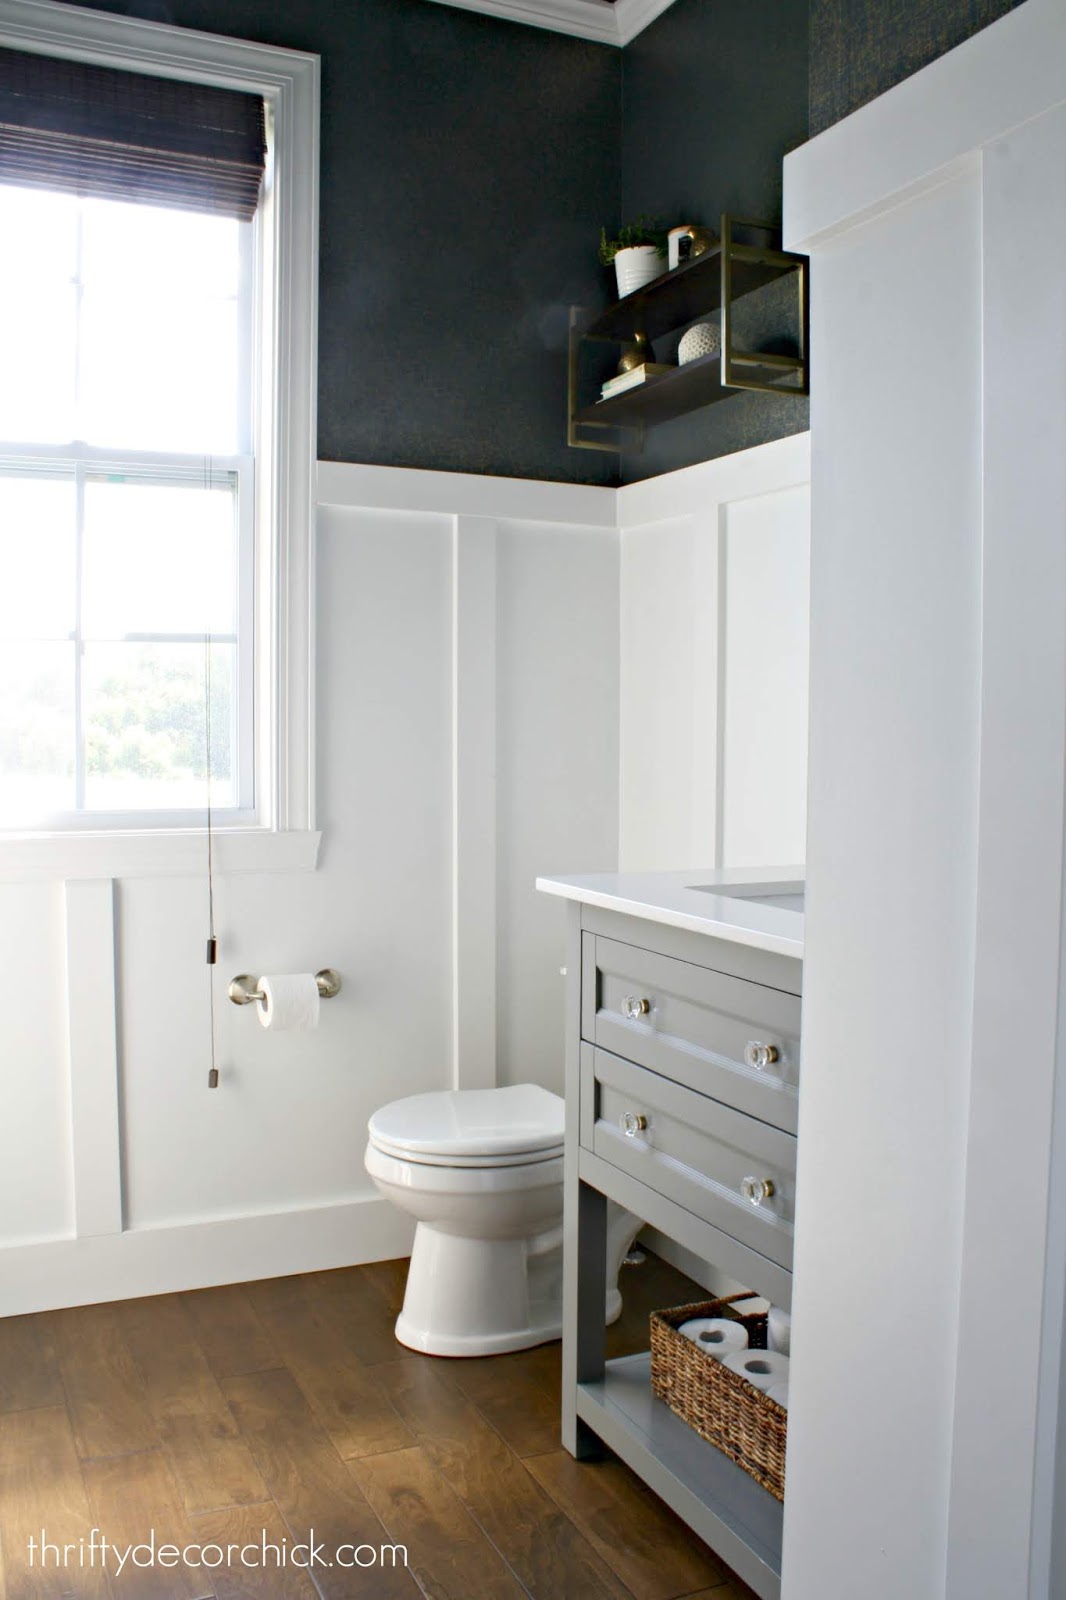
Ha! Just…not the best. I’ve always felt for our guests especially. 😝
I don’t know what took me so long, but I finally did this private window trick again and it worked like a charm.
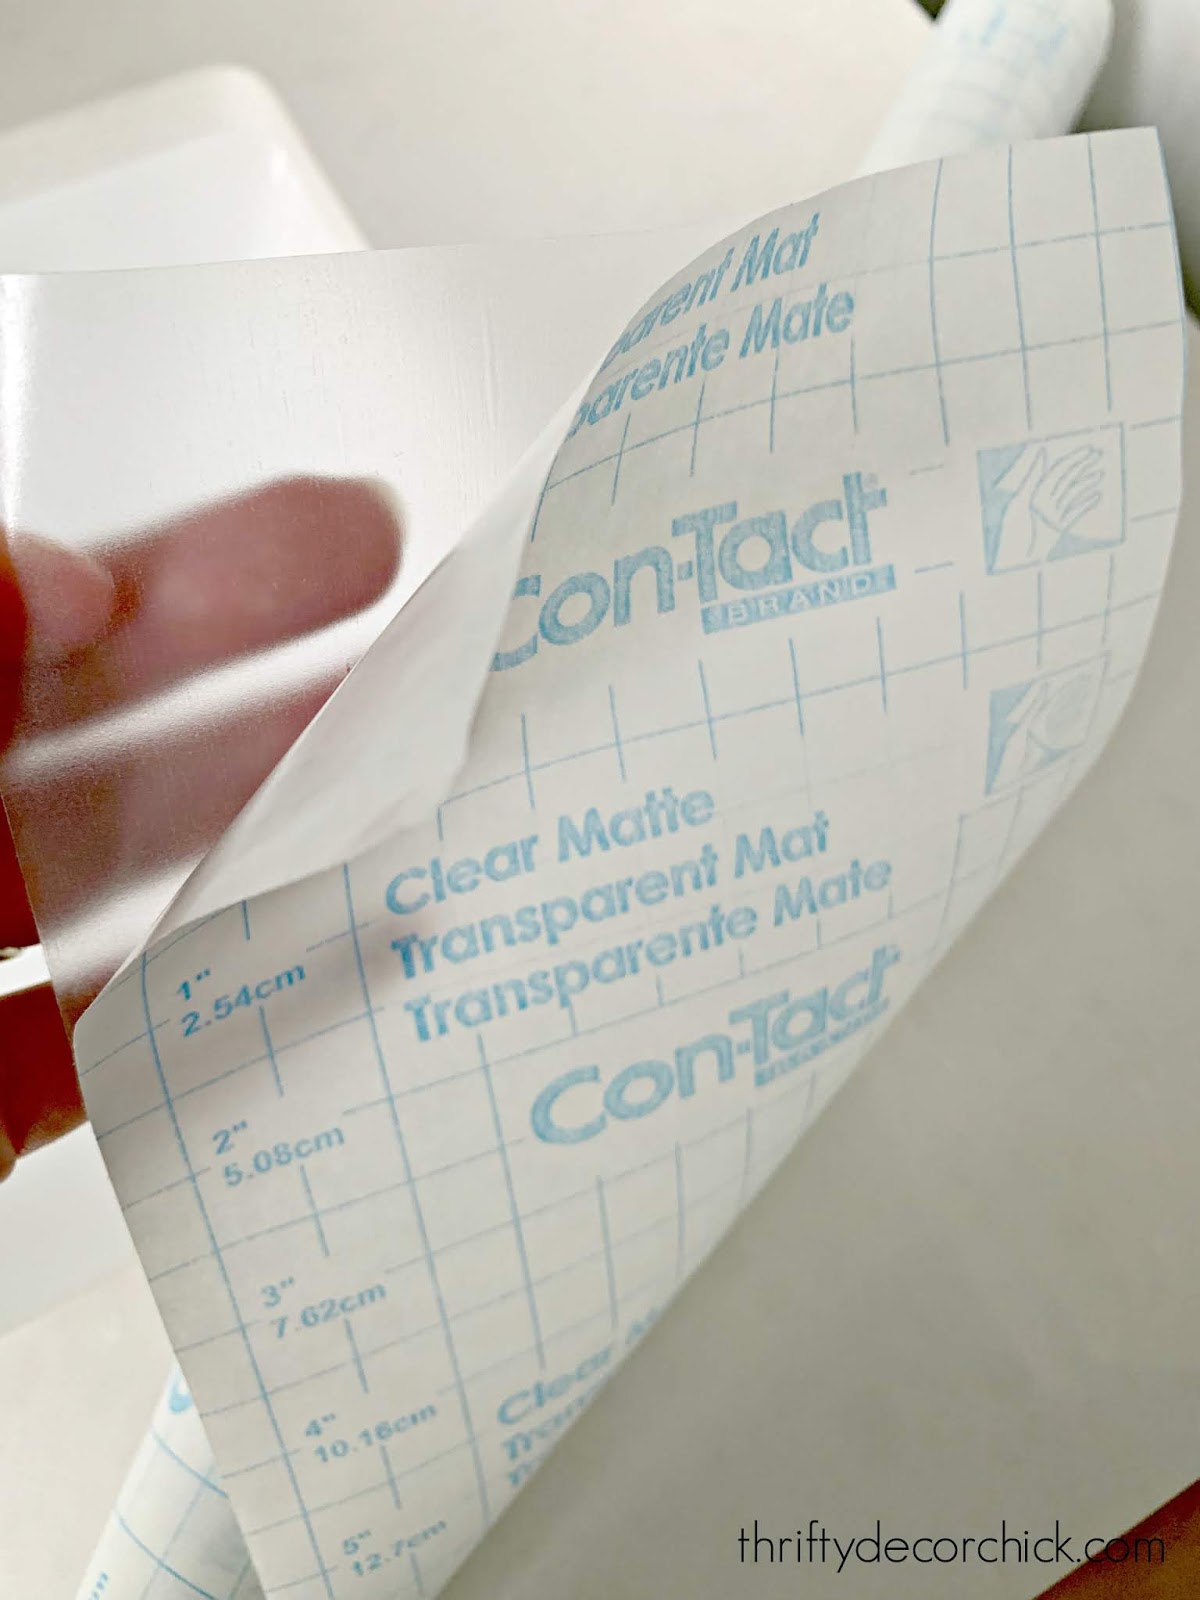
You’ll need transparent matte Contact paper:
Take a look
at this post to see all of the easy steps on how to install this on a window. You’ll just need a spray bottle with water, scissors and some way to push out the bubbles.
Because this paper isn’t wide enough for the window, I cut the peices in the size of the window panes. You can also cut them in strips, which is how I did it on the window in our old bathroom.
You’ll have TONS of bubbles, but they will push right out! I always use
these pan scrapers, but even a debit card will work. You just need something with a smooth side to push the bubbles out of the sides. (I leave some space around each peice so I can do that.)
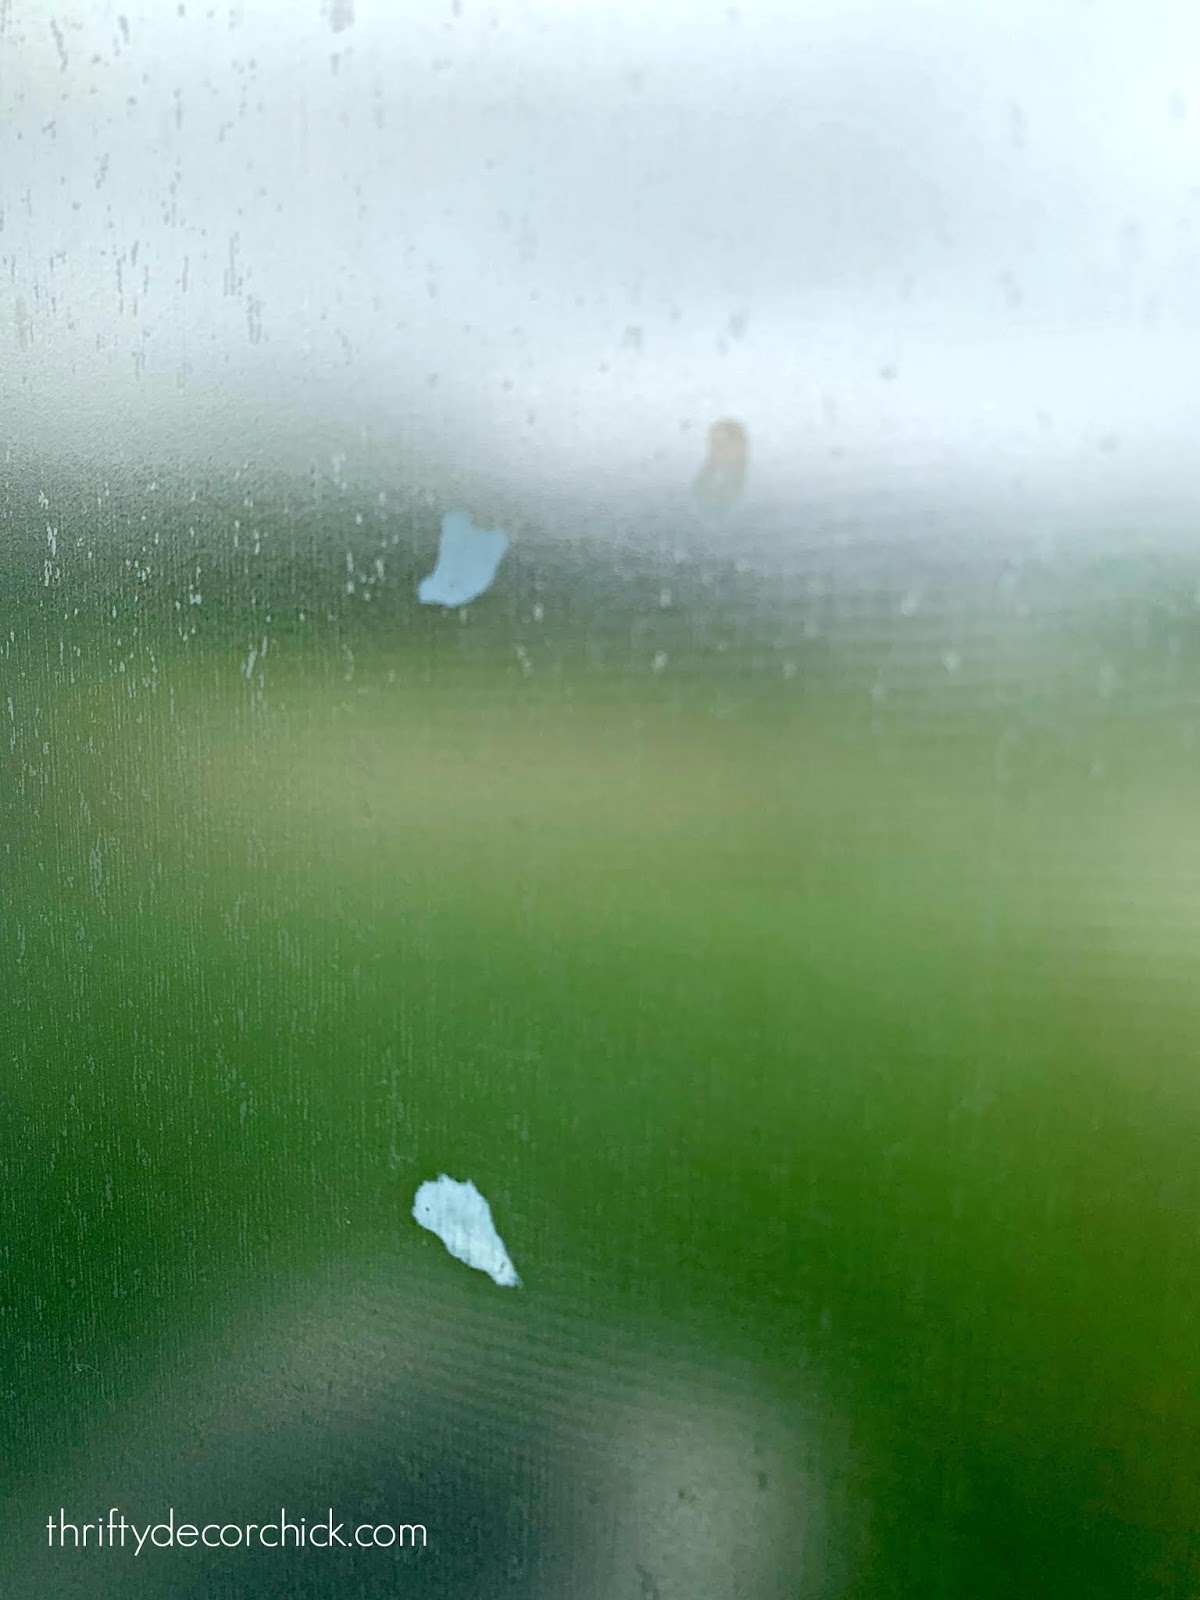
This time, the vinyl looked like this a day or so after I installed it:
But those marks disappeared over a few days. So odd! They almost look like bubbles, but aren’t. I still don’t know why that happened.
I only placed it on the bottom part of the window. You will not be able to see through it — everything will be blurry. When I did this last time I thought it would bother us not being able to see out, but it never did.
Same in this house:
As you can see, we can still see out of the top part of the window. 😉
Also, if you stand right up on it like I am above (I’m leaning against the window) I’m blurred but not overly so. But if you’re just inches away you can’t see much (at night with a light on you’ll see movement for sure).
I took a pic of our son standing away from the window slightly and couldn’t see him at all. I thought he had moved away before I could take the photo!:
I also love that you really can’t tell half of the window is “frosted” from the outside. I’m considering doing this on some other bathroom windows as well!
Here’s how it looks from the inside:
I can whip this out in ten minutes and a whole roll is $ 6 — it lasts forever! Have you ever tried this easy private window trick?
See more of our home here. To shop items in our home, click here! Never miss a post by signing up to get posts via email.
Let’s block ads! (Why?)
Thrifty Decor Chick
