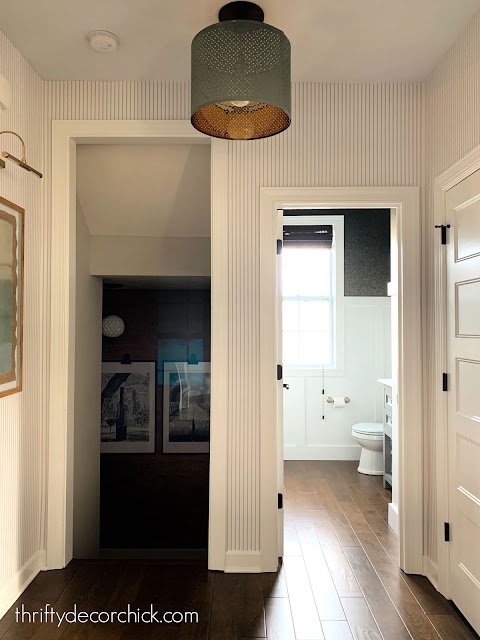
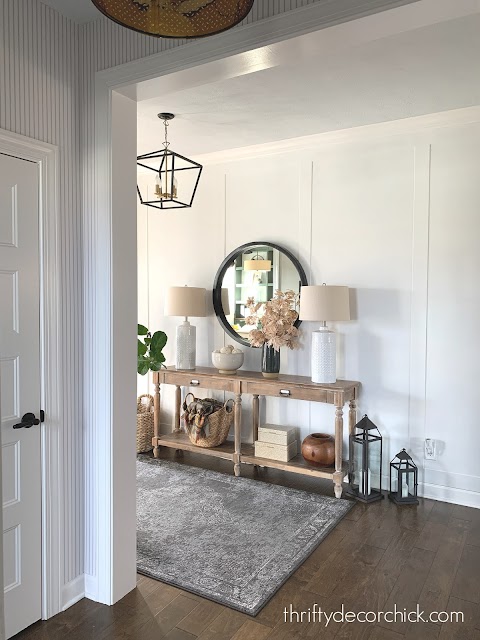
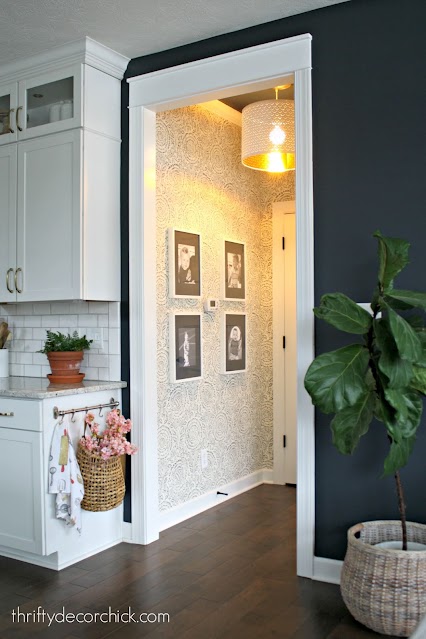
I finally finished up the little hallway updates I’ve been working on for a couple months! This nook is just off our foyer and I wanted to dress it up a bit.
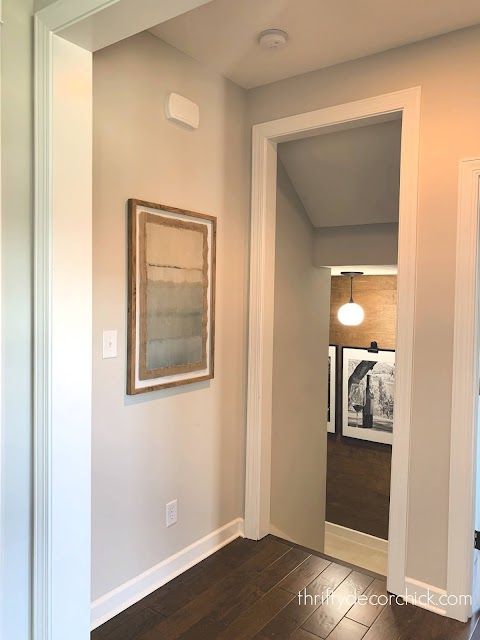
Here’s how it looked for years:
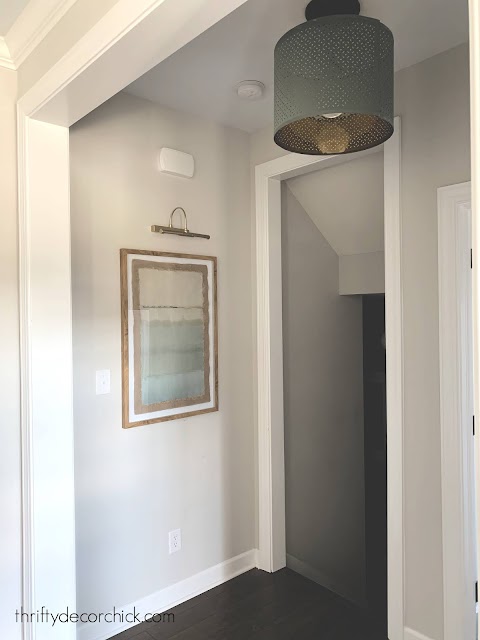
I shared how I added that art light without electricity and how I changed out the recessed light with a lamp shade fixture:
I also painted that ceiling the same pretty blue as the foyer ceiling. (North Star at 50 percent.)
The biggest part of this project was the wallpaper I picked out for this space. I’ve now added wallpaper to FIVE rooms in our home and I love it!
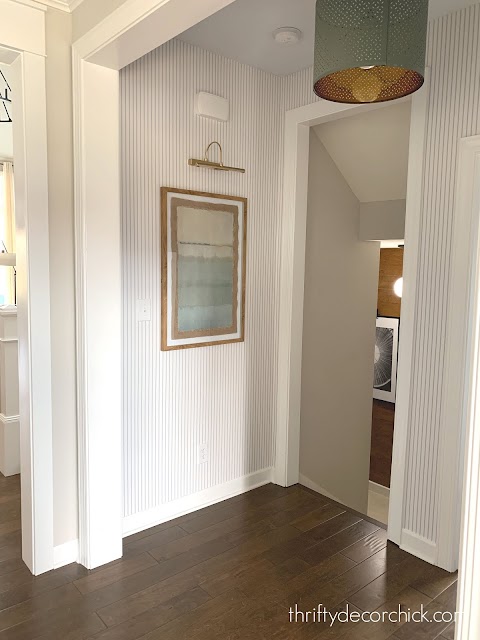
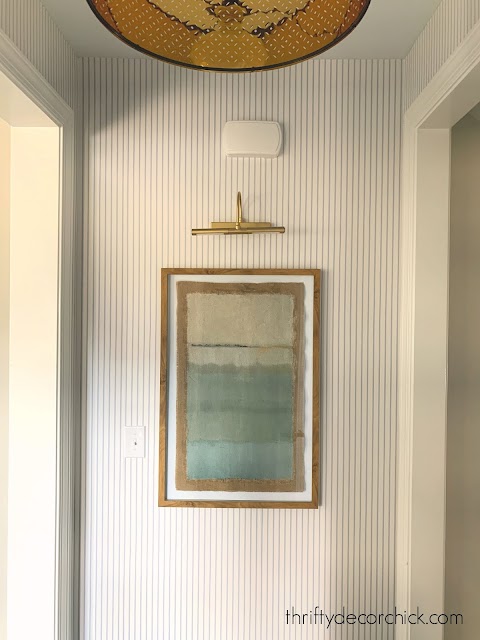
I used a very classic pinstripe pattern in blue and white:
This is a regular paper that needs to be pasted — but that part is easy! See my tips on how to wallpaper here!
It fits in perfectly and is just the look I wanted!:
This post may contain affiliate links for your convenience.
See my policies and disclosure page for more information.
This wallpaper is called Norwall Simply Stripes in blue and it’s not peel and stick like most of the wallpapers I’ve used. See how to install this regular paper at the link above. (It’s not as hard as you think!)
The great thing about striped paper is the “repeat” — which is the design that you’ll need to match up as you’re installing — is all the same. Papers with designs will require more rolls because you have to match them up to the prior piece as you install. The stripe was much easier so I used way less than I thought I would need.
The bad part about striped wallpaper is you need to make sure it’s perfectly straight, even if the walls aren’t! It took me about seven hours over a couple days, and I’m SO pleased at how it turned out!:
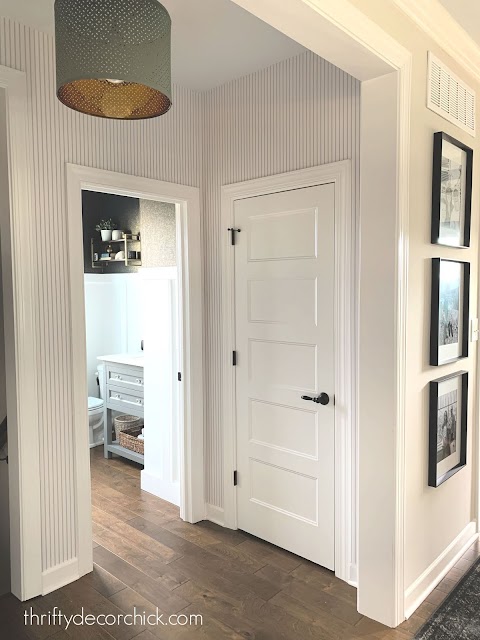
Those doorways though…the absolute worst! And I had four to deal with. Sometimes I use a full piece of paper all the way down and cut it as I go (more difficult in my opinion), and sometimes I use a piece for the top and then do another long skinny piece down the side:
Total cheater-non-wallpapering-professional way of doing it, but you can never tell where I do it! 😉 You’d have to run your hands along it to feel where they meet up. I’m actually kind of impressed (with myself) because the stripes look dang good!
The bonus of a more patterned wallpaper is that it’s even easier to patch pieces together — the striped isn’t quite as forgiving, but you really can’t tell at all:
I absolutely LOVE the classic look of the pinstripes! It’s so fresh and pretty. And it will stand the test of time.
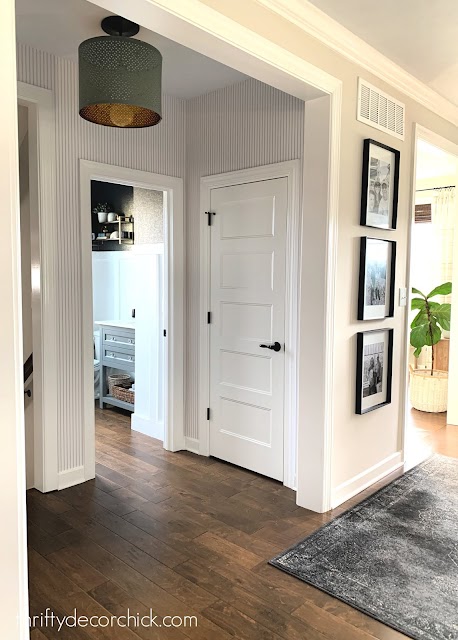
It looks beautiful with our white trim, doors and black accents:
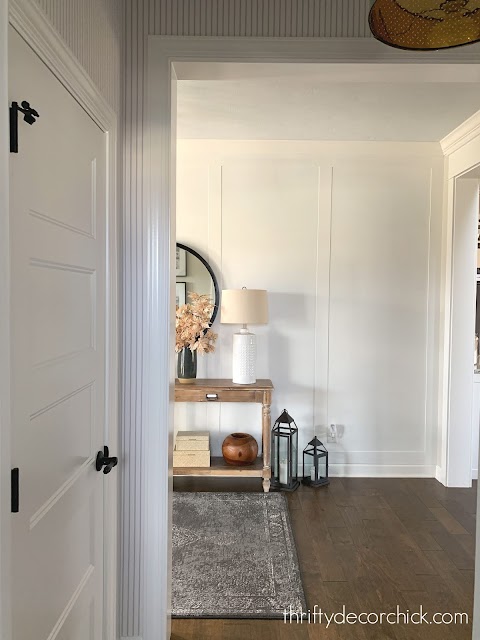
And ties in beautifully with the foyer right next to this space:
I’ll share all of the projects and resources for this space at the bottom of the post!
If you have any questions about the wallpaper process, I’m happy to share! So many of you have commented that you’ve taken down old borders or designs from 40+ years ago (I’m realizing as I type that the 80’s are now 40 years ago??) and couldn’t bear the thought of doing it again.
But the two more permanent wallpapers I’ve installed in our house were designs I thought long and hard on and are classics that will stand the test of time. The others are peel and stick wallpaper that should be easy to remove down the line. We will see!
I’m so pleased with how this bright and pretty space has turned out!:
Again, the name of the product is Norwall Simply Stripes, but there are many that come up when you search it online. The same design is named so many different things, so here are three links of the same design…
Here are some of the items pictured:
And you can check out all of my other wallpaper projects here!:
See more of our home here. To shop items in our home, click here! Never miss a post by signing up to get posts via email.
