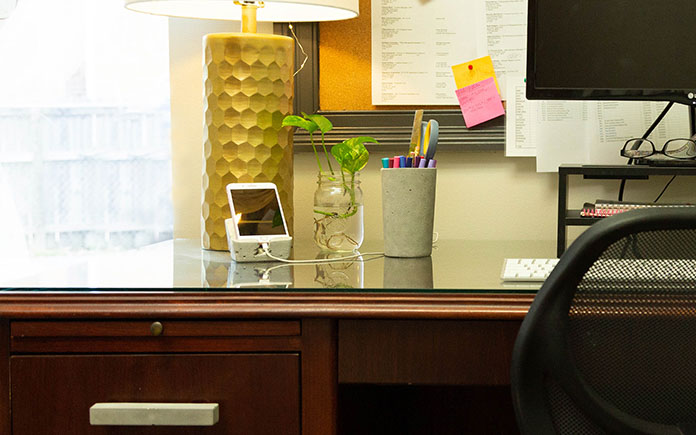
Office design isn’t just about looks — although I do like pretty things! It’s also about getting work done.
A lot of studies show a connection between a comfortable work environment and increased productivity. Of course, if you’re like me, a comfortable work environment means an attractive one!
I like to design rooms with character, and my latest concrete creations take three home office essentials — drawer pulls, the pen cup and the phone stand — and gives them some personality.
Cute and functional? That’s my kind of project. Follow along if you’re ready for an office refresh!
Materials
- Quikrete Countertop Mix
- 5-gallon Bucket (1)
- Small Masonry Trowel
- 60-, 80- and 120-Grit Sandpaper
- 2 Chemical-Resistant Gloves
- Ice Cube Trays for Water Bottles (2)
- 1/4″-20 Coupling Nuts
- Rubber Mallet
- 2 Plastic Cups
- Paper Clips
- Coupling Nuts
- Safety Glasses
- Duct Tape
Notes: Always wear pants, a long-sleeve shirt, safety glasses and gloves while working with concrete mix.
Also, I created all three of these projects from one bag of concrete mix. I mixed the concrete and prepped each project’s form, one after the other, to stay efficient.
So, I kind of went out of order, but there’s no reason to mix three times when you can do it just once, right? I would recommend following the same procedure.
But for the sake of these instructions, let’s pretend we’re mixing before each project, okay?
And now, let’s create some pretty things!
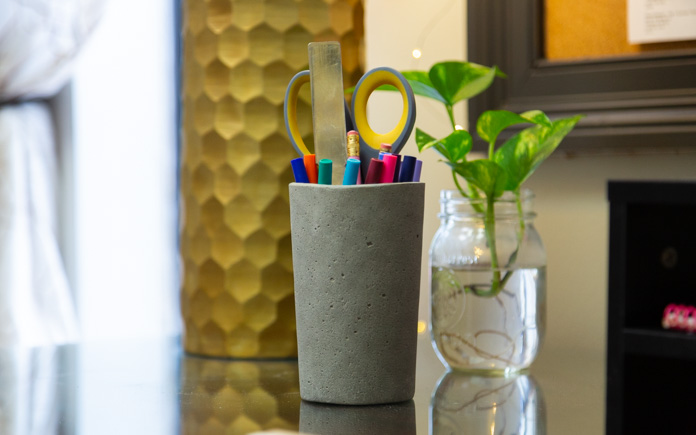
Concrete Pen Cup
My laptop, basically, contains my life — calendars, email, project lists; you name it! — but sometimes, I’m a simple gal and just want to jot down some notes on a piece of paper.
Pens need to live somewhere, but I want to elevate my office design, so not just any cup will do. It needs to be cute. And unique. So, I’m making one from concrete!
Here’s how to do it.
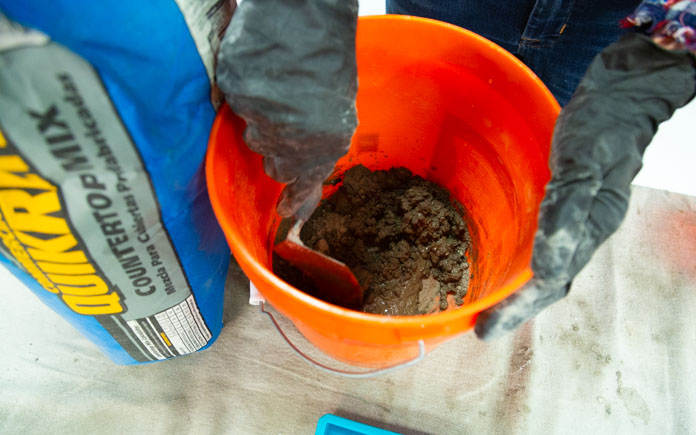
1. Mix the Concrete. Combine Quikrete Countertop Mix and about three quarts of water in a plastic bucket. Countertop mix is thick, doesn’t have rocks in it, and leaves a smooth finish — perfect for all three projects!
You can hand-mix concrete with a trowel (which I used), a shovel or a hoe. If you want to speed things up, grab a drill with a mixing paddle. Totally up to you!

2. Make the Form. You’ll need two plastic cups — one slightly smaller than the other — to create the form. These cups should be ones you will never drink from again!
I purchased mine from the dollar store and sprayed the insides with cooking spray. This helps prevent the concrete from sticking (Note: Use of cooking spray may cause some slight discoloration.)
Trowel your concrete mix into the big cup. First, pour the mix into the big cup and then spread the mix all around the inside of that cup. Imagine how you want the pen cup to look and trowel accordingly! Then insert the small cup.
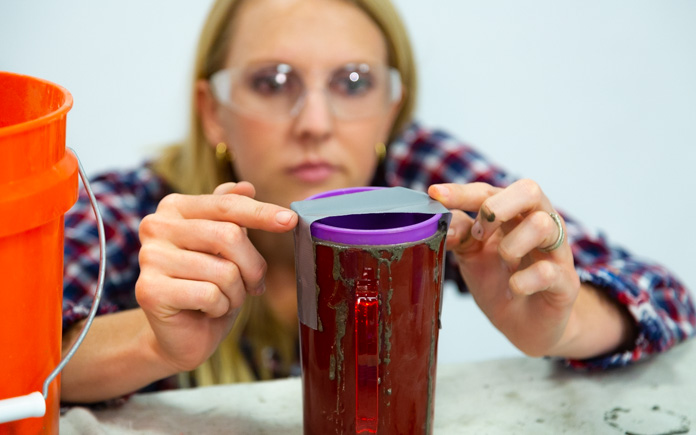
3. Tape the Form. Next, you’ll need to duct tape the cups together. This prevents the concrete from pushing up on the small cup and messing things up!
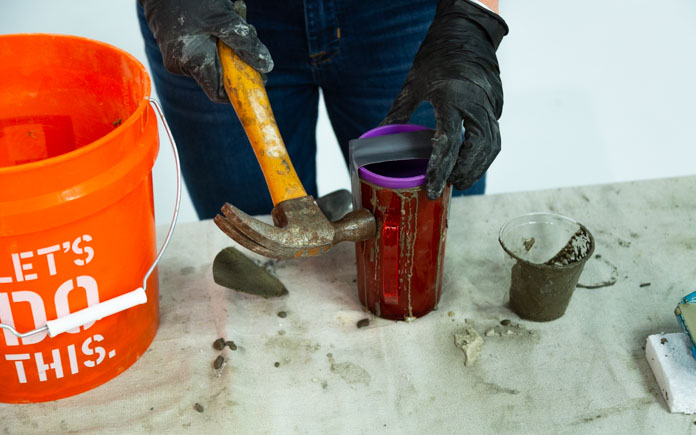
4. Tap Out Air Bubbles. Grab a rubber mallet and tap all around the sides of the big cup. This helps prevent air bubbles so your pen cup will look its best!
5. Let Dry. Wait for the concrete mix to dry according to the package’s instructions. Then, carefully remove the tape, lift the small cup from the big cup and pull the pen container from the big cup.
Sand the pen cup with 60- or 80-grit sandpaper until it looks nice and smooth and then place it on your desk. You’re one-third of the way finished with this office makeover!
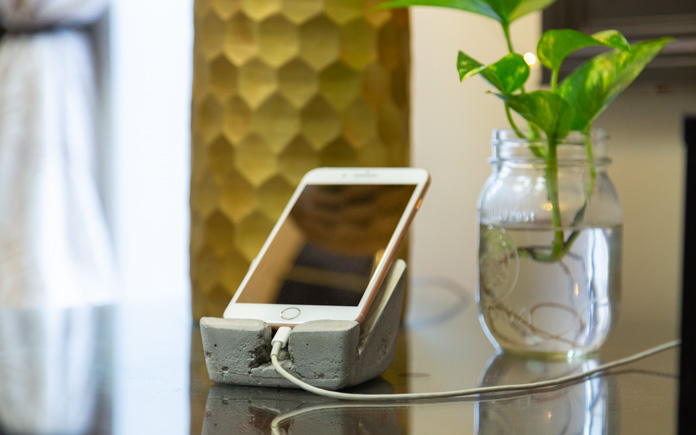
Phone Stand
Phone stands are a popular desktop fixture, and in this multitasking world, it’s easy to see why! They keep your device in an upright position, so you can simply glance at the screen if there’s a ring or notification.
Sure, you can purchase wooden, metal or plastic phone stands, but where’s the fun in that? I love a good DIY project and want something that complements the pen cup to enhance this office design. So, concrete it is!
For this project, we need to create a form, as usual, but we also need to create a void for the charging port and a ledge for the phone to rest on. (We’ll call this a cutout form.)
Create the form with a square plastic container that’s the same size or larger than the width of your cell phone. Spray it with cooking spray.

Use a jigsaw to create your cutout form for the charger port. Cut about ½-inch up, leaving about ¾-inch in the middle.

1. Mix and Pour. Mixing concrete is unnecessary if you’ve already prepped forms for all three projects like I did. Otherwise, combine Quikrete Countertop Mix and water according to the bag’s instructions.
Then pour concrete mix into the form (fill it about halfway) and wedge a piece of dense foam under one side of the plastic form so the concrete dries at an angle. The top of the concrete should be about parallel with your worktable.
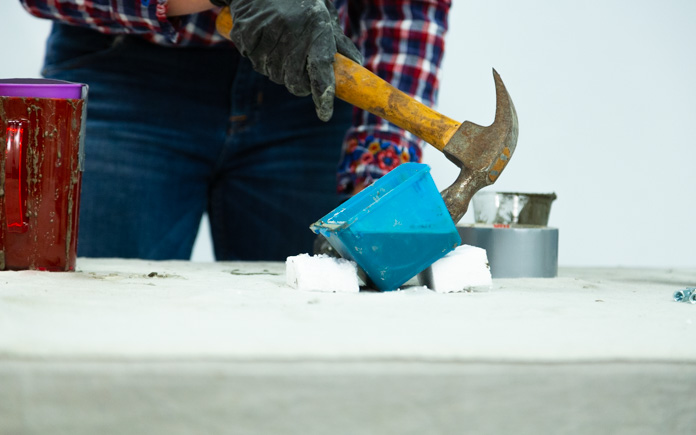
2. Tap Out Air Bubbles. Grab your rubber mallet and tap all around the plastic form to prevent air bubbles.
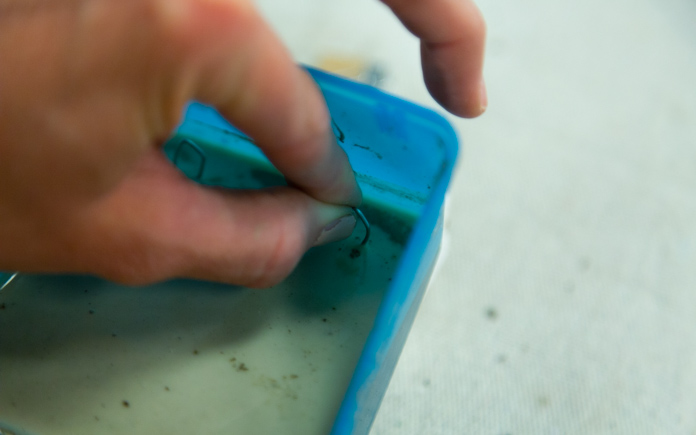
3. Add Rebar. Just like steel bars or wires reinforce concrete slabs, we need something to connect the second pour of concrete (coming soon!) to the one we just made. Bend two paper clips in half and insert them on the bottom end of the concrete. Let everything dry for about an hour.
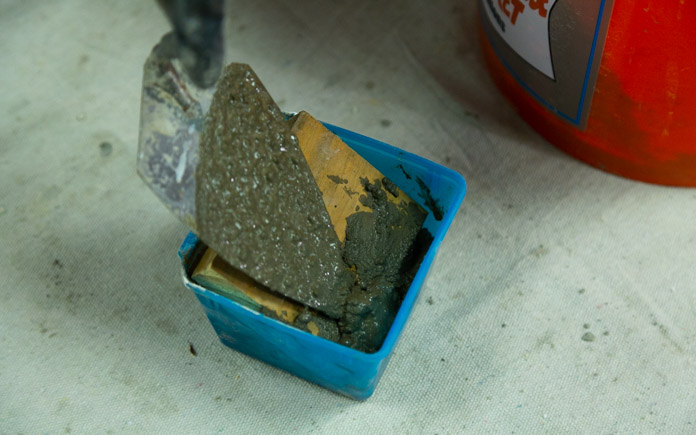
4. Finish It Off. Check the concrete; it should be firm but not hard. Insert your cutout form — with the tongue toward the bottom of the plastic form, just beside the paper clips. Then pour a tiny amount of concrete. This creates the lip for your phone to rest on while leaving space to charge your phone while it’s in place.
5. Let It Dry. Let everything dry for 24 hours. Then carefully remove the project from your form and remove the cutout form as well. Give it a light sanding and you’re ready for work!

Drawer Pulls
If you have a dated desk, one of the easiest (and cheapest!) ways to update it is by changing the hardware. This simple change will give the desk a high-end flair and it will enhance your office design.
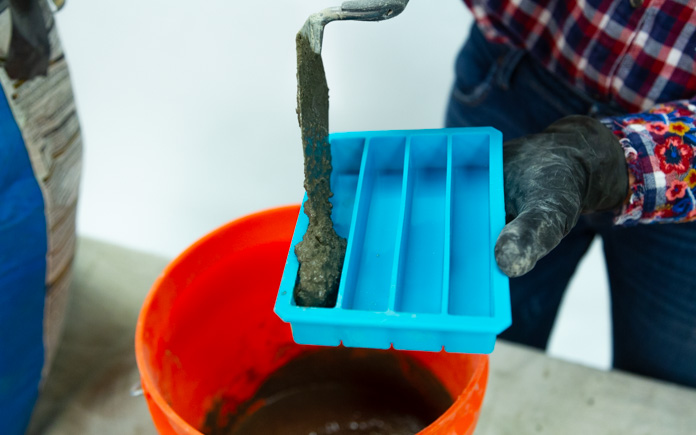
1. Prep the Form and Pour the Concrete. For this project, we’re using a silicone ice cube tray designed to freeze cubes for water bottles. If you don’t own this type of tray, you can buy one on Amazon for about $ 10.
Mark the tray with a permanent marker to indicate where the screw holes will go. Our screws are 4 ¼ inches apart, so I marked 7/8 inch from each end.
Next — I’m sure you know the drill by now! — spray the form with cooking spray to prevent the concrete from sticking.
We’ve already mixed concrete while making the pen cup and the phone stand, but if you didn’t create those projects, go ahead and combine Quikrete Countertop Mix and some water according to the package’s directions. Then pour the mix into the ice tray and tap all around the form with the hammer to prevent air bubbles.
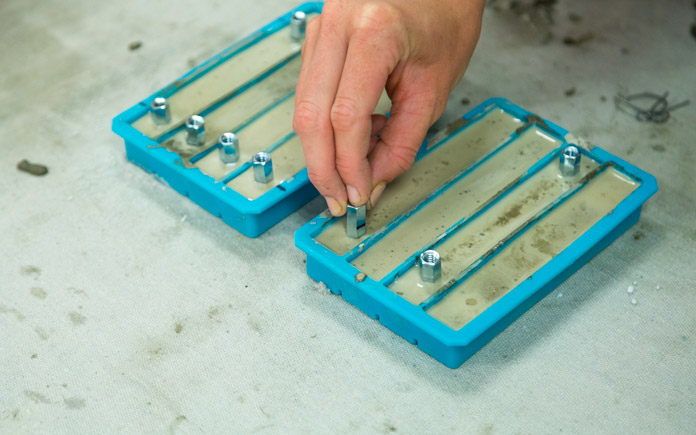
2. Insert the Coupling Nuts. Let the concrete set for 30 minutes to an hour, and then carefully insert 1/4″-20 coupling nuts at the marks on the ice tray.
The centers of the nuts should be the right distance apart. In my case, I needed them to be 4 ¼ inches apart to fit the desk drawer’s existing holes.
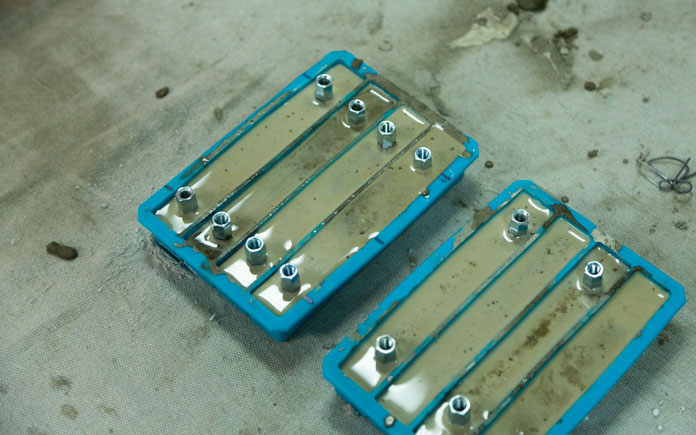
3. Let It Dry. Let the drawer pulls dry for 24 hours. Then remove them from the form and sand them with 120-grit sandpaper before you install them.
Enhancing your office design is easy when you have color-coordinated — or in this case, concrete-coordinated — features that tie the room together!
Do you know someone looking for small office design ideas? Share this article with them!
