Hello my friends! I’m getting back into some DIY projects that have been on my list for awhile. I s l o w l y replaced the door and window trim in our old house and I’ve started to do it in this home as well. I have six doors done and about six to go! (See why I’m not doing all of them below.)
I’ve shared how to add chunky trim to windows here and give doors the Craftsman look here. Over the years I’ve found a slightly easier way to do this that I’ll share in a bit.
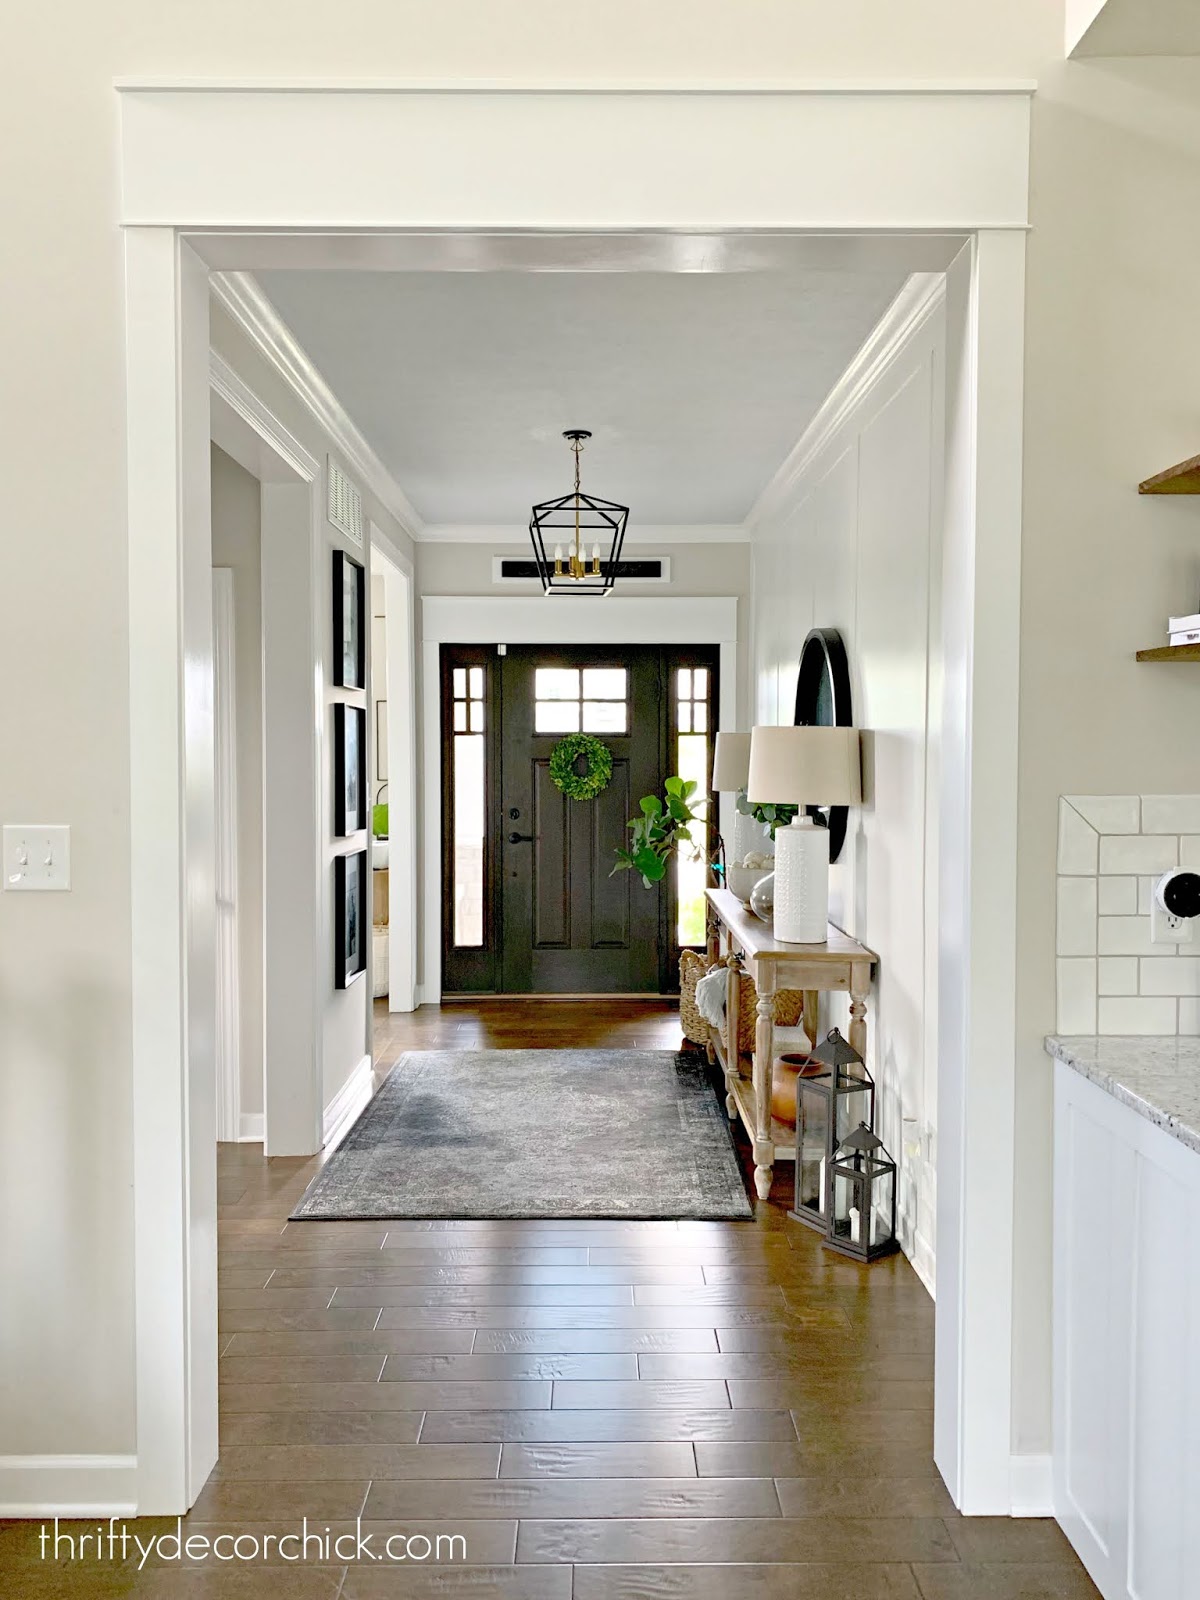
This weekend I finished up another spot in our foyer. I added my chunky Craftsman trim around our front door last fall:
But I still had the other side to finish up:
This post may contain affiliate links for your convenience.
I had leftover wood for the main header part, so just had to purchase a few pieces. I’ll list those at the end of the post so you’ll have a shopping list ready if you’d like to try this!
Most of the work when replacing skinny doorway trim with thicker stuff is in the removal of the old trim. You’ll need a
utility knife to cut the caulk around the trim, as well as a hammer and
pry bar to get the trim off the wall.
After that you’ll need to replace the side pieces (see more about that in a minute) and build the header. Lately I’ve been building that header, then caulking and painting before installing it over the door. It’s easier to paint when it’s not up high!
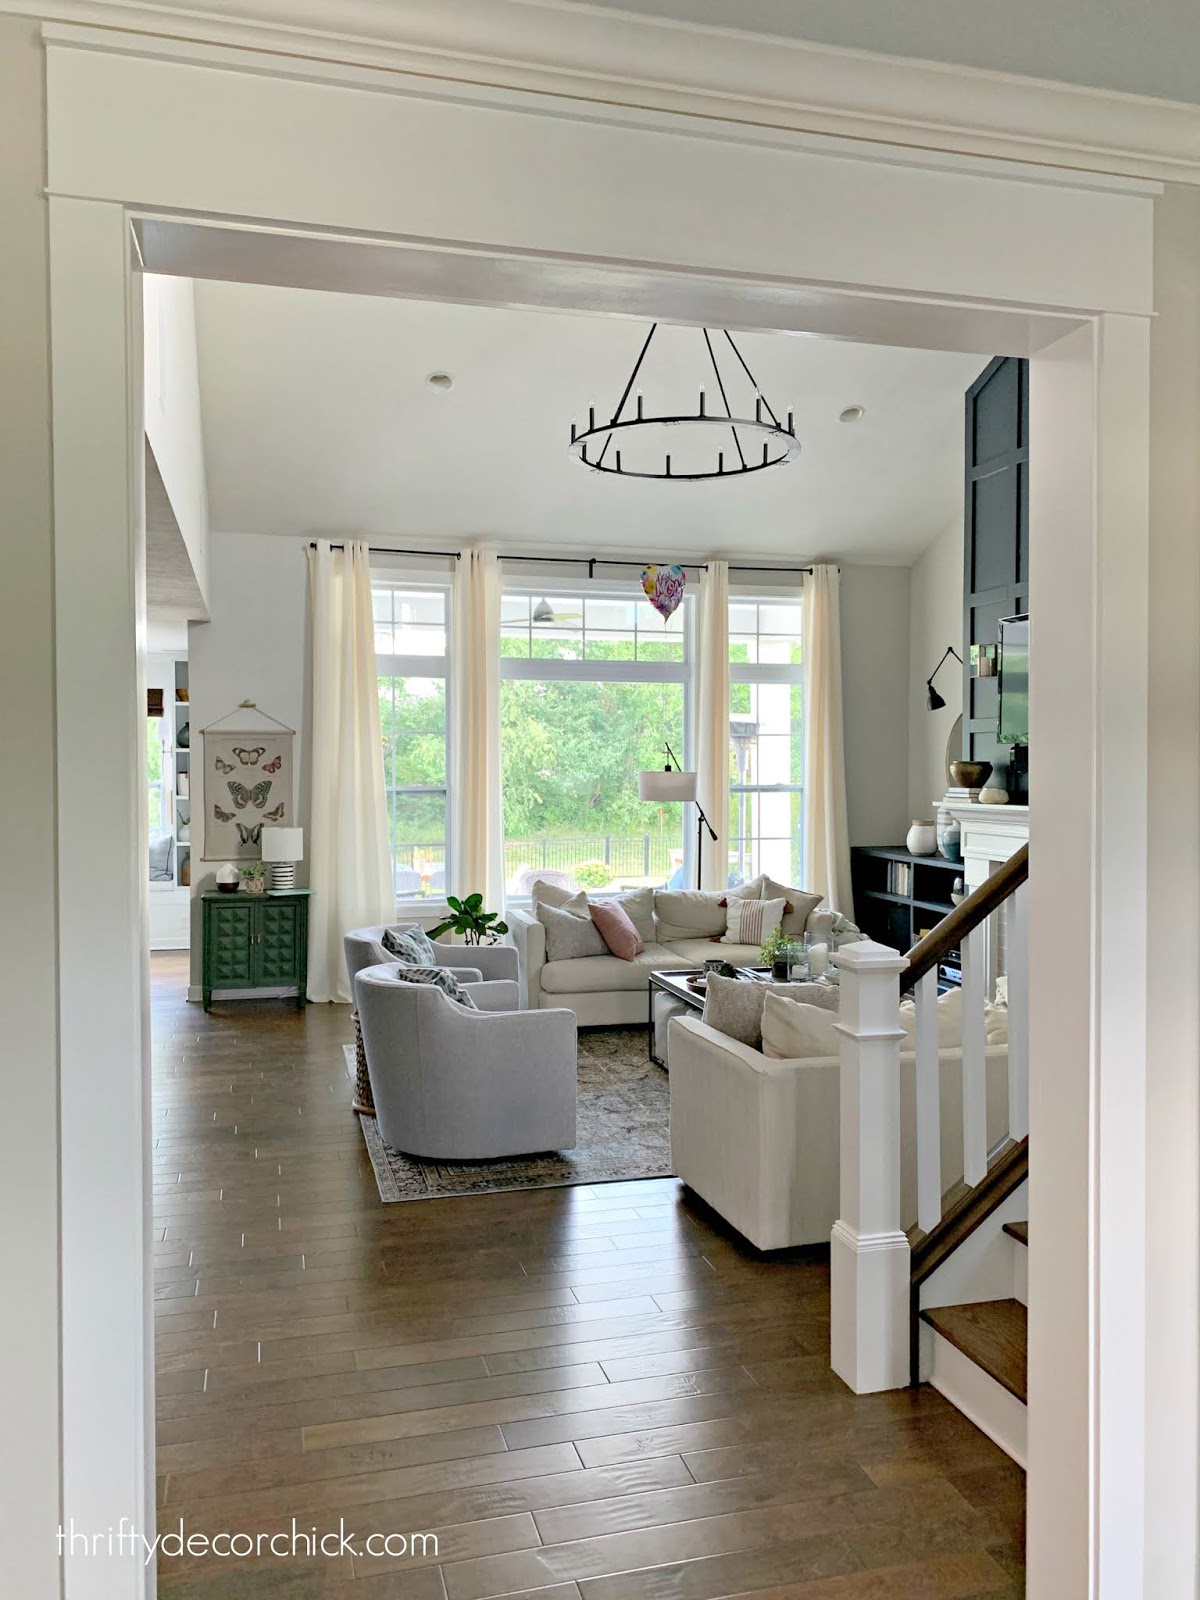
I’m always surprised at the difference the thicker door trim makes — I absolutely love it!:
We have a LOT more doors and open doorways in this house than we did in our old one, so I’ve come up with a plan on what I’ll be adding. I think installing the thicker trim over every door would get to be a little much.
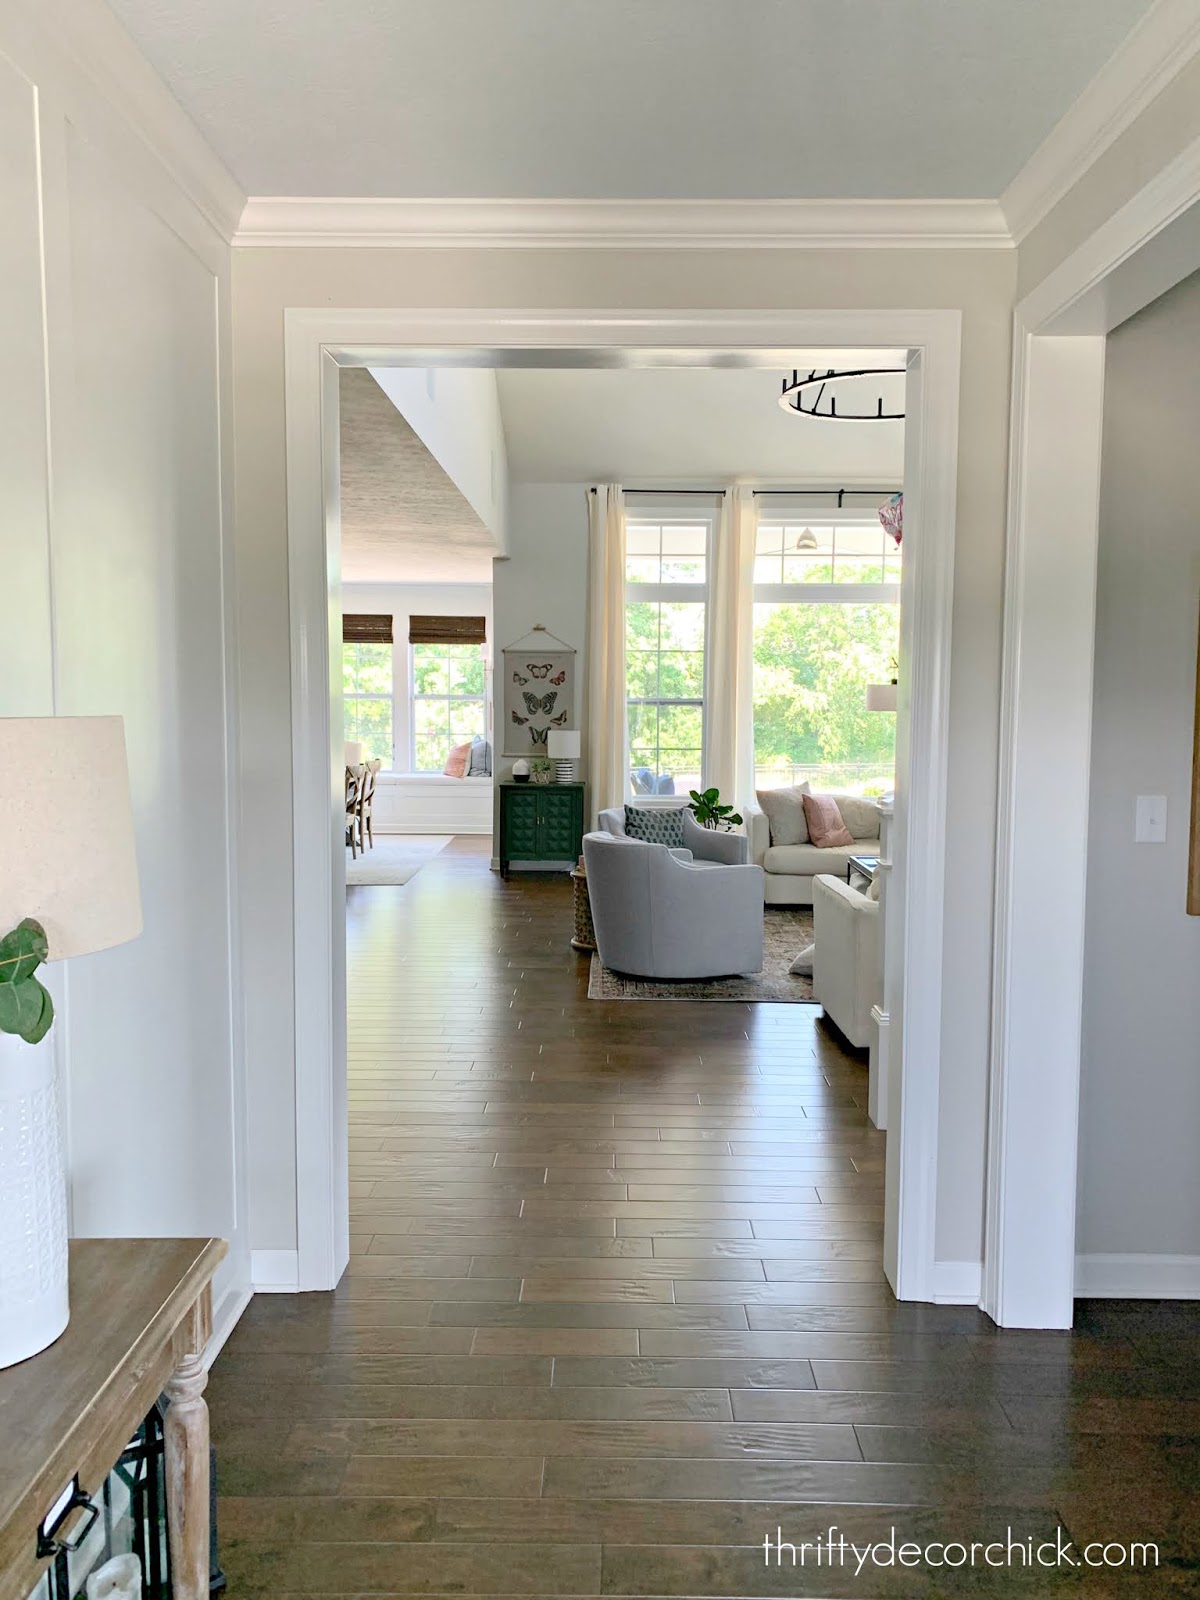
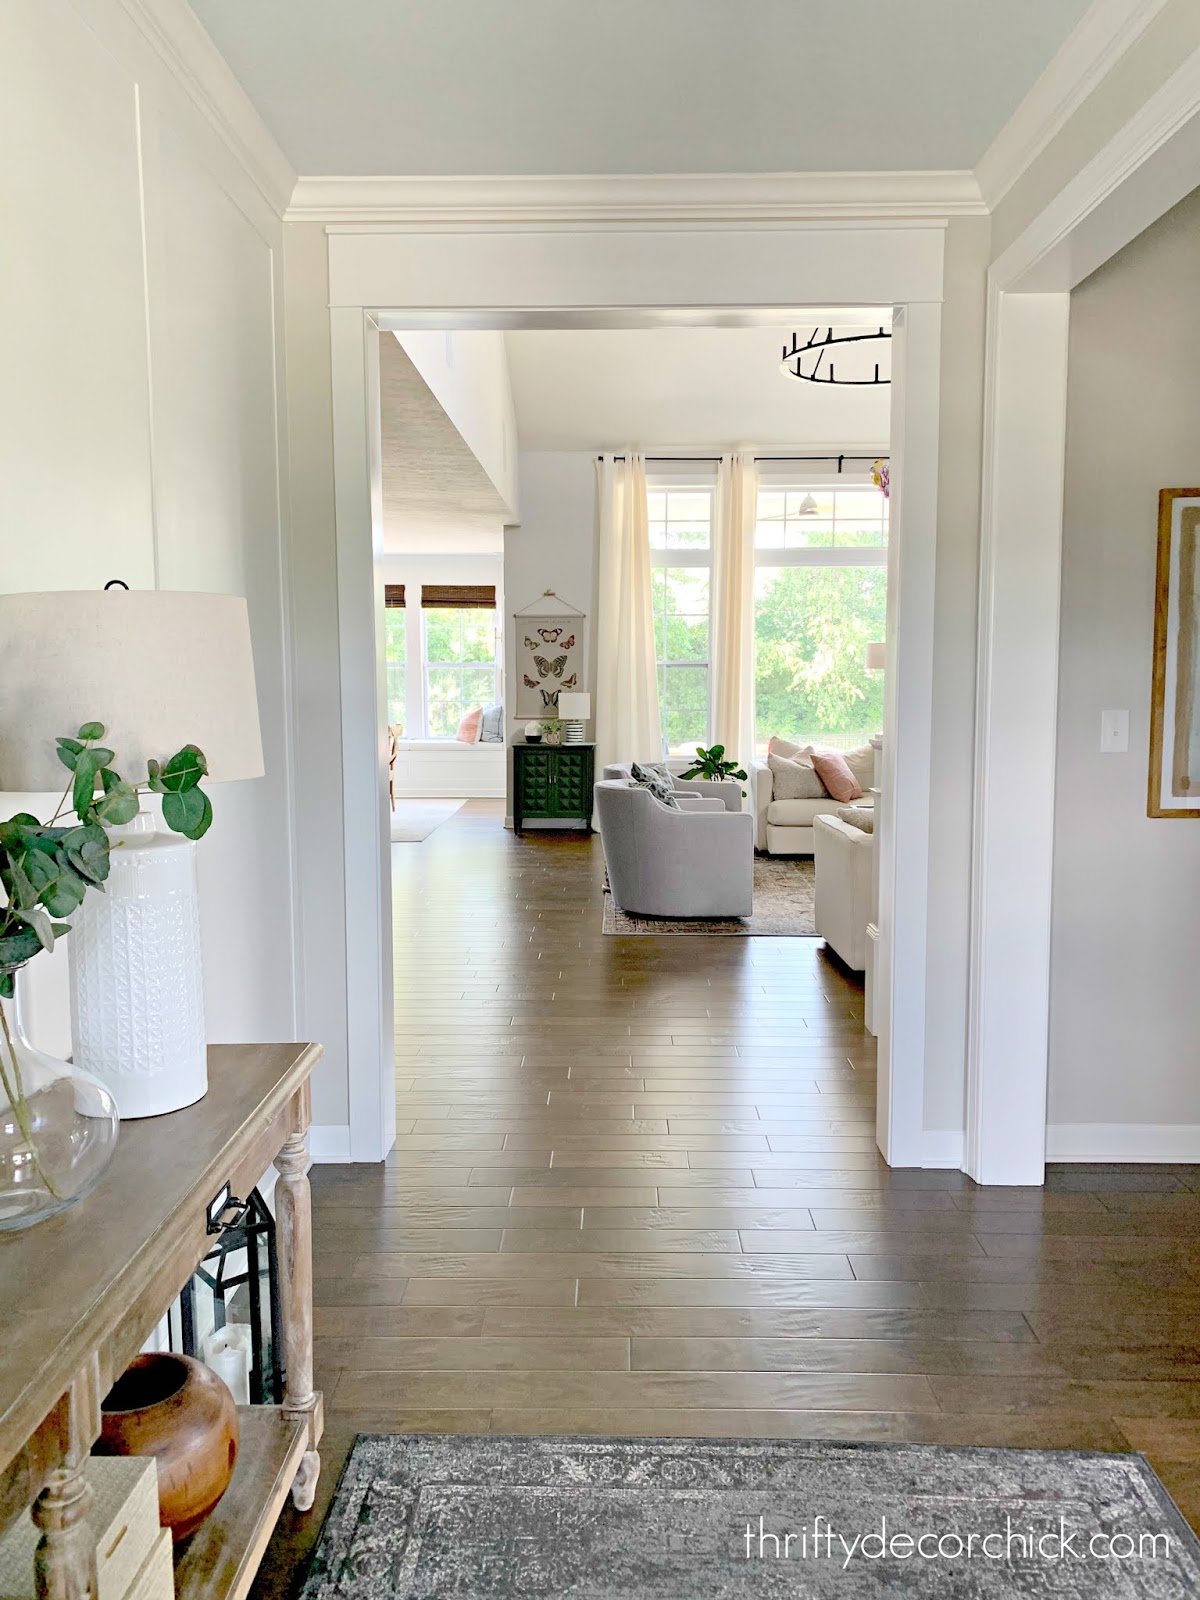
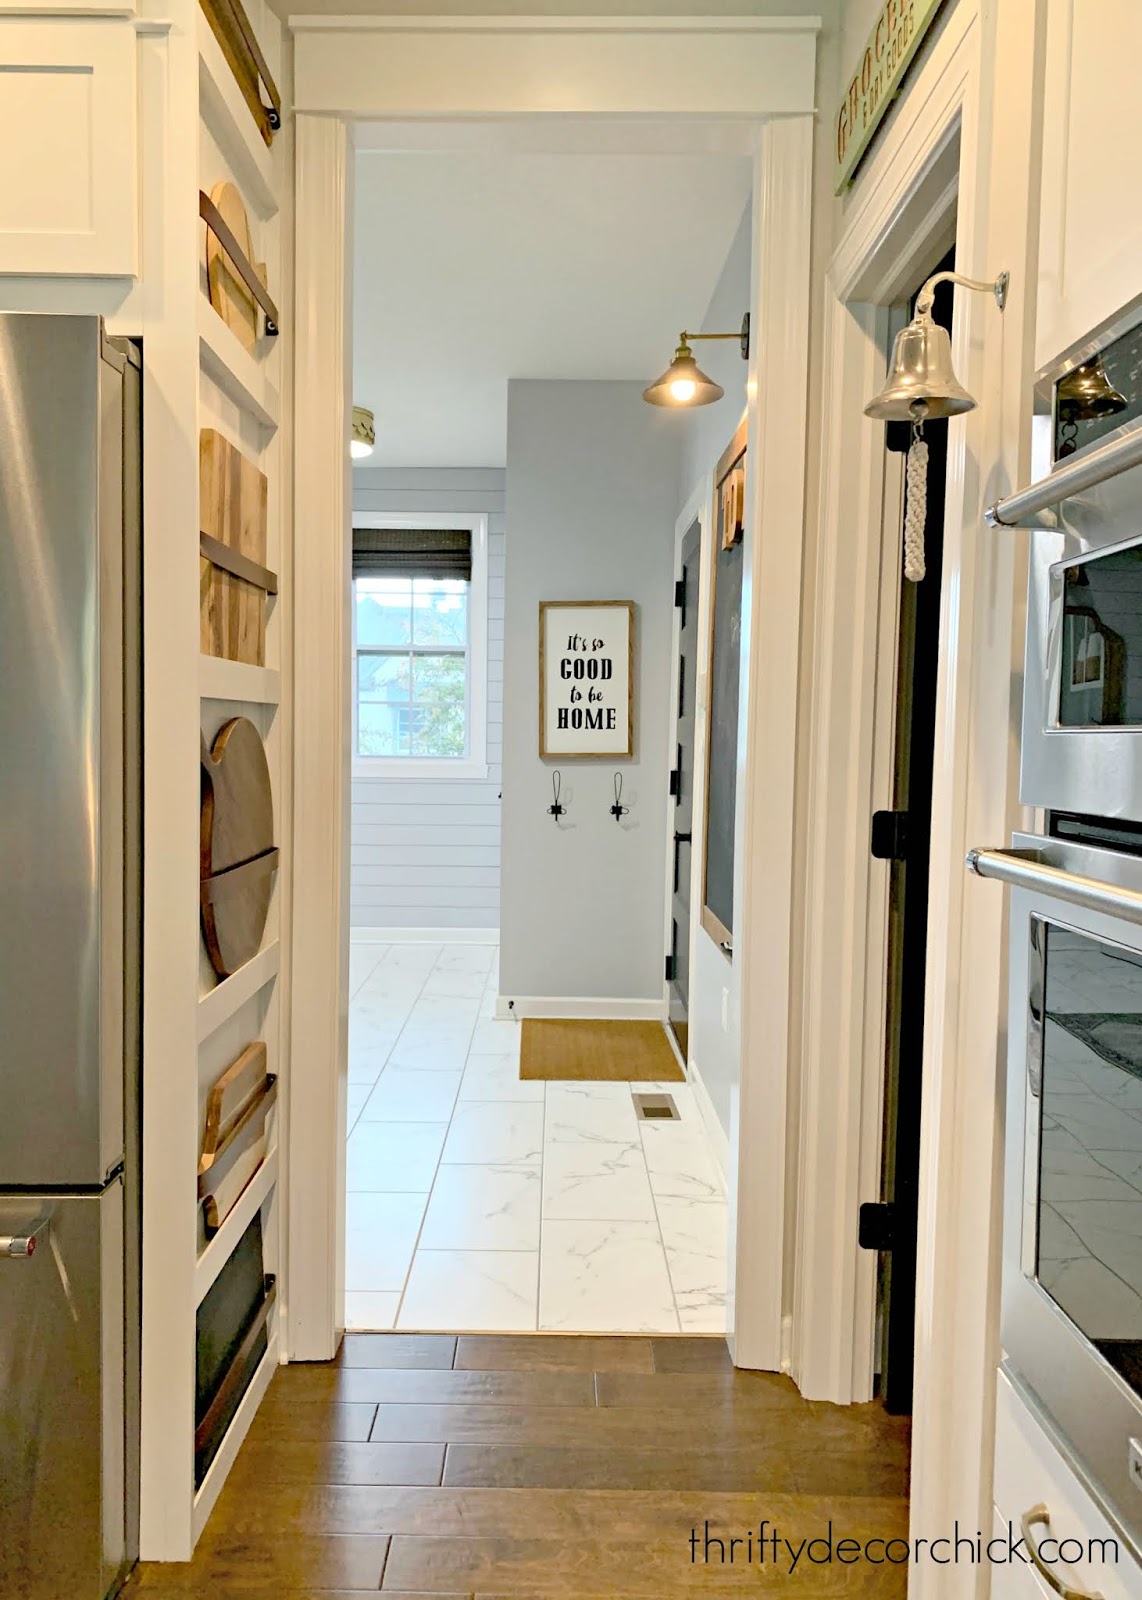
I plan to add this Craftsman door trim (sometimes called farmhouse trim) to our exterior doors (like I did over the front door) and then on the main open doorways like this one:
I will be leaving the trim on smaller doors as is. At least that’s the plan for now! Just the larger doors will take me another year. 😉
There’s something about this addition that makes the whole space feel grander. It’s a detail that people may not be able to put their finger on…but it gives a home an elevated feel for very little work!
Here’s how the other side of the doorway looks:
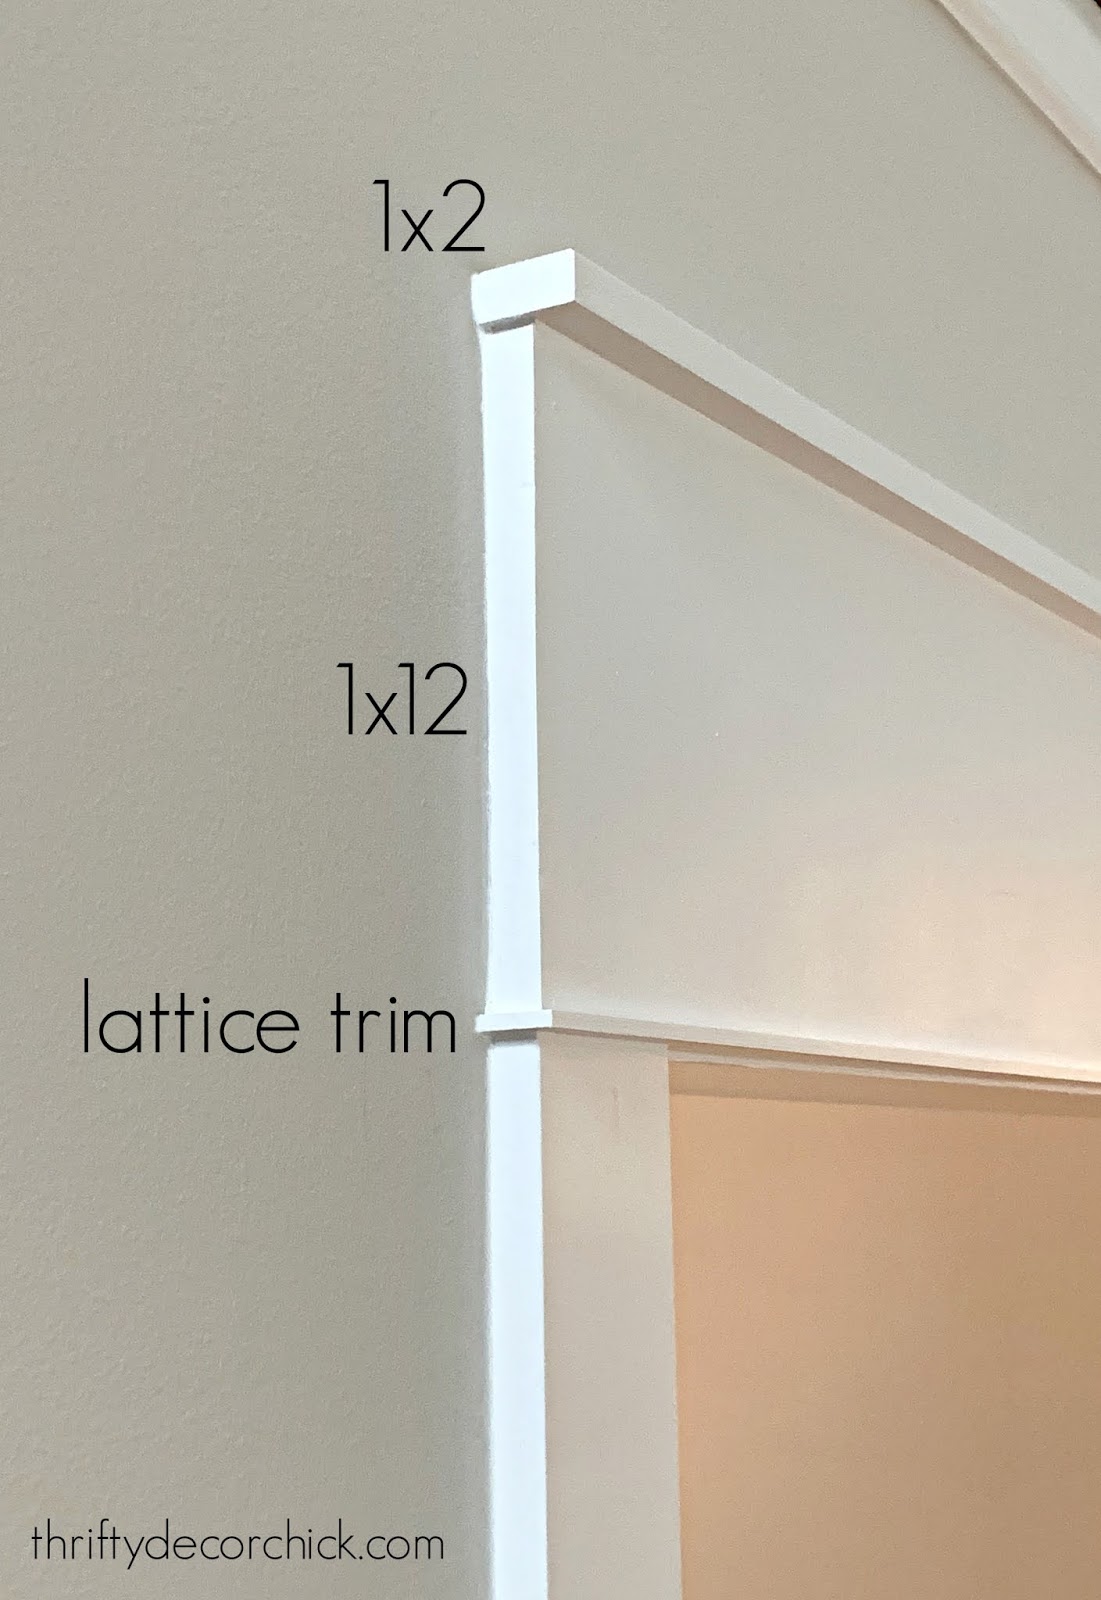
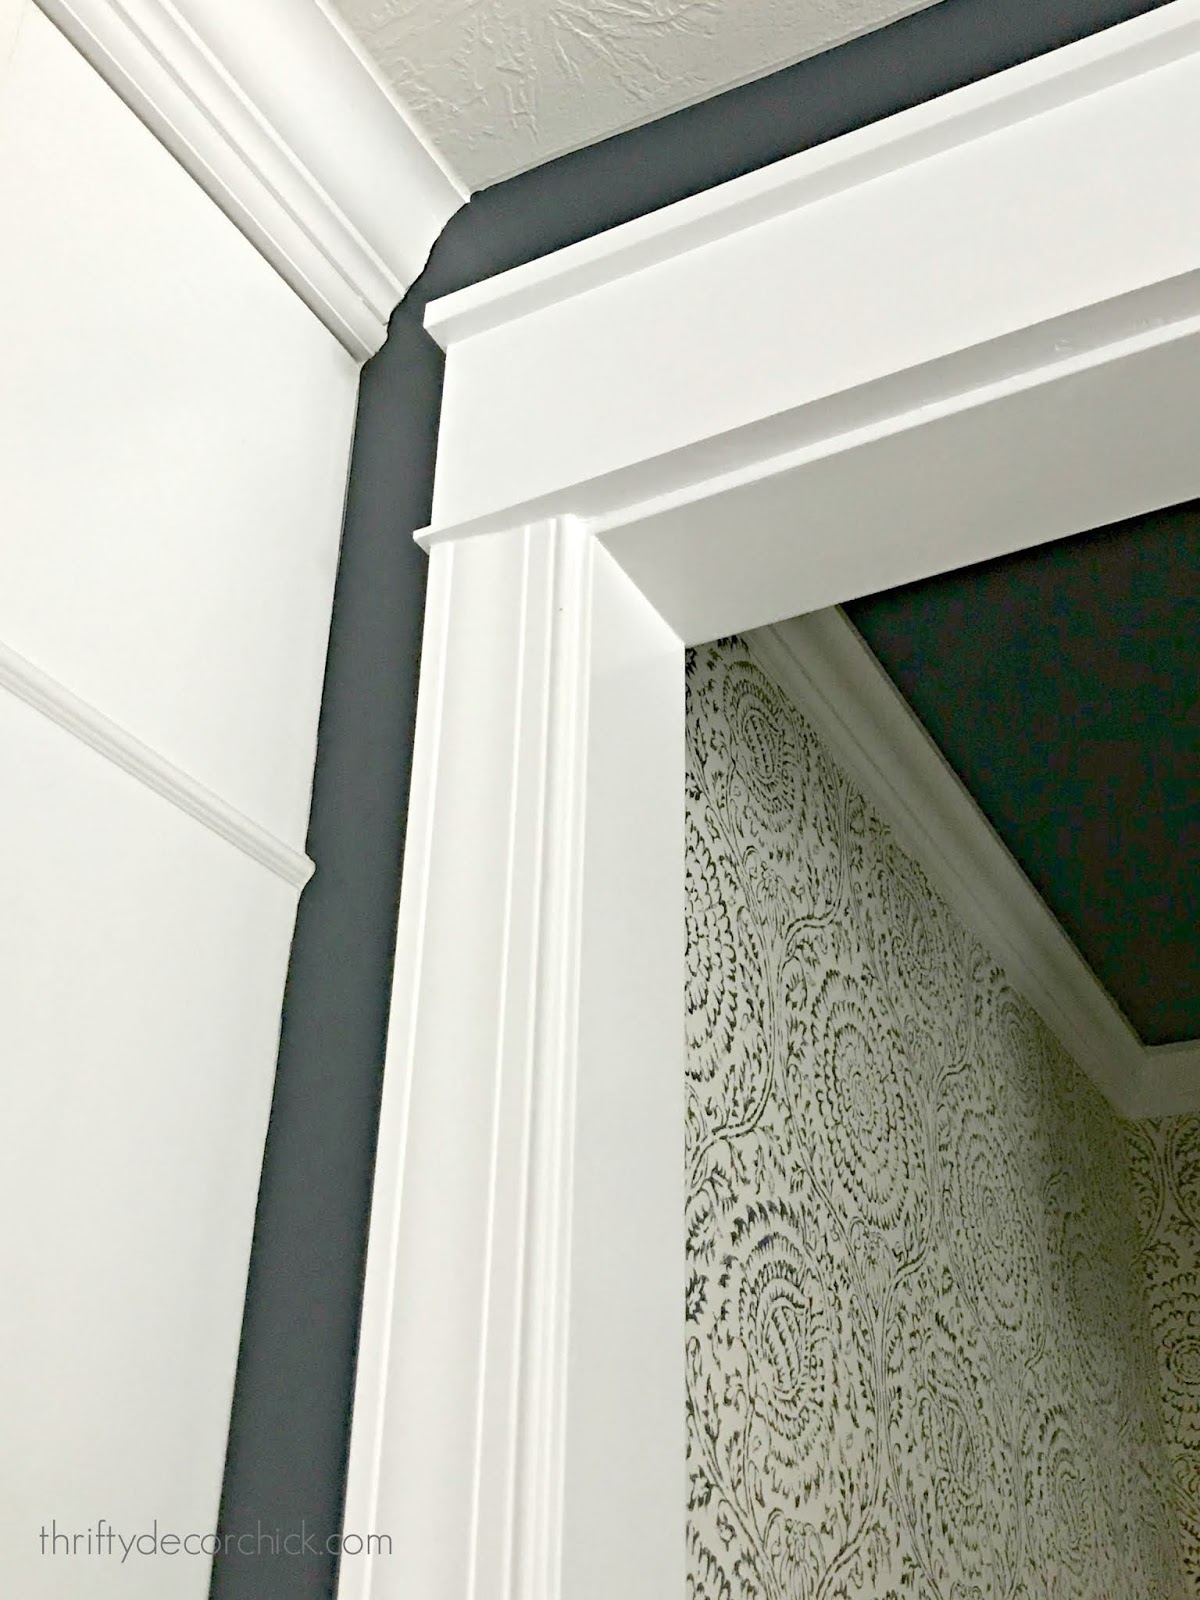
I’ve found a little shortcut that has helped both the cost and time it takes to do this! Our old house had thinner trim on the sides of the doors, but here it’s a bit thicker. So for most of the taller doorways I’ve started just taking the top portion off and replacing it with the new header.
So instead of removing the side pieces, all I do is cut them off at the top and then place the header on, like so:
It is SO much quicker and will save you money on trim! Go
here to see more about how I did that!
It looks just as good too — the thick header is what makes the biggest impact anyway:
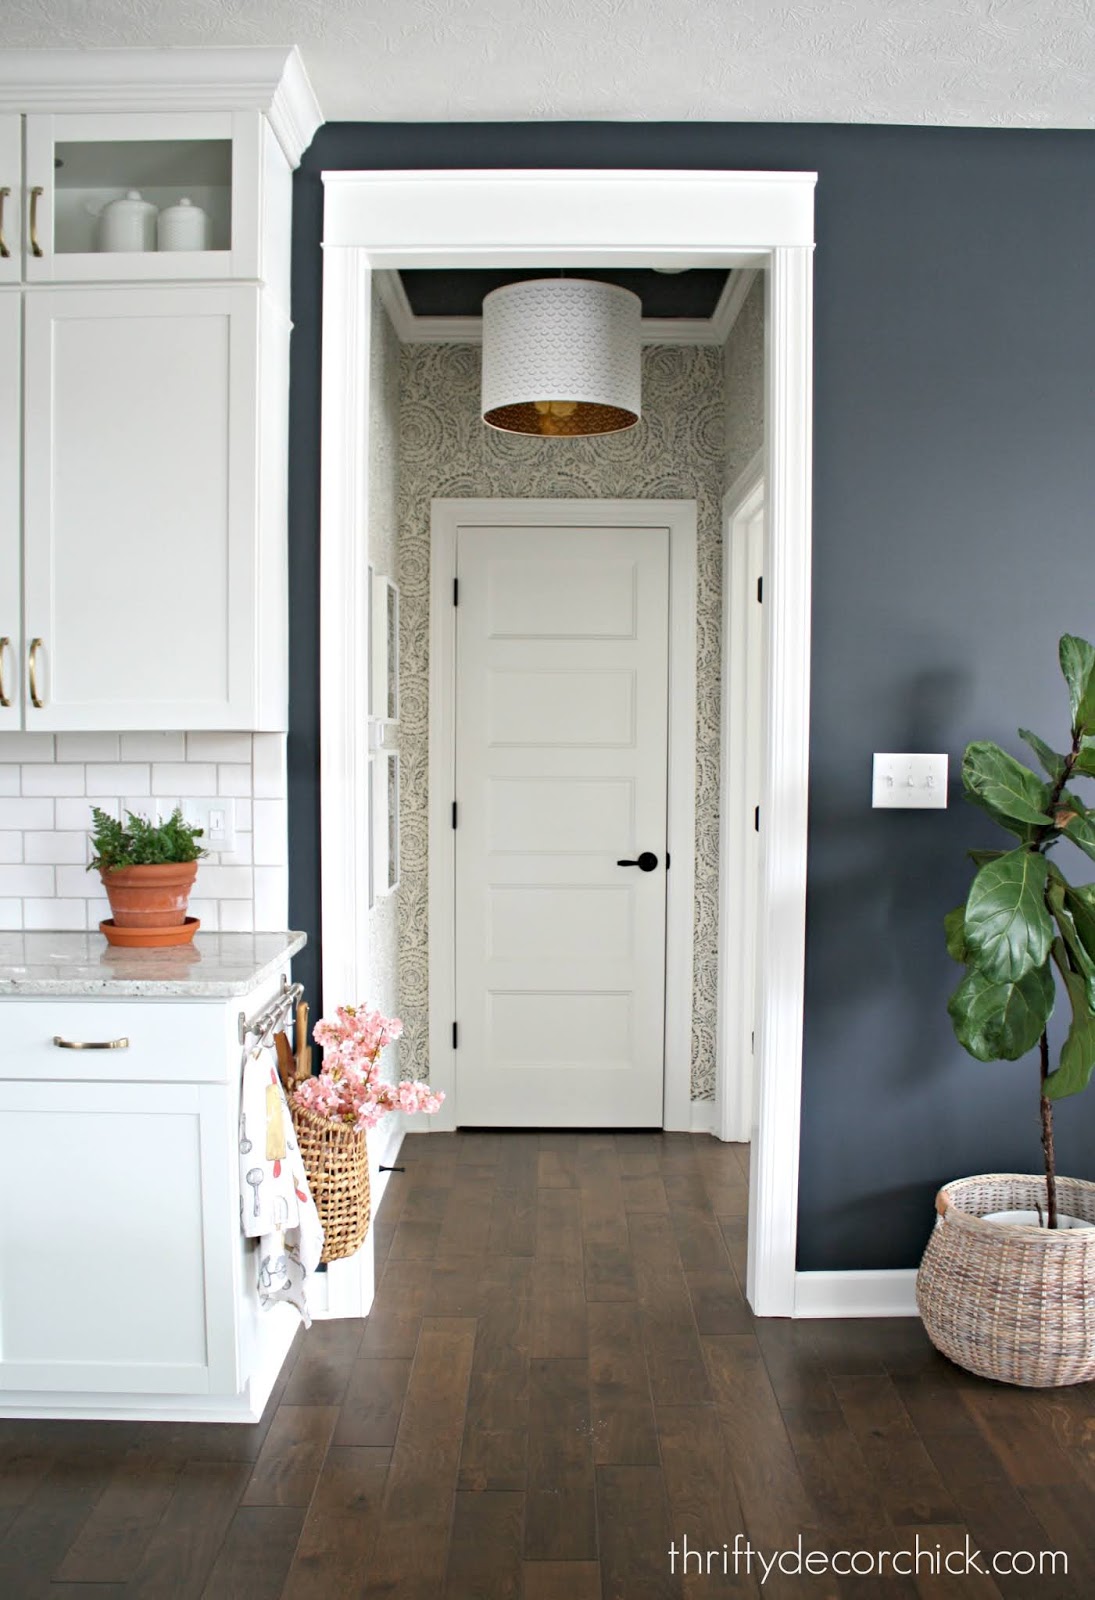
I used this trick in our mud room:
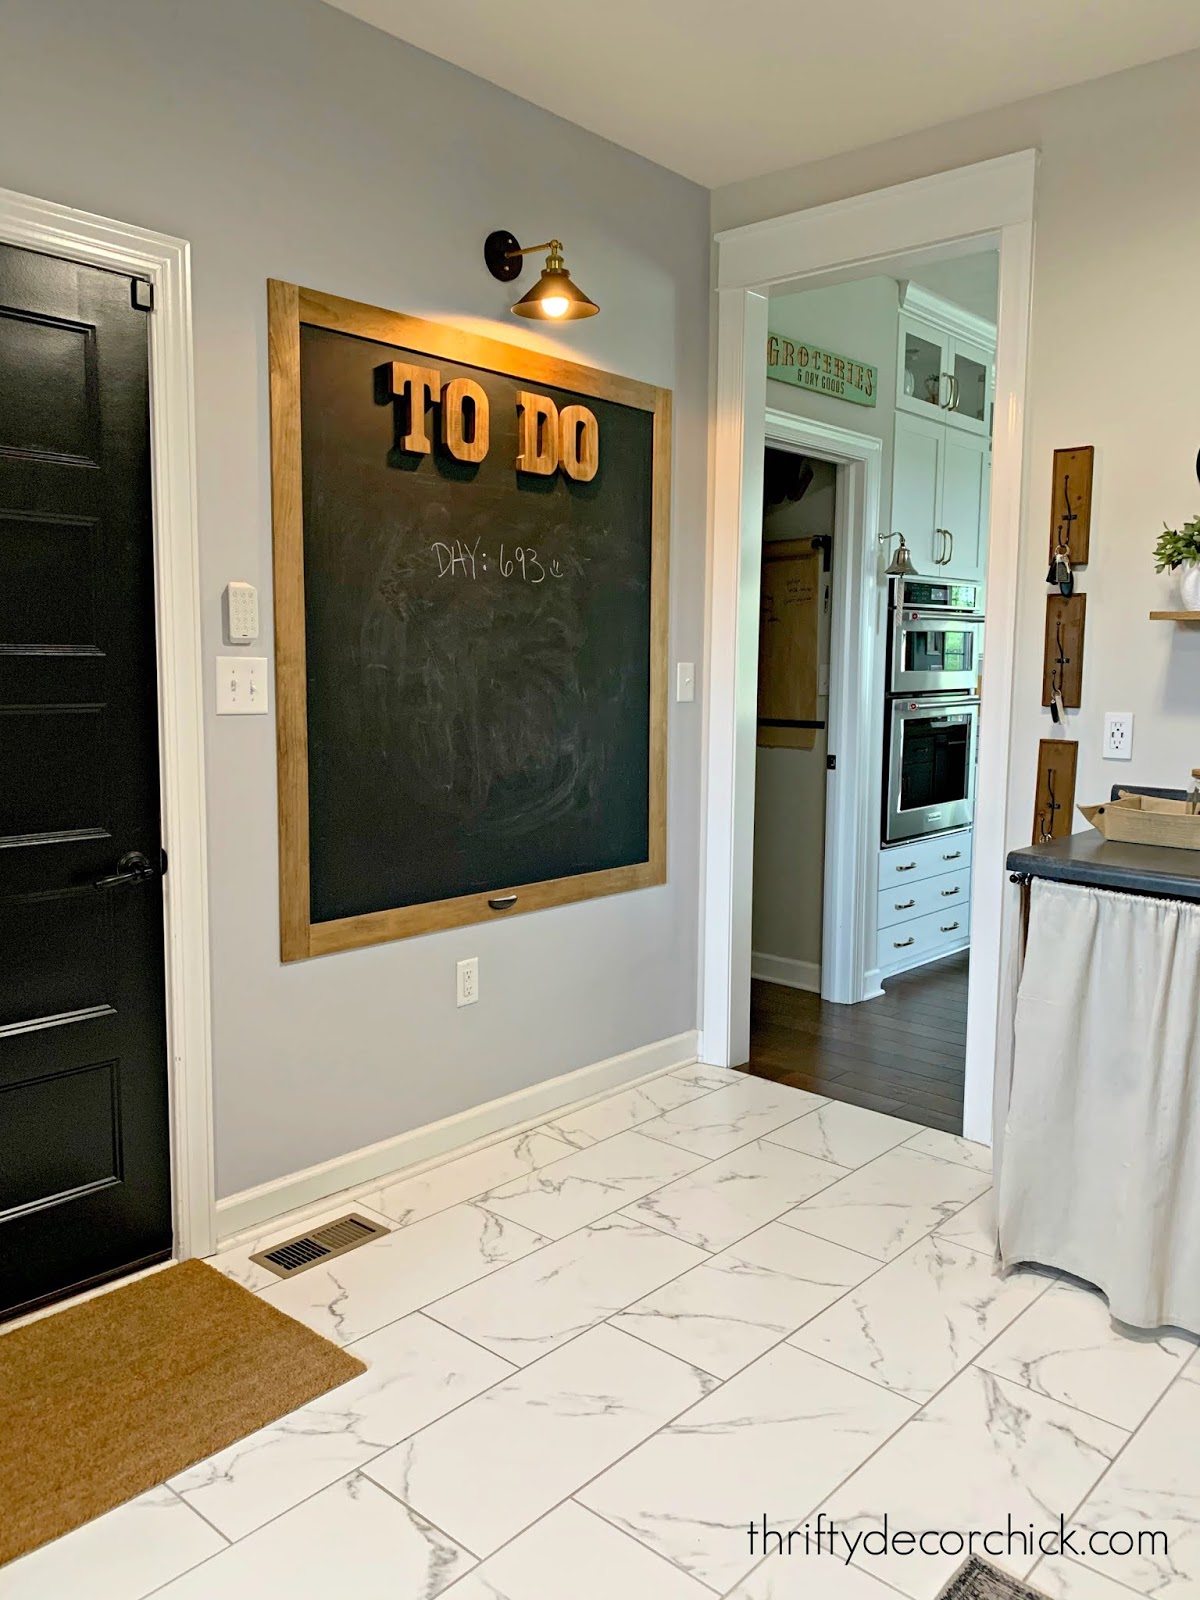
And on the other side as well:
I plan to keep this method going with all of those open doorways. If you have any DIY experience, this is an easy project!
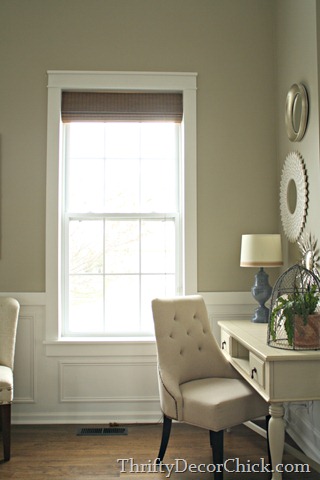
Those windows didn’t have any trim to start, so it was a noticeable difference having that beautiful accent.
We have window trim on our windows at this house, so someday I may replace the tops and bottoms to start chunking them up a bit. We’ll have to see!
I spent about $ 20 for this doorway, because I had the biggest piece in my wood pile. Here’s what you’ll need to do this at home:
1x whatever thickness you want for middle of header
I use primed mdf for the sides of our doorways when needed (you can use 1×4’s as well but they cost more)
Have you added this to your home? It gives our house so much more character! It’s such an easy way to update open doorways that just have drywall and no trim too.
See more of our home here. To shop items in our home, click here! Never miss a post by signing up to get posts via email.
Let’s block ads! (Why?)
Thrifty Decor Chick

