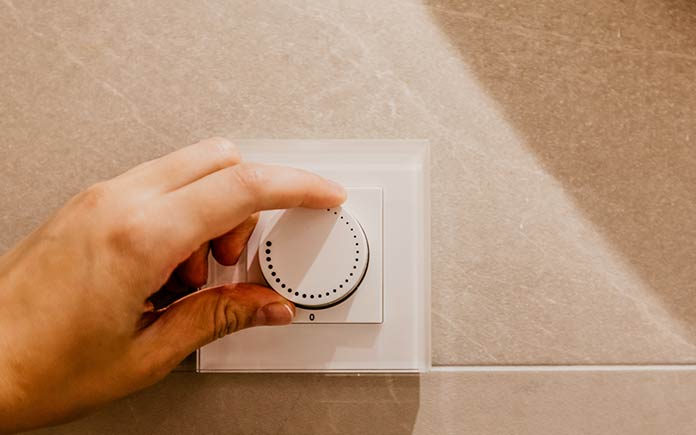
Replacing a standard wall switch with a dimmer switch is a great way to improve the lighting in your home. Here’s how to install a dimmer switch:
- Turn off the power to the light and switch at the circuit breaker or fuse box.
- Remove the cover on the existing light switch.
- Unscrew the existing light switch and detach the wires.
- Attach the black dimmer-switch wire to the hot wire and the white dimmer-switch wire to the common wire, following the instructions that came with the switch.
- Attach the dimmer-switch ground wire to the ground wire in your house.
- Screw the dimmer switch into the wall box.
- Attach the cover to the dimmer switch.
- Turn the power to the circuit back on, and test the switch.
CFLs and Dimmer Switches
Before you attempt to install a dimmer switch, keep in mind that dimmer switches cannot be used with compact fluorescent bulbs unless the package states that the bulb is dimmable.
Watch this video to find out more.
Further Information
VIDEO TRANSCRIPT
Nothing transforms a room like lighting that sets the mood. Here’s how to install a dimmer switch.
Before doing any electrical work, make sure the circuit is turned off at the fuse or breaker panel.
Next, remove the existing light switch and disconnect the wires. The hot wires will be connected to the black wires from the dimmer with wire nuts while the common wires are connected together with another wire nut.
Now you’re ready to install the dimmer switch. To do so, mount the dimmer in the box and turn the power back on so you can check it for proper operation.


