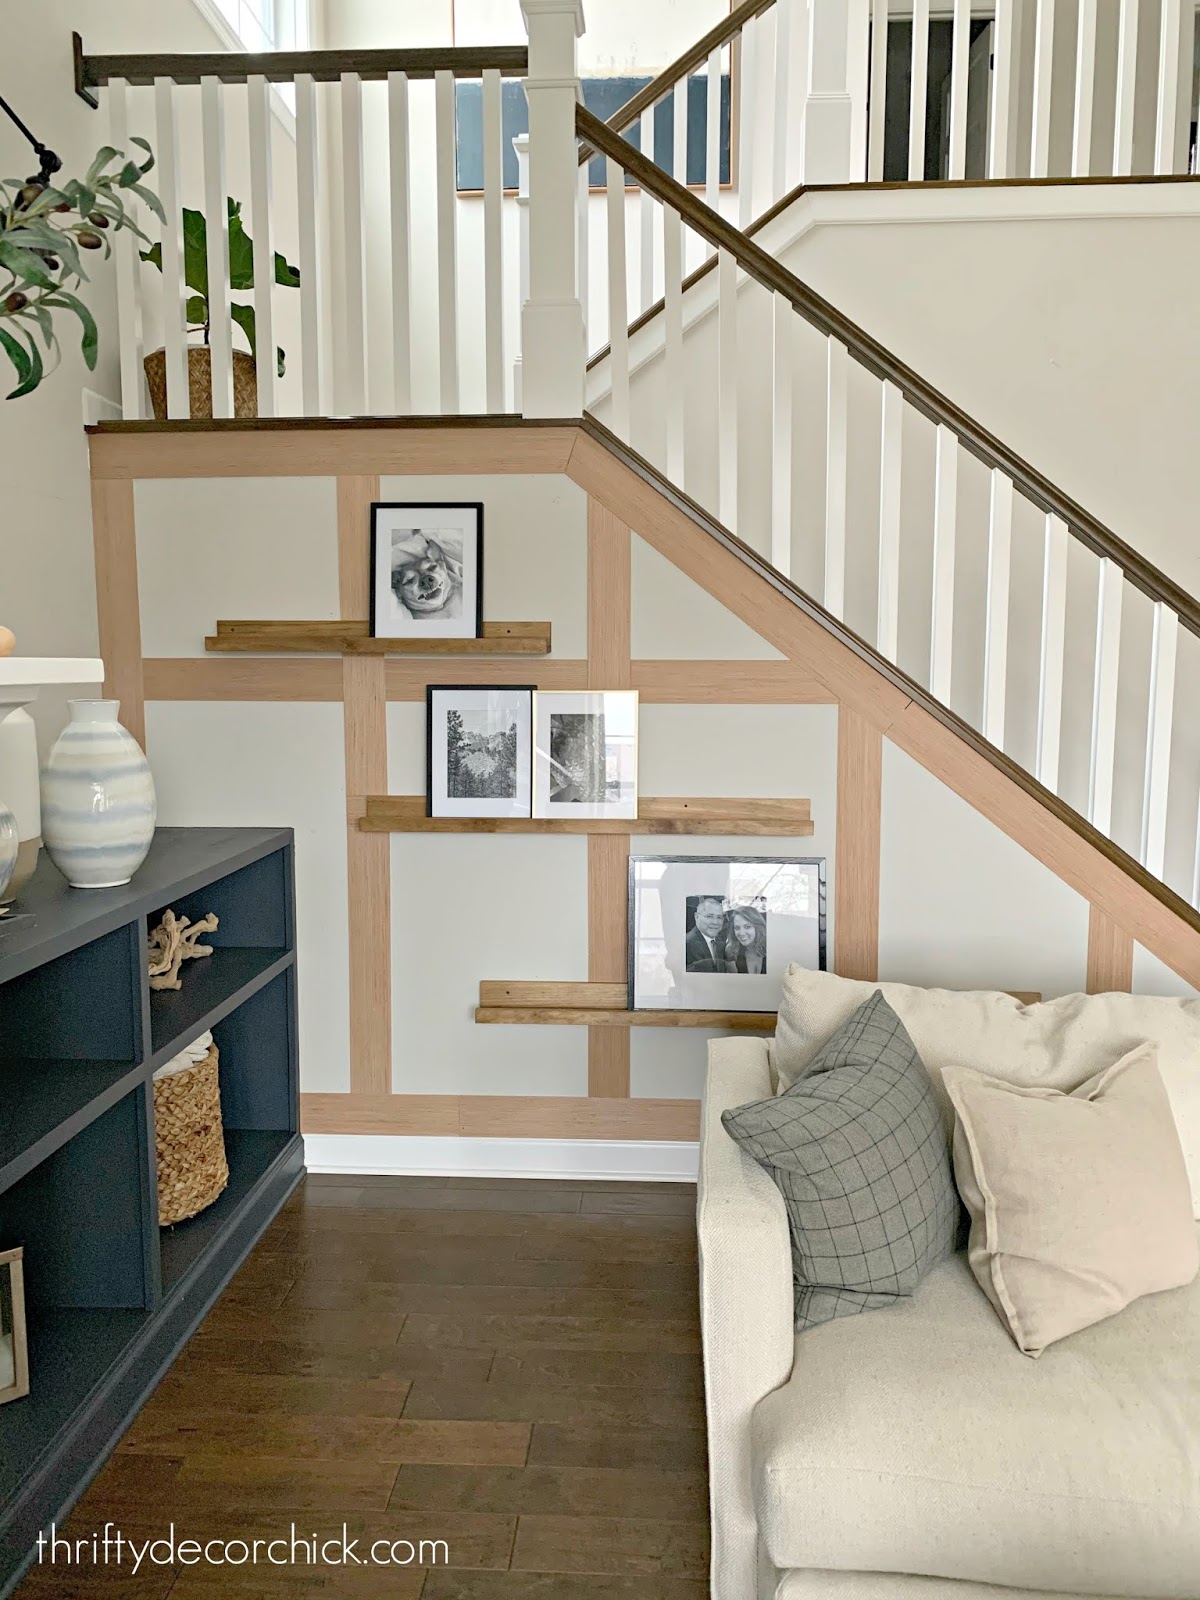
Hey there! I’m back with the first completed wall of trim work on our stairs! I have three walls to do and this one was the smallest. As you’ll see I have quite a bit of work ahead of me, but we LOVE it so far!!
If you missed the how-to, check out this board and batten how-to post to see how inexpensively I did this project (this is only $ 15 worth of trim!):
This post may contain affiliate links for your convenience.
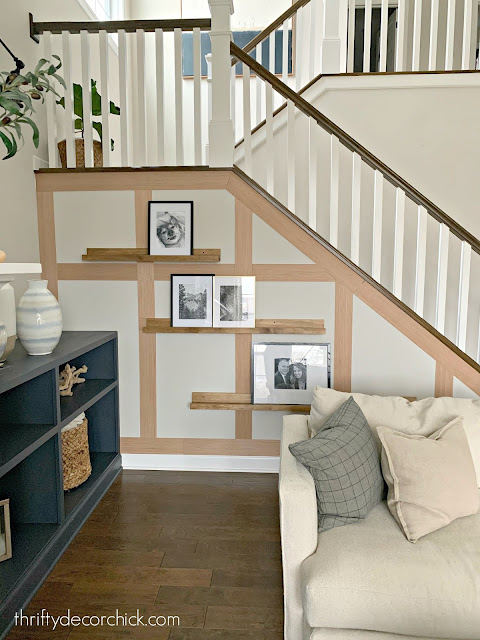
Remember how I said it’s hard to envision the end result sometimes? With all those angles and without the paint on, it can feel busy.
Trust my friends! Paint saves the day, yet again!
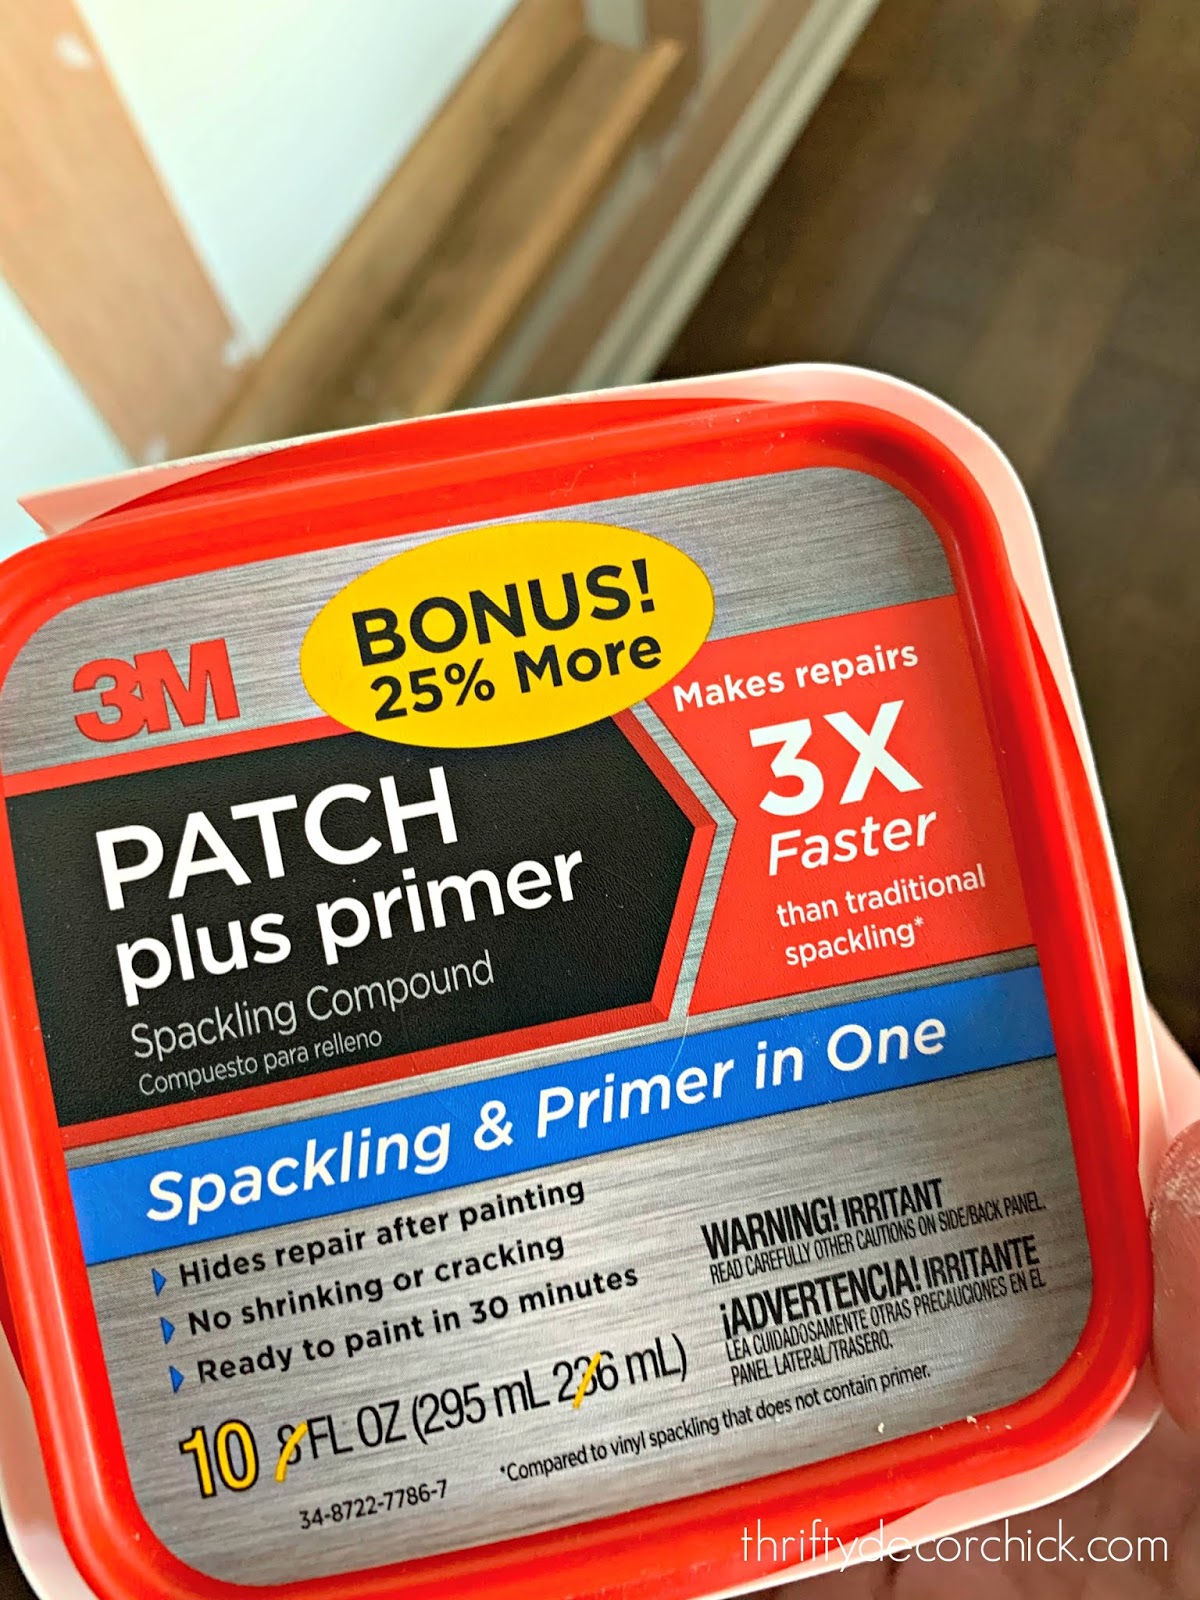
First, I had to fill the nail holes (I use a nail gun to install all of the strips). I have just recently started using this
spackling compound and I’m loving it:
It’s super easy to apply with both your finger (my preference most of the time) or a putty knife.
Make sure to get all of the seams and nail holes and then let dry:
You can hand sand this down after it dries, but I prefer
my hand sander because it’s so quick.
I hate sanding, but it only took maybe four or five minutes to sand down everything:
Painting is always the longest step — it took three good coats of paint and a few touch ups all over (OK, let’s just say it was four coats) and it was DONE!:
I caulked up a few spots along the stairs and wall as well.
I still need to address the stained area under the stair trim — there are some unstained spots showing since I changed out the trim. You can’t even tell just looking though:
I’ve noticed when working on trim work projects in our home that the white paint color I’ve been using, Pure White, hasn’t been matching exactly.
I checked our records and it says they used Pure White but there’s no way. Pure White is brighter and whiter than our trim. So I took a piece of old base into get color matched and this is a much closer match! I like both white colors — you can’t go wrong with either.
Ours is a slightly creamier white:
I went to share the paint formula with you but they didn’t attach the sticker to the can. I’ll see if I can get it from them. (I use Sherwin Williams paint.)
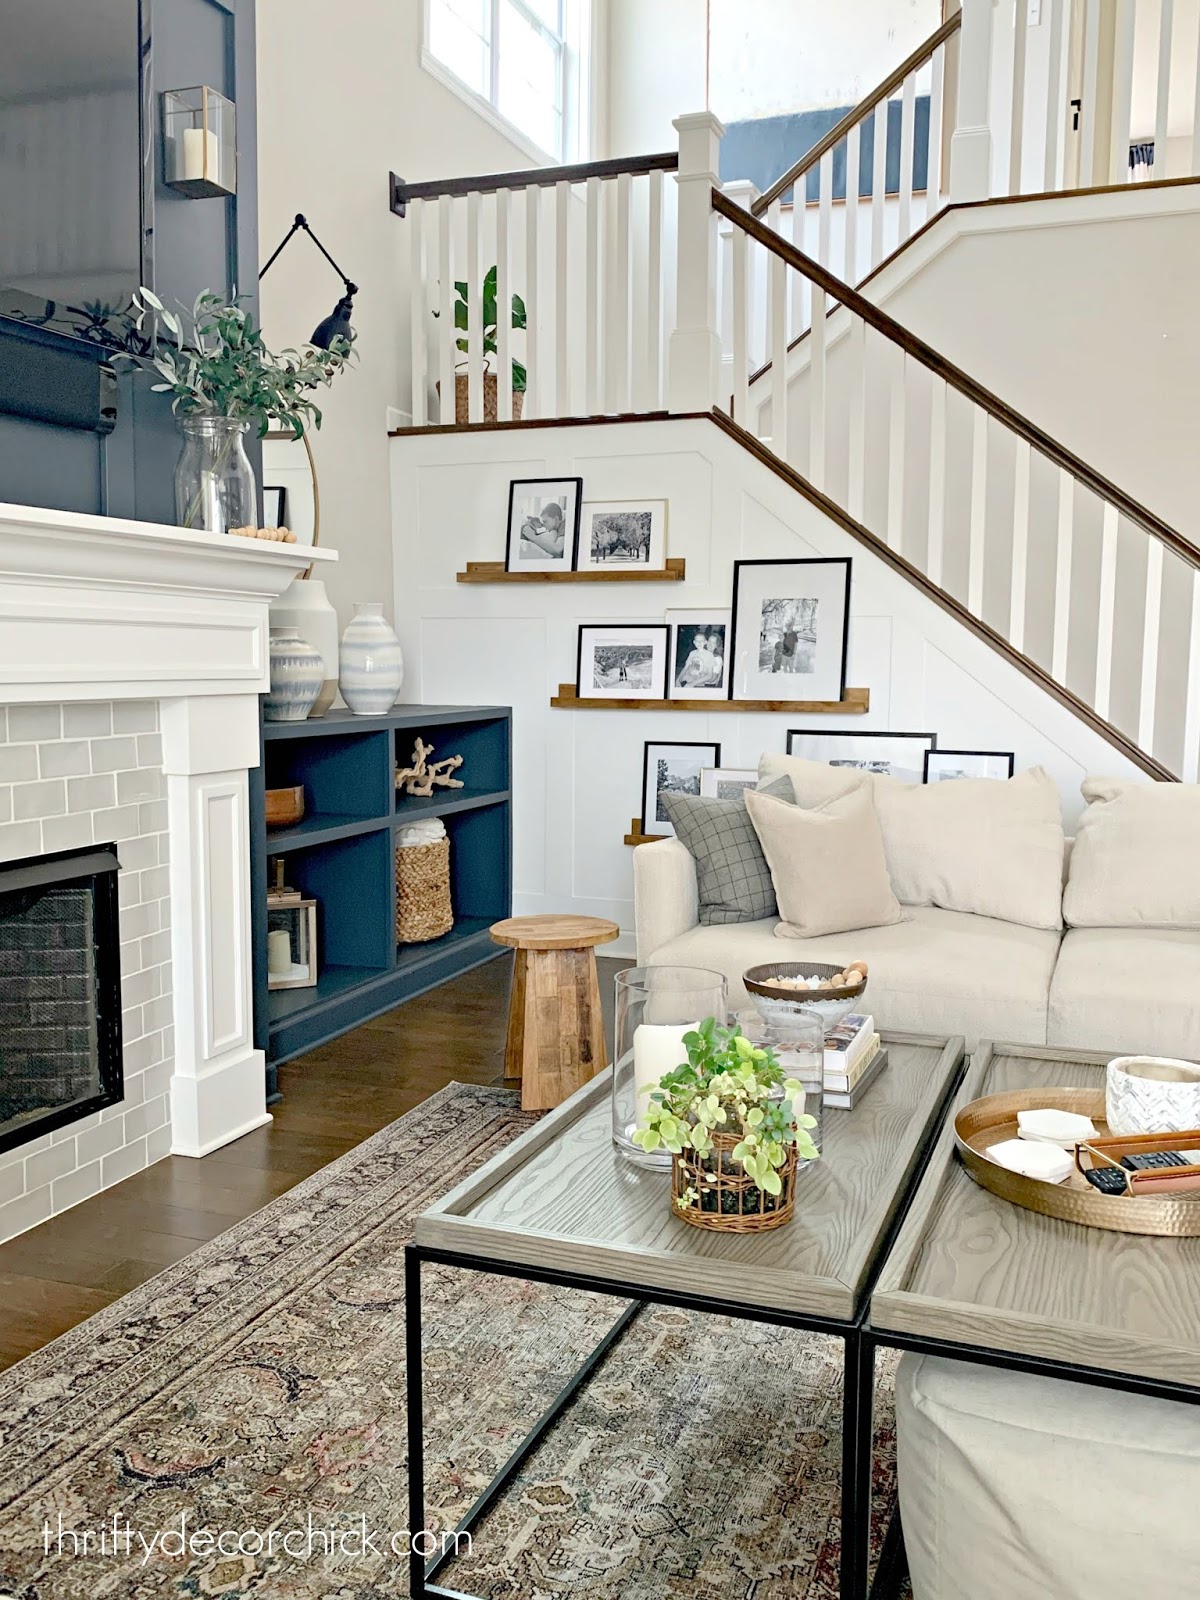
Anyway…we love it!! It’s exactly what I wanted for these walls. As I mentioned last week…all three of the stairway walls will get this treatment:
And it’s perfect. It’s a beautiful accent that adds character to the room but it doesn’t take over the space.
I was a little worried it would compete with the big fireplace wall with trim that I did last year, but it actually ties the two together beautifully! I couldn’t be more pleased!
And here’s that wall with the
DIY picture ledges (so cheap to make on your own!!) and this first board and batten accent wall:
I really love the combo of the crisp white, stained wood and black frame accents! It’s my jam. 🙂
Now I can’t WAIT to get all the walls done! It’s going to be so lovely when it’s finished! I think I’ll tackle the long wall on the landing next, since it’s the easiest. (As long as my ladder will reach. 😬)
Here’s another look at the wall last week:
And how it looks with white paint — I love it so much:
This room is slow but sure becoming exactly what I envisioned all those years ago when we first walked through this house. It didn’t have drywall, windows or floors, but I could see it in my mind! 🙂
See more of our home here. To shop items in our home, click here! Never miss a post by signing up to get posts via email.
Let’s block ads! (Why?)
Thrifty Decor Chick
