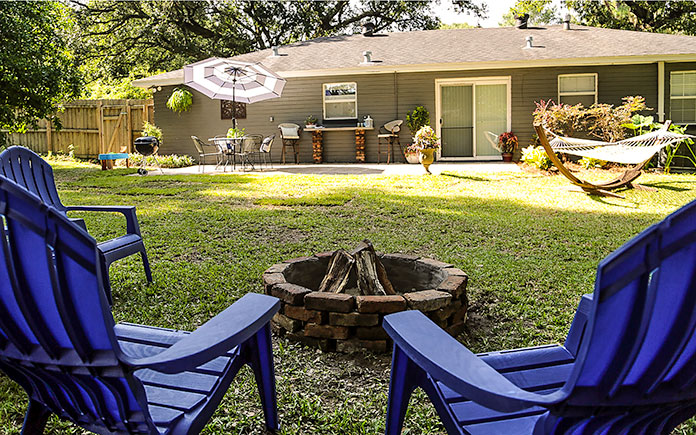
Most plans to declutter seem to focus on the home’s interior, but the exterior is just as important to consider. After all, less backyard clutter means more enjoyable outdoor living.
To that end, here are five storage solutions to put everything outside in its proper place.
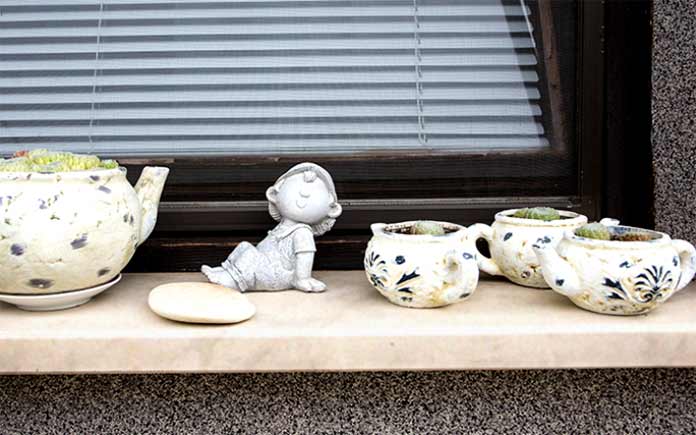
1. Concrete Shelves
One of the best ways to declutter a space, and even make it look bigger, is to get everything off the floor that doesn’t need to be there.
This works indoors and outdoors, so first, pick up everything from your patio and find a place for it.
For a modern, permanent storage solution, create concrete shelves. They’re stylish, functional and, best of all, can withstand the elements.
Here’s what to do:
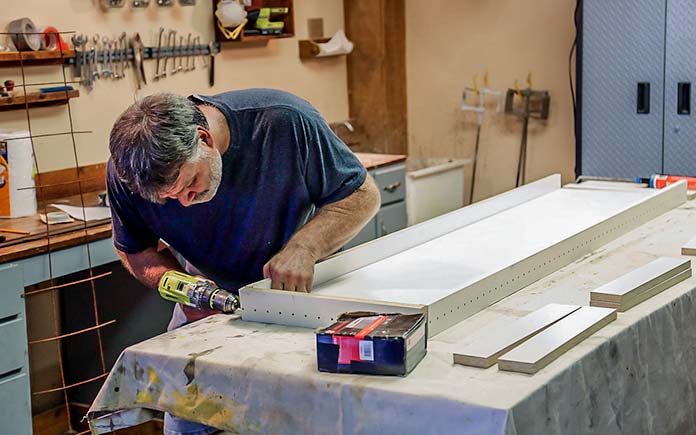
• Build a form using melamine-coated particle board. The bottom should be flat and not sag.
• Apply silicone sealant to the form’s seams for a clean and durable edge.
• Mix Quikrete 5000 Concrete with water, according to the package’s directions, and evenly pour it in the form.
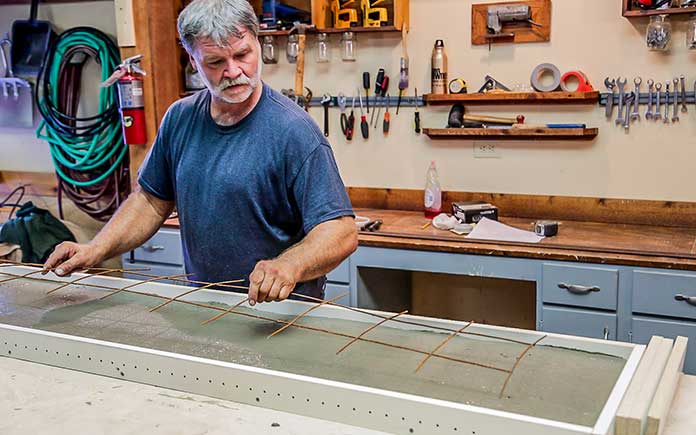
• Attach a grid of concrete reinforcement wire or rebar at the center of the form embedding it halfway through the concrete.
• Tap the form’s sides with a rubber mallet, or use a vibrating hand sander, while the concrete is wet. This releases trapped air bubbles that could mar the surface.
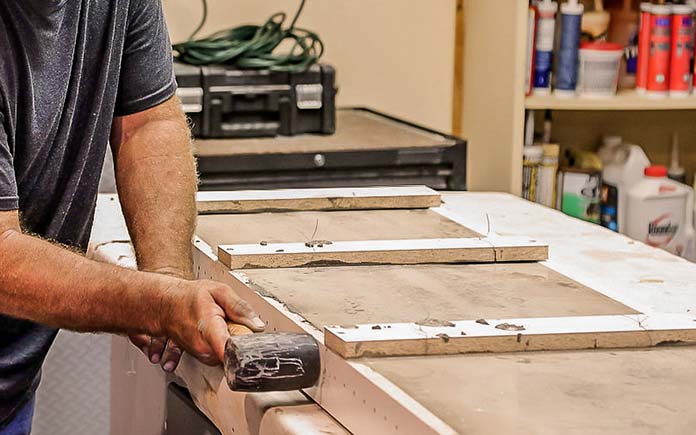
• Let concrete harden for three days before removing the form. Sand sharp edges on the concrete and polish the surface if desired.
• Wait for the concrete to cure; after 30 days, apply a sealer.
As for the support system? You just need a 12-inch piece of galvanized threaded pipe with a floor flange on one end and a pipe cap on the other. The number of supports you’ll need depends on the size of each shelf.
Drill the supports into the wall studs with 3-inch-long outdoor stainless-steel screws, and lay the shelves on top of the supports.
—
2. Storage Shed
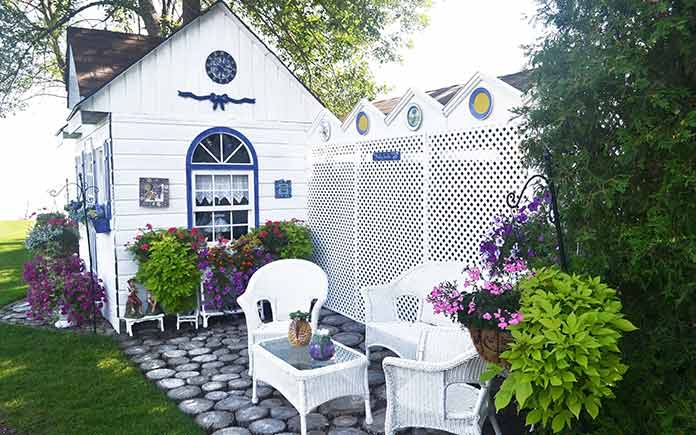
Most homes could use more storage, and sometimes, meeting your family’s needs isn’t as simple as shifting things to the garage. You have to purchase, or build, a structure to hold everything you have.
A storage shed is perfect for housing lawn equipment, tools and bikes — things you use outdoors or want to keep separate from the garage, attic and living spaces.
Moving your lawnmower, power tools and gasoline containers from the carport or patio and into a storage shed will instantly declutter your outdoor living spaces, improve their appearance, protect items from weather and rust, and lengthen their life.
First, think about the different types of sheds. These include prebuilt units, ready-to-assemble kits and custom-built options. The type of shed you choose will determine the shed’s construction materials and overall appearance.
Then, think about the shed design — consider how you will use the shed and where you need windows and doors. Consider pouring a concrete slab as the shed floor or use square Pavestone patio stones. Every homeowner’s needs are different.
Finally, consider building codes. Certain setback requirements and neighborhood covenant restrictions probably apply — check before you do anything.
Want to learn more? Watch, “How to Design and Build a Storage Shed.”
3. Grill Shelter
If your home has an uncovered patio, it’s tempting to place everything — the seating, dining set and grill — on the same concrete slab.
The result isn’t just a cluttered space; it’s also unsafe. The U.S. Consumer Product Safety Commission recommends keeping grills 10 feet away from your home because the grill’s heat and fire could melt or burn siding. And damaged vinyl siding releases toxic gases, compounding the problem.
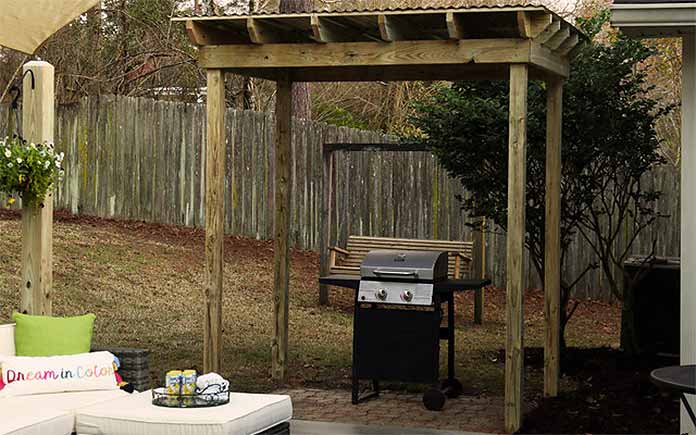
So, rather than place everything in the same space, give everything its proper place! You can purchase a grill gazebo, or shelter, at the home center or build your own with wood posts and a corrugated metal roof.
Want to learn more? Watch, “How to Build a Grill Shelter” for the step-by-step guide.
4. Wall-Mounted Garden Hose
Is that a snake in the grass or just a curled-up garden hose? Sometimes, it’s hard to tell, but it wouldn’t be if everything outside your home had its proper place!
Most homes come with a garden hose connection but no hose or its housing. So, garden hoses often get connected, but never really have a set location. Homeowners may curl them up here or there, or just drop them on the ground after use!
An out-of-place garden hose negatively affects outdoor living because it adds to the backyard’s cluttered appearance, poses a tripping hazard and, at the very least, could cause a scare if it looks like a snake.
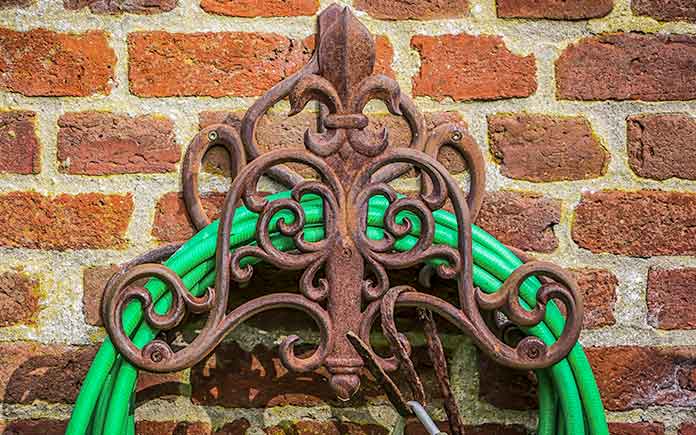
The solution is to get that garden hose off the ground — ornate wall-mounted hooks are available to hold your hose and match your home’s design.
Alternatively, consider reels on wheels, which allow you to hook up the hose, roll it out to the watering destination, roll it up when finished, and disconnect the hose so you can store the reel in your shed.
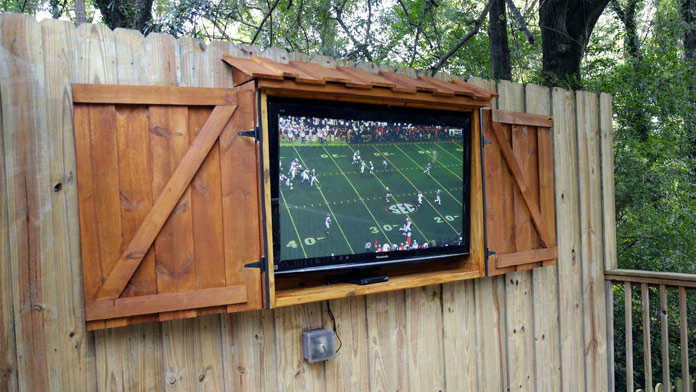
5. Outdoor TV Cabinet
If you’ve followed the first four steps, your backyard probably looks neat and organized. That means it’s ready for the final thing to improve your outdoor living: a television!
Whether you have a deck, patio, terrace or porch, a TV is sure to lure family and friends outdoors. Once you’ve had the electrical work done to support the TV where you want it, you’ll need a cabinet to protect it from severe weather.
Building one from pressure-treated plywood is not difficult. In fact, you can finish the project in an afternoon and enjoy a movie under the stars the same evening!
Watch, “How to Build an Outdoor TV Cabinet” for a step-by-step video on the process.
Best of all? This project is easily customizable, so you can add locks and other features that meet your security and storage needs.
What special project has enhanced your outdoor living? Share in the comments below!


