Your home should provide shelter from winter weather. But that’s not the case if you have windows with cracks and gaps. Here are three steps to prevent drafty windows so you can stay comfortable as temperatures dip.

1. Repair Any Damage
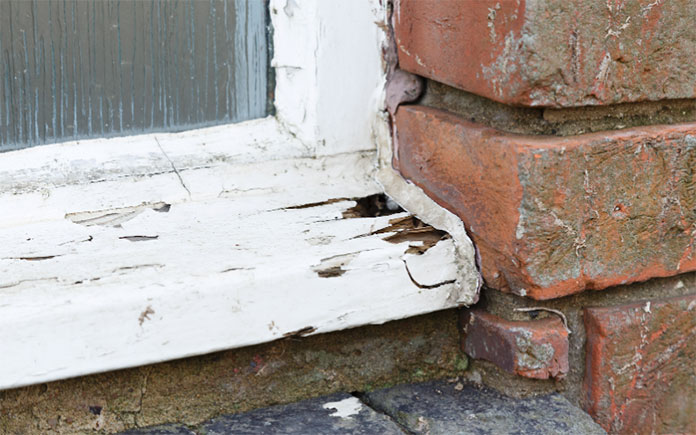
Before you can prevent drafty windows, you need to repair the window frames. Inspect the wood casements for rot and then fix it.
Take a flat bar, a hammer and a chisel and score around wood pieces that are damaged. Not all of the wood will be bad, so gather the pieces that are bad and remove them.
You don’t need wood to fill the hole; use cellular PVC or composite material, both of which are available at your home center. Best of all, they’re low-maintenance options that you’ll probably never have to replace.
Next, nail the replacement piece in place, glue it, caulk it and repaint it. Your home will be secure from potential water damage and you’re one step closer to preventing drafts.

2. Caulk Around the Trim
You can count on one side-effect from the drastic change in temperatures: building materials will expand or contract. This, along with shifting soil and foundation settlement, leads to unsightly cracks and gaps.
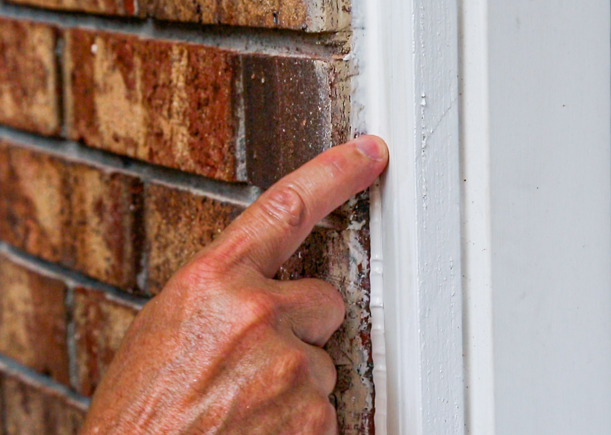
Think about where window casements and door frames meet siding. These joints may have once looked seamless, but now, you can spot some separation.
These gaps let air and water into the home, which strains your heating system and results in mold and mildew. That’s why it’s important to routinely caulk as the seasons change.
Here’s how to caulk building joints to help prevent drafty windows:
• Cut out any old caulk in the joint with a putty knife. Then, go ahead and remove any dirt, debris and residue.
• Press the release trigger on the back of the caulking gun to loosen the steel rod. Then load up some sealant.
• Cut the caulk’s nozzle, or tip, at a 45-degree angle. This ensures the line, or “bead,” will be smooth, because you will apply the sealant at an angle.
• Press the trigger and slowly seal around windows, doors and trim. Move at a slow, steady pace; otherwise, the bead will be narrow and even. Use backer rod if the joint’s depth exceeds a quarter-inch, then apply the sealant over the backer rod.
• Finally, smooth the bead immediately after application — all you need is your finger.

3. Install Window Insulation
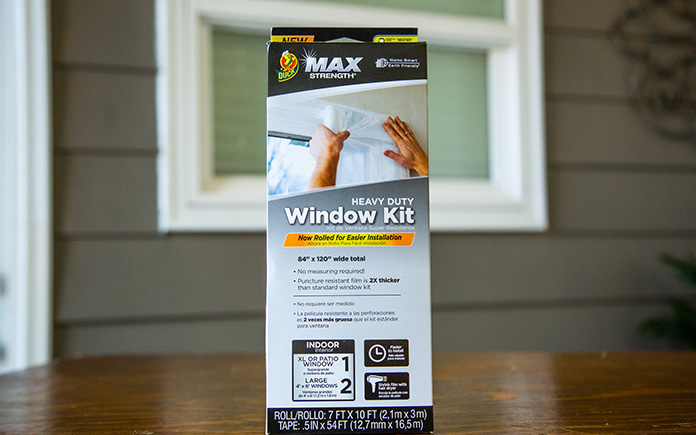
We’ve prepped the exterior surfaces, so now let’s move indoors and take the final step to prevent drafty windows: install The Duck Brand’s Heavy Duty Max Strength Window Kit.
It’s twice as thick as other window insulation kits, so it’s ideal for homes with heavy traffic and pets. And it’s crystal clear, so you won’t have to sacrifice your view for comfort (and lower heating bills)!
Anybody can tackle this project — you just need a hairdryer and some scissors. Best of all, these kits are affordable and widely available. You can usually find them at your local home center and online.
First, clean the window frame and remove any excess dust. Then, tape the top edge of the film to the window frame and roll it down.
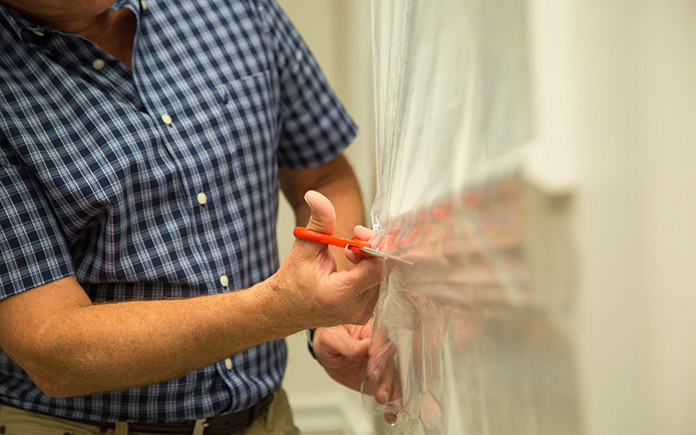
Next, cut the film to size and apply tape to the sides and bottom of the window.

After that, unroll the film and press it firmly onto the tape. Then run a hairdryer over the window film to shrink it and remove any wrinkles. Use the scissors to cut off any excess film.
Finally, make sure there’s a tight fit between your window and the shrink film. If you need to, run the hairdryer over the window film again.
That’s all there is to it!
Learn more about The Duck Brand’s home weatherization solutions>>


