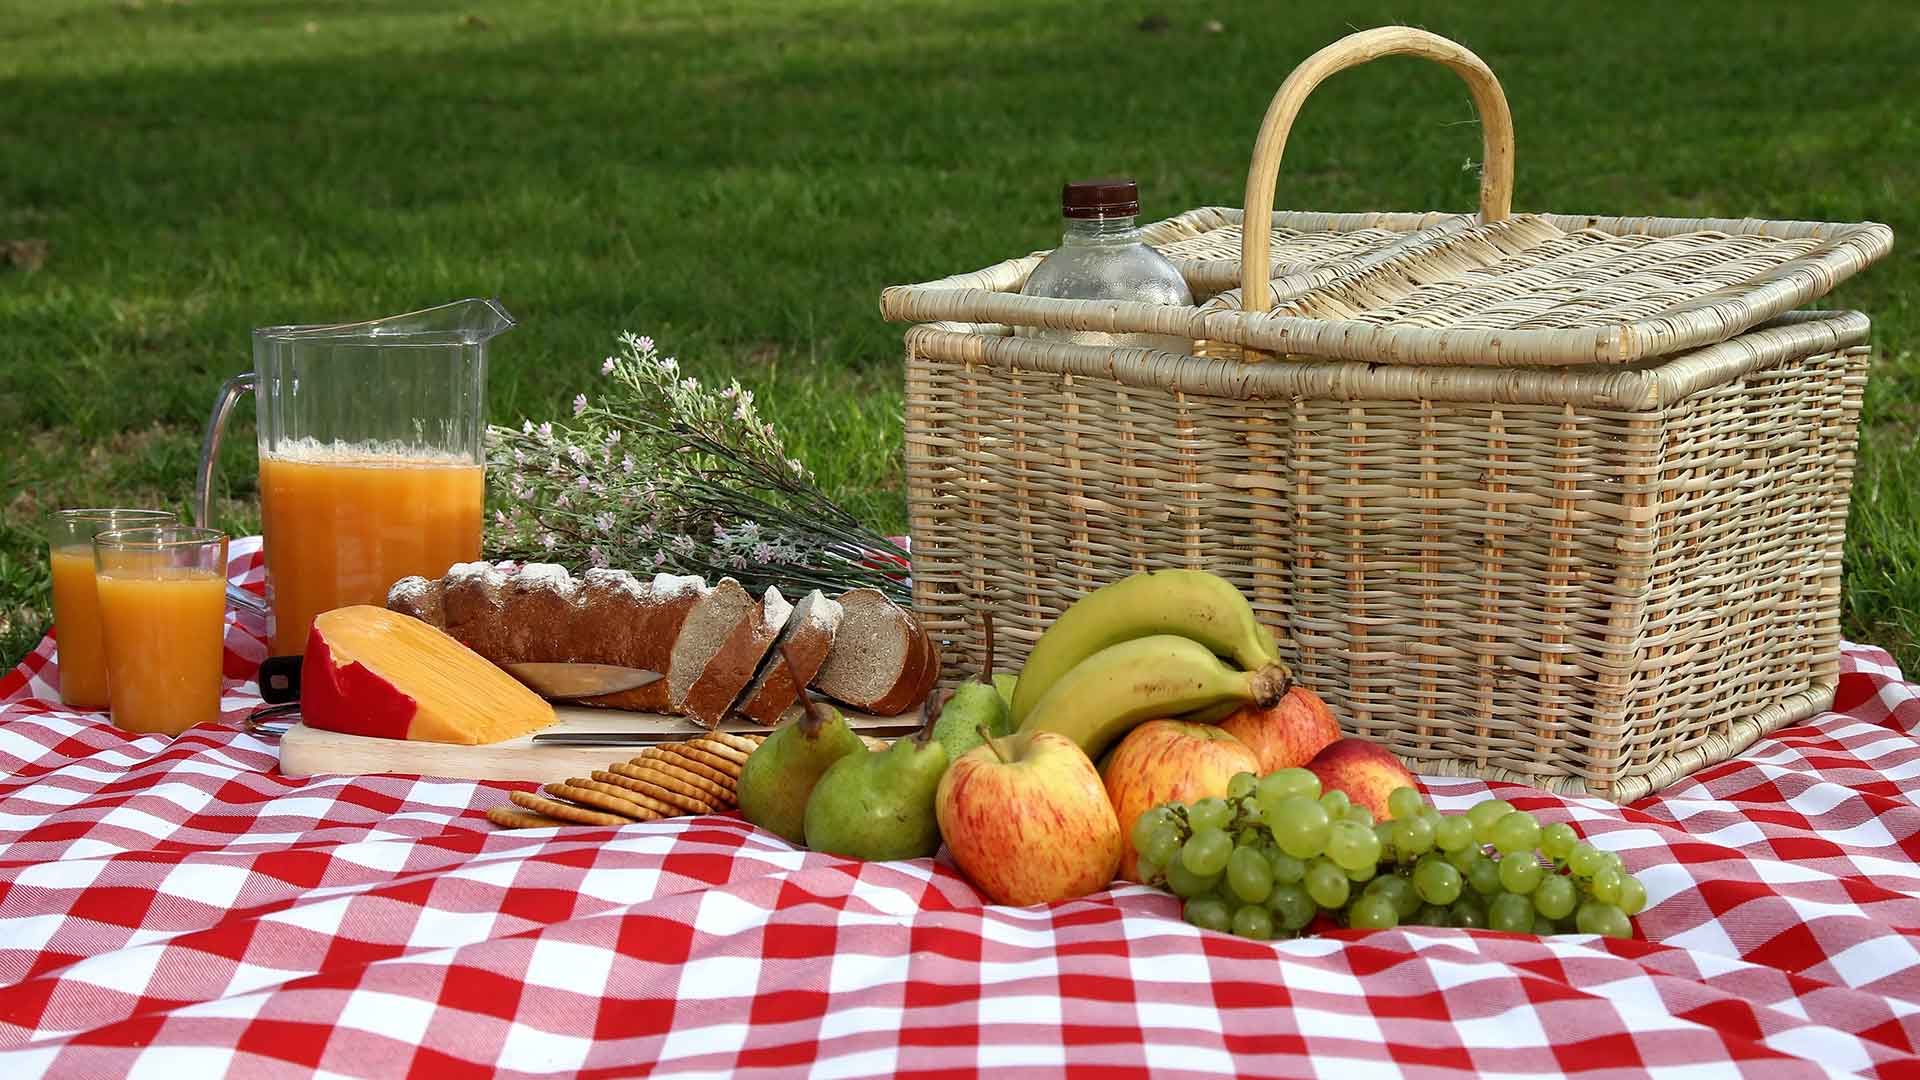
Enjoying a meal or snack with family and friends is a great way to relax in your backyard. Whether the outing takes place on a picnic table or a tablecloth spread on the lawn doesn’t matter. Spending quality time with loved ones and getting some fresh air are all you really need.
Here are four projects you can tackle to create a perfect picnic.
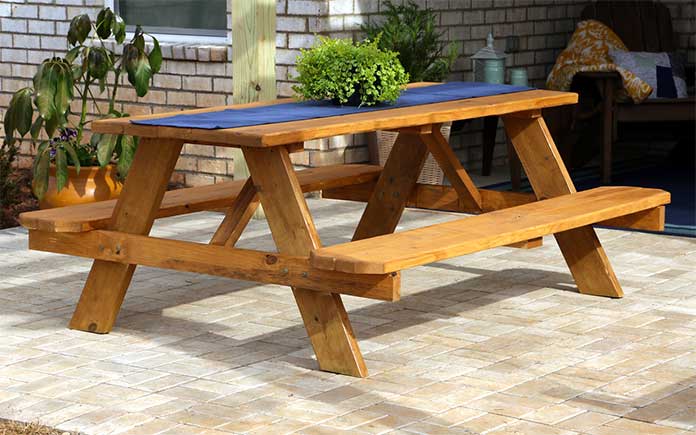
1. Build a Picnic Table
Maximize your outdoor living with seating for up to eight people. Building a picnic table isn’t that difficult when you work from plans.
You just need to purchase the right materials and head to your workshop, or rent tools from the home center.
A picnic table takes about six hours to build and of course, safety comes first. So, grab some safety glasses, earplugs, work gloves and a dust mask, and then grab or rent some tools and purchase the materials.
Tools:
- Miter saw
- Radial sander
- Drill Driver
- Hammer
- File or chisel
- Socket Wrench (with 7/16-inch bit)
- Combination Countersink Bit (with 1/8-inch bit)
- ½-inch and 1-inch Forstner bits
- 3/16-inch and ¼-inch drill bits
- Clamps (two, 5-feet-long, minimum)
- Measuring Tape
- Pencil
Materials:
- 2-by-6-by-8-foot pressure-treated pine (10)
- 2-by-4-by-10-foot pressure-treated pine (5)
- 1 1/4 -inch wood screws and bit (half-pound box)
- 4-inch heavy-duty wood lag screws (about 70)
- 18 Galvanized washers and nuts (1/4-inch)
- 12 Galvanized carriage bolts (1/4 inch by 3 ½ inches)
- 6 Galvanized carriage bolts (1/4 inch by 4 ½ inch)
- 12 Corner tie-plates (2- by 5-inch)
- 72 Phillips pan-head screws (1/4-inch) and driver bit
- Wood finish (your choice)
Ready to get to work? Then click to build this picnic table!
2. Add a Drink Trough
Cold drinks are an important part of any outdoor gathering, especially as temperatures climb in the summer.
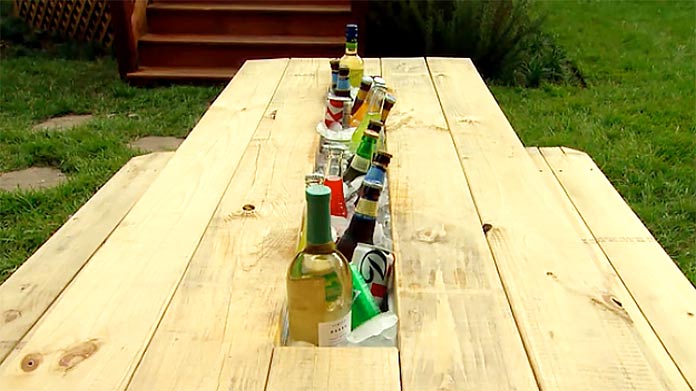
Whether you lack an outdoor kitchen, or just want iced drinks within arms’ reach, it’s easy to add a trough to the center board of a picnic tabletop.
Adapting a wood picnic table to hold drinks doesn’t require much time or expense. You just need a 5-inch rain gutter, some 2-by-2s and 2-by-4 cleats, along with some simple tools including a drill and metal screws.
Follow along with our how-to video!
3. Create a Stenciled Tablecloth
Drop cloths are one of the most versatile home improvement items around.
These large canvas sheets are useful for covering furniture or flooring to protect them from paint or dust. But we’ve also used them to create outdoor curtains and room dividers, and we’ve placed them under furniture to prevent scuffing up the floors while moving.
Well, here’s yet another use for drop cloths: creating a stenciled tablecloth! You can make any picnic special with a tablecloth that you created.
Just grab a drop cloth and purchase fabric-safe paint along with a stencil brush and stencils from a craft store (or create your own with construction paper and scissors).
Then it’s easy. You just cover table with newspaper, spread the drop cloth on the top of that and lay the stencil on the drop cloth. Dip the stencil brush in the paint (don’t saturate the brush) and apply it on top of the stencil and the fabric.
You’ll need to develop a technique as you work with the stencil, and you’ll probably need to dip the stencil brush in paint quite a few times before the shape appears as you’d like on the drop cloth.
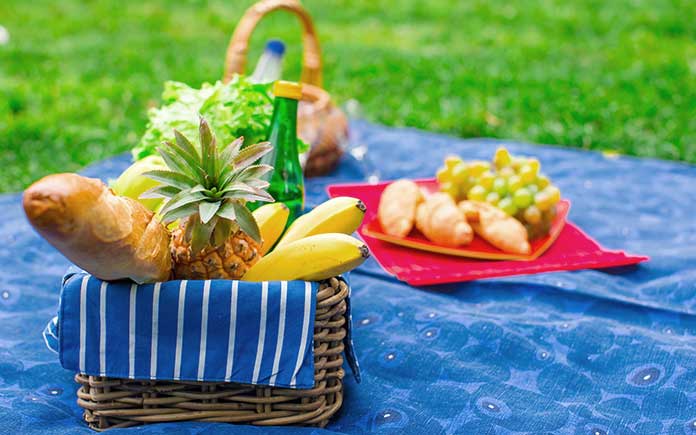
Bonus: To really give your tablecloth some character, dye the drop cloth a solid color, like blue, let dry, and add stenciled designs afterward.
Now You’re Ready for a Picnic!
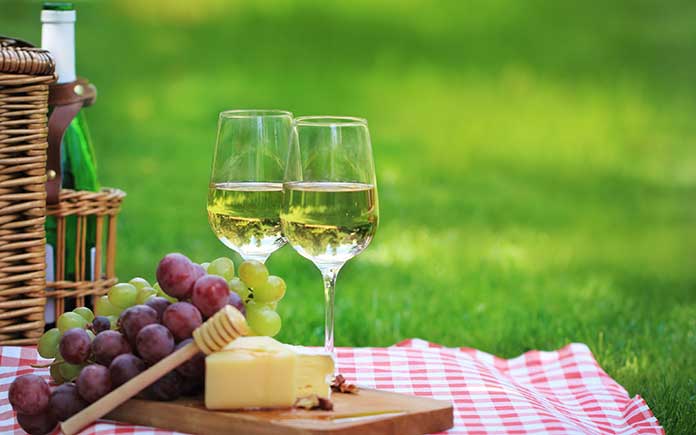
Picnics come in all shapes and sizes. Most people know how to grab a picnic basket and fill it with the essentials — sandwiches, fruit, drinks and napkins, for instance — but have you thought about something simple, but elegant?
Whether a friend’s visiting for drinks and light conversation or you’re planning an afternoon date, you can elevate the humble picnic into a wine-and-cheese affair.
Arranging a wine-and-cheese picnic is easy. Just fold up a tablecloth — perhaps the drop cloth you just dyed and stenciled! — and place it in a picnic basket. Then add a cutting board, a wheel of cheese, a cheese knife, a bottle of wine, two wine glasses and some grapes and napkins to the basket.
Spread the table cloth on your lawn, or on any outdoor table, and drape the grapes against the cheese well on the cutting board to create an aesthetically pleasing appetizer.
We hope these tips inspired you to create the perfect picnic.
Do you have ideas we didn’t mention? Share them in the comments below!


